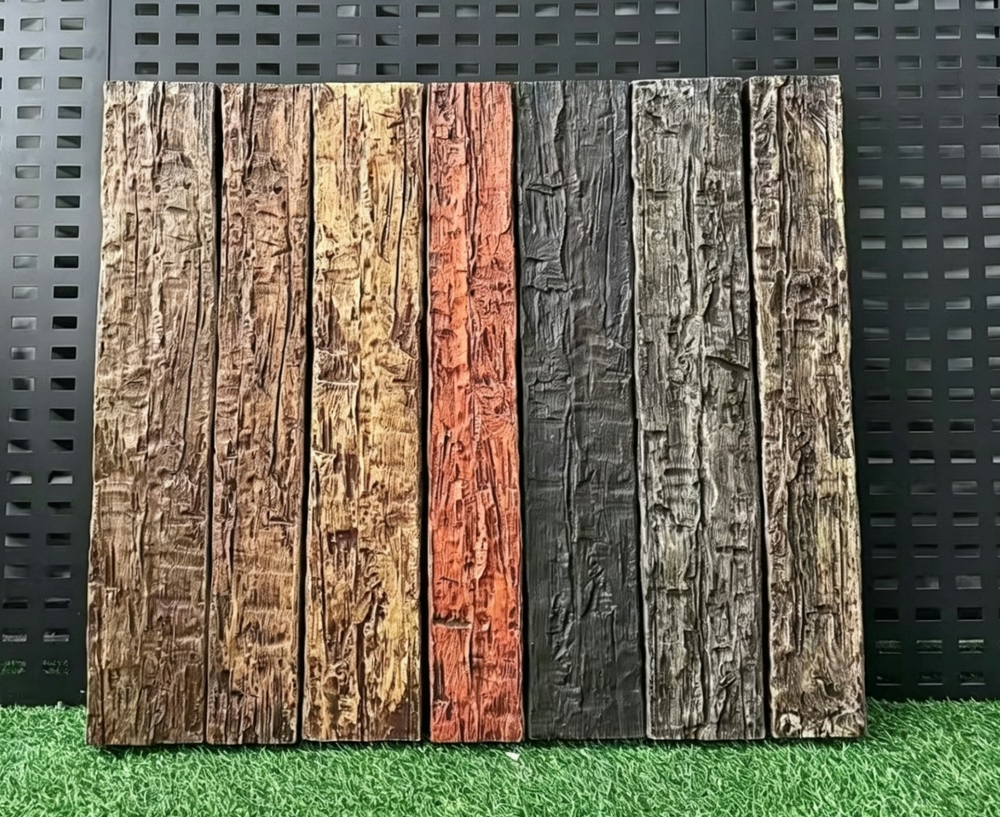
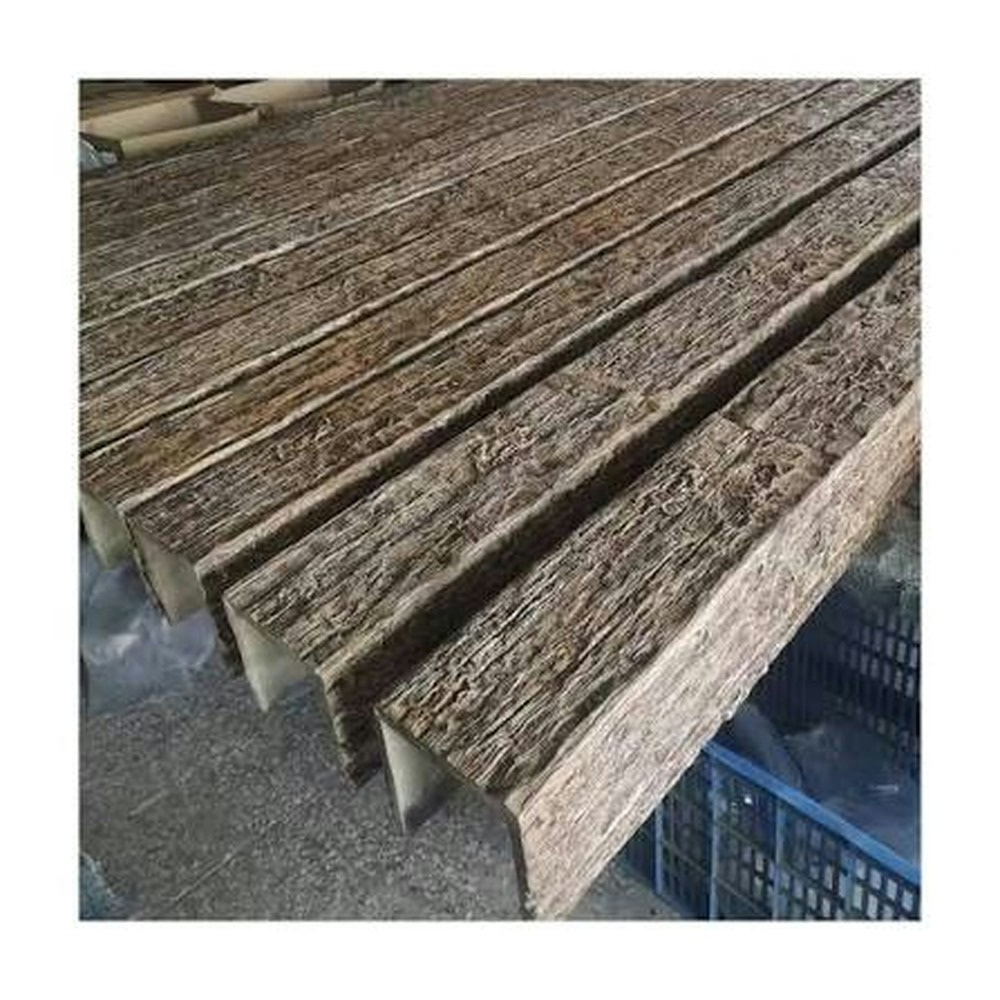
Are PU Faux Wood Beams Easy to Cut for Custom Sizing Projects?
Custom sizing expands design possibilities but requires accurate cutting. Understanding how polyurethane faux beams behave during cutting helps contractors and homeowners plan custom projects effectively.
Basic Cutting Characteristics
Polyurethane cuts cleanly with standard woodworking tools. Circular saws, miter saws, table saws, and hand saws all handle the material effectively. The cutting action produces fine dust rather than wood chips, and the material does not splinter or tear during sawing.
This workability contrasts with genuine timber, which may chip along cut lines or require specialized blades for clean results. Polyurethane's consistent composition eliminates grain-related cutting challenges that complicate working with natural wood.
Tool Selection Guidelines
Carbide-tipped saw blades provide longest cutting life but are not strictly required for occasional cuts. High-speed steel blades work adequately though they dull faster with repeated use. For projects requiring many cuts, investing in quality carbide blades improves efficiency.
Blade tooth count affects cut quality. Fine-tooth blades (60-80 teeth for 10-inch blades) produce smooth finishes that require minimal sanding. Coarser blades work acceptably but may leave visible tooth marks on cut surfaces.
Miter saws excel for cross-cutting beam lengths to length. The controlled cutting angle and repeatable positioning support accurate production work. Circular saws suit longer straight cuts but require guide systems for precision.
Techniques for Clean Cuts
Secure beam sections before cutting to prevent movement that affects accuracy. Clamping to workbenches or sawhorses provides stability. Long beams benefit from support assistance during cutting to prevent binding and control vibration.
Mark cut lines clearly using pencils or markers visible against beam surfaces. The consistent color of polyurethane makes lines less obvious than on natural wood, so double-check measurements before committing to cuts.
Support cut-off pieces to prevent them from falling and damaging finished surfaces or causing injury. The lightweight nature of polyurethane reduces fall hazards but does not eliminate them entirely.
Managing Hollow Beam Sections
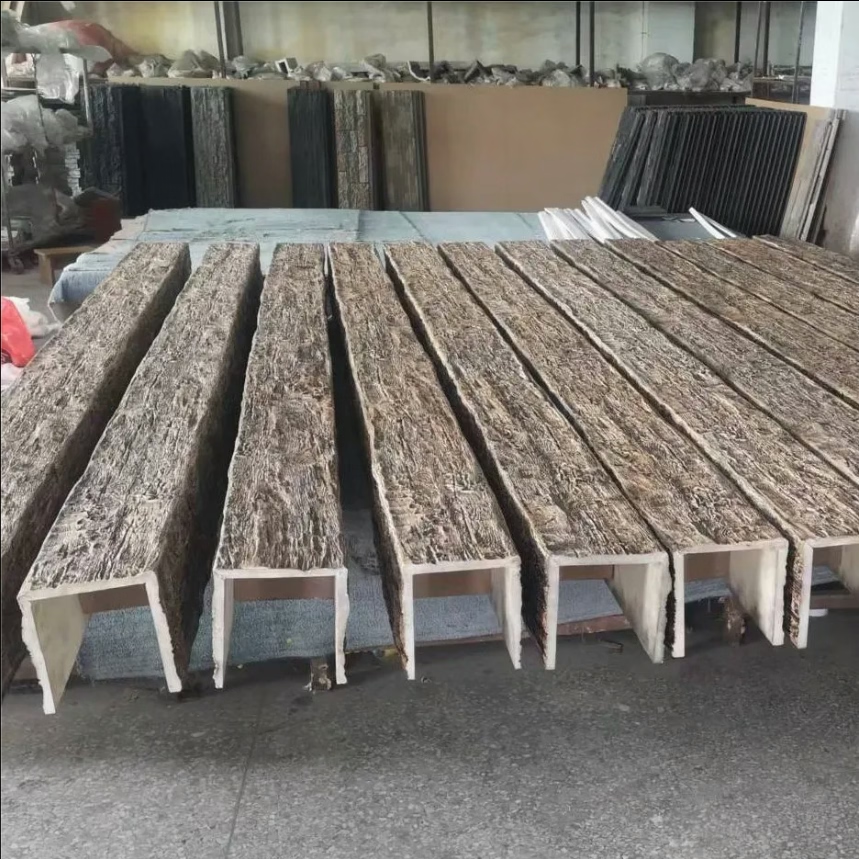
Many faux beams feature hollow cross-sections that simplify handling but require attention during cutting. End cuts typically expose hollow interiors unless beams are cut to expose finished ends at walls or corners.
Consider how cut ends will appear in final installations. Visible cut ends may require end caps, facing strips, or painting to achieve acceptable appearance. Planning cut placement to locate finished ends in prominent positions improves results.
Internal webs and bracing inside hollow beams may require trimming to accept hardware or accommodate electrical runs. These operations require careful execution to maintain structural integrity and concealed appearance.
Angle Cuts and Complex Geometry
Mitered cuts for beam corners require accurate angle measurement and steady cutting technique. Small errors compound over long runs, potentially creating visible gaps at corner connections.
Dry-fit assembled sections before permanent fastening to identify fit problems. Minor adjustments during dry-fitting are easier than corrections after adhesive application.
Complex compound angles for vaulted ceilings demand careful template development. Create paper or cardboard templates to verify angles before cutting expensive beam materials. This verification step prevents costly mistakes.
Sanding and Finish Touch-Up
Cut surfaces may require light sanding to remove tool marks or prepare for finishing. Fine-grit sandpaper (120-150 grit) removes minor imperfections without creating visible scratches. Aggressive sanding damages textured surfaces, so test techniques on scrap material first.
Factory finishes on cut ends rarely match perfectly after site finishing. For visible cut ends, apply matching finish carefully, feathering into adjacent surfaces. Multiple thin coats produce better results than heavy single coats.
Safety Considerations
Dust collection protects lung health during cutting operations. Polyurethane dust resembles fine powder and can irritate respiratory systems with prolonged exposure. N95 respirators provide adequate protection for occasional cutting; continuous work may require higher-rated respiratory protection.
Eye protection prevents dust from entering eyes during cutting and sanding. Safety glasses or goggles should be worn throughout material handling, not just during active cutting.
Power tool safety follows standard woodworking practices. Secure workpieces, maintain control throughout cuts, and disconnect power before changing blades or adjusting setups.
Professional Cutting Services
Manufacturers and distributors often offer custom cutting services for large projects. These services use precision equipment and experienced operators to produce accurate cuts efficiently. For projects requiring many identical cuts, factory cutting may prove more economical than site work.
Custom cutting services typically require detailed drawings indicating all dimensions and angles. Providing clear documentation ensures accurate production and reduces callbacks for incorrect cuts.
Lead time for custom cutting varies by provider but typically ranges from a few days to two weeks depending on order volume and complexity. Factor this time into project schedules.

Storage and Handling of Cut Pieces
Protect cut beams from damage and dust accumulation before installation. Original packaging or plastic sheeting keeps pieces clean. Store in temperature-controlled environments to prevent moisture exposure that could affect finishing.
Organize cut pieces by location to simplify installation. Label pieces with room identifiers and orientation notes to prevent confusion during busy installation phases.
Handle cut pieces with the same care as factory-finished products. Edges and corners remain vulnerable to impact damage until permanently installed.
Technical References
ASTM standards cited in every specification
Test Data
Lab results from internal testing program
Updated 2026
Reviewed against current product specs