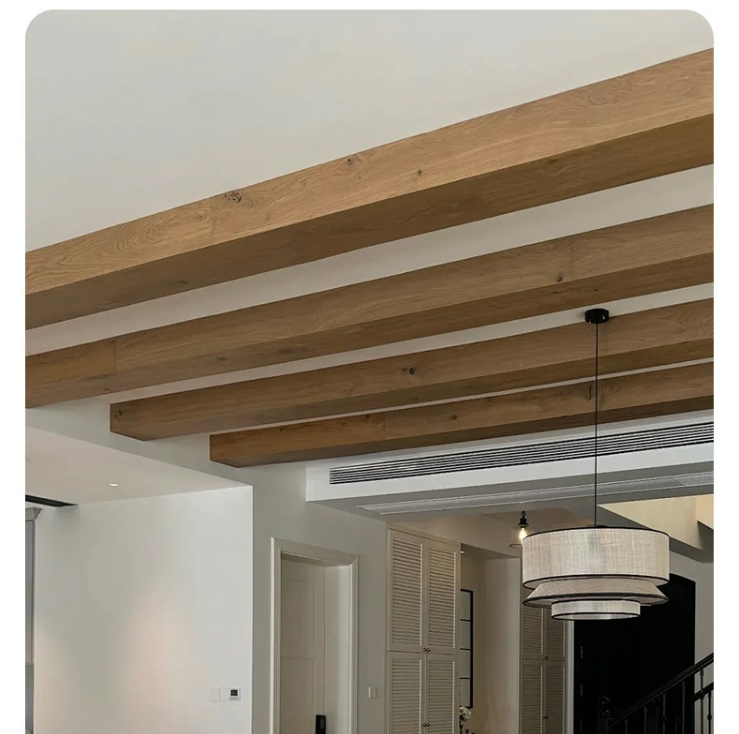
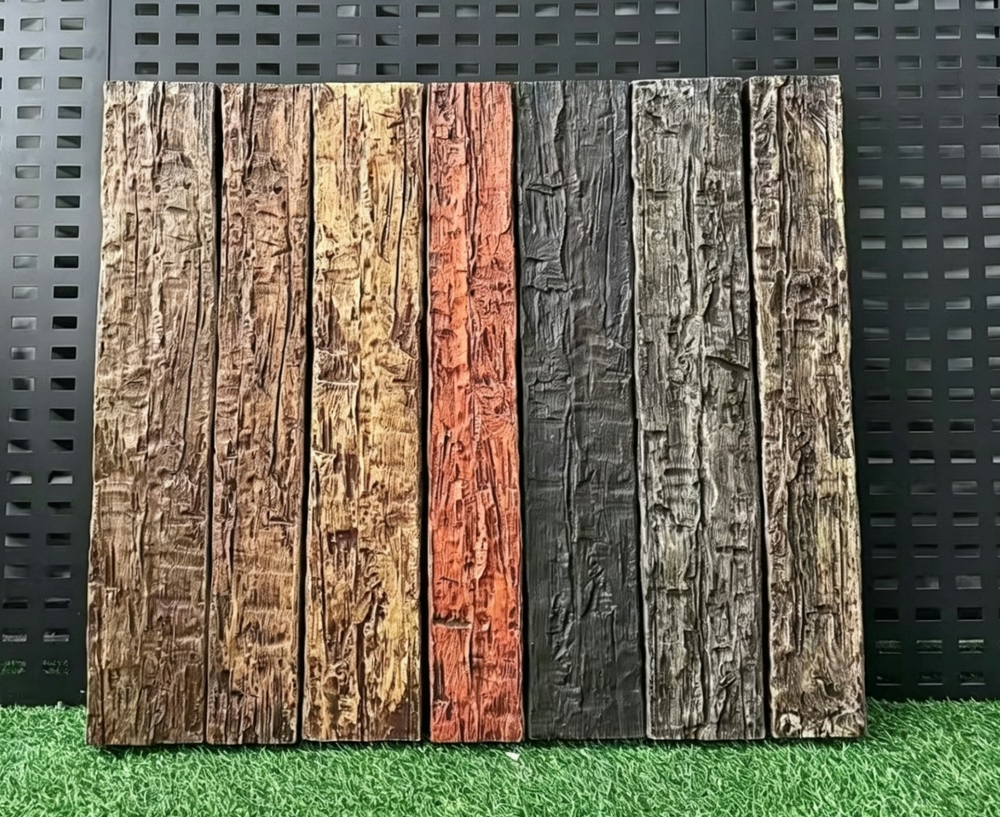
Beginner DIY Guide to Building Faux Wood Ceiling Beams at Home
Embarking on your first faux wood ceiling beam installation represents an achievable weekend project that delivers permanent architectural upgrade to your living space. This guide walks through the complete process from planning through final touches, assuming no prior construction experience while delivering professional-quality results that enhance your home's value and visual appeal.
Planning your installation begins with measuring ceiling spans and determining beam placement. Most residential applications benefit from beams running perpendicular to ceiling joists, which simplifies mounting while maximizing visual impact. Sketch your room dimensions, note any obstacles like light fixtures or ceiling vents, and plan beam positions that create balanced visual compositions. Standard beam spacing of 32 to 48 inches on center produces pleasing proportions in most room sizes.
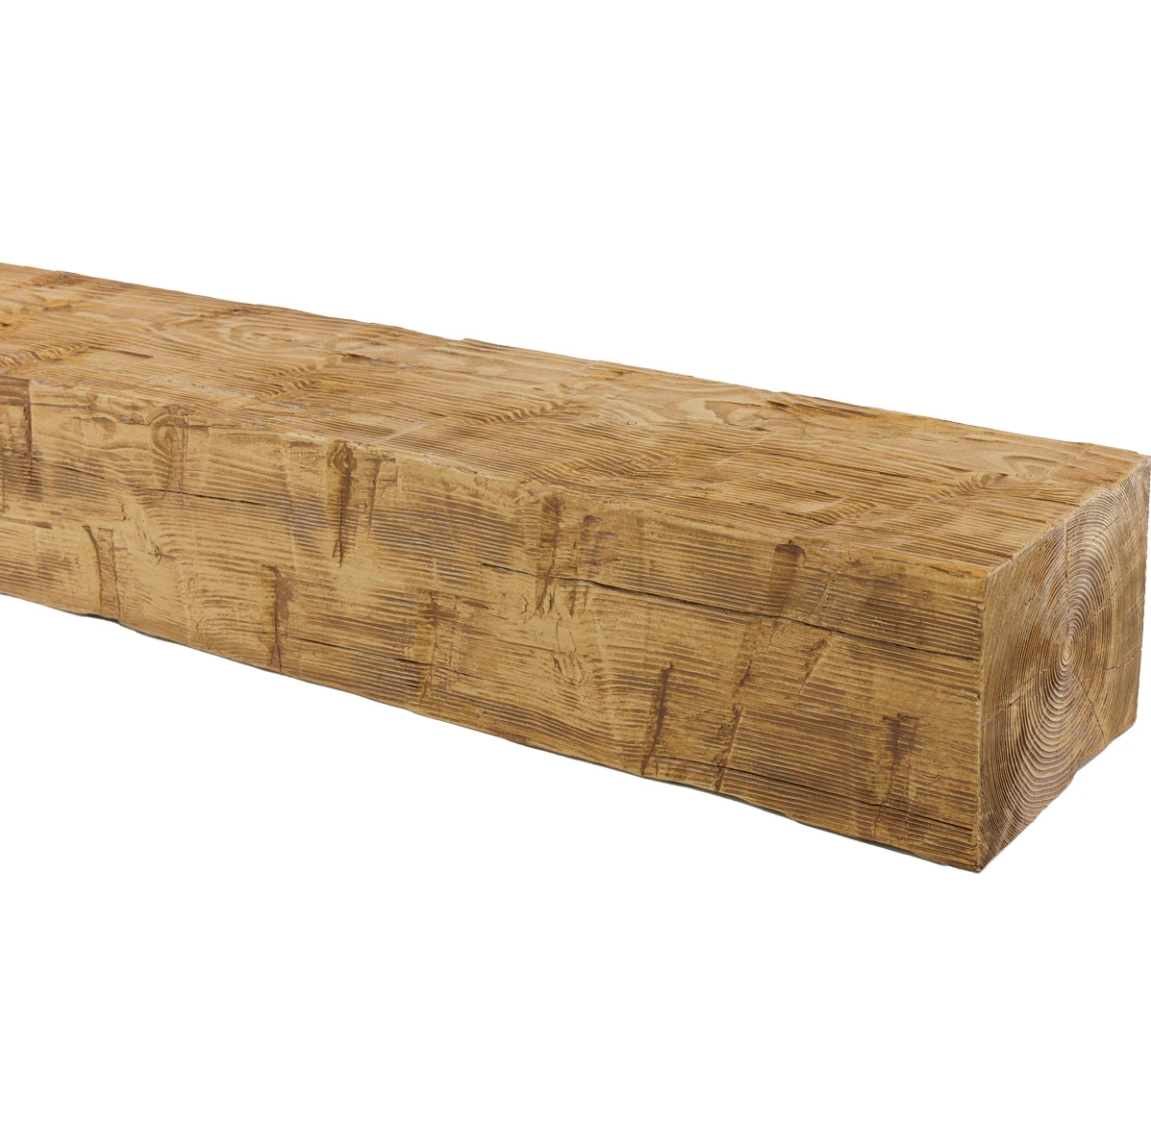
Selecting appropriate beam dimensions depends on room scale. Larger rooms with ceiling heights exceeding nine feet accommodate deeper beams—10 to 12 inches—without crowding. Modest rooms with standard eight-foot ceilings suit shallower profiles of 6 to 8 inches that add presence without overwhelming space. Width typically ranges from 4 to 8 inches, with wider beams creating bolder statements.
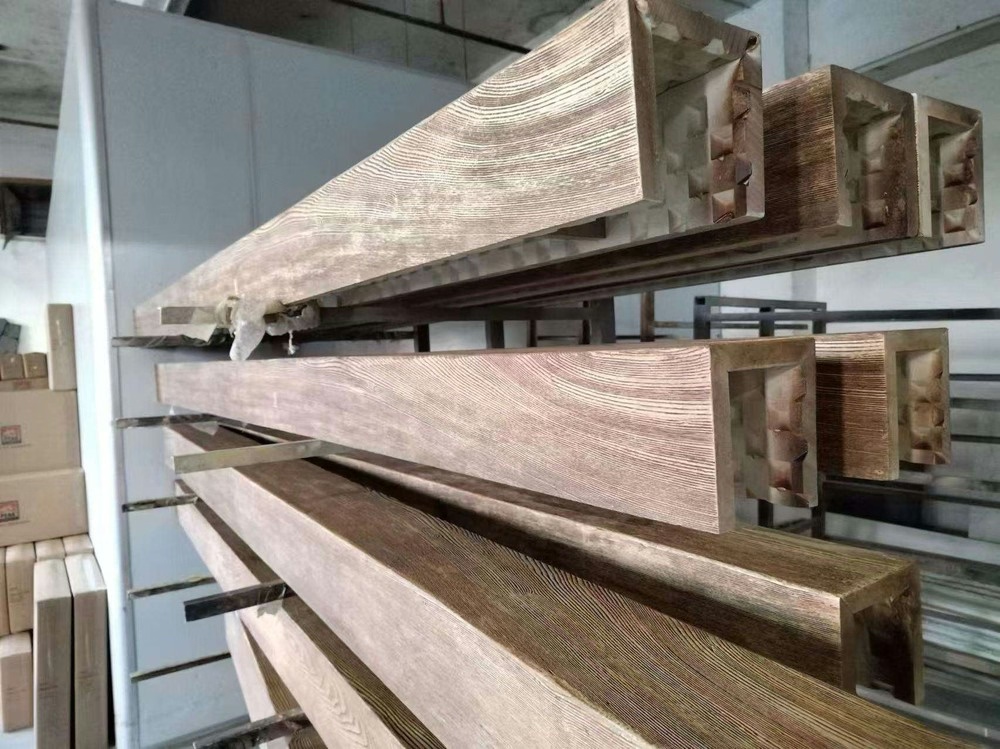
Gathering materials requires attention to mounting hardware alongside beam purchases. Faux beam kits typically include mounting brackets designed for specific beam profiles—ensure your order includes appropriate hardware for your ceiling construction type. You'll need a stud finder, level, drill, screwdrivers, measuring tape, and caulking supplies alongside the beam products themselves.
Surface preparation ensures lasting installation. Clean ceiling surfaces of dust, loose paint, or debris. Mark joist locations identified by your stud finder, verifying with exploratory drilling through scrap wood before committing to full installation. Accurate joist marking prevents mounting failures when beams are attached.
Installation proceeds from center outward, establishing reference lines that guide subsequent beam positioning. Following manufacturer-provided instructions for bracket installation, beam attachment, and joint treatment completes the physical installation process.
Technical References
ASTM standards cited in every specification
Test Data
Lab results from internal testing program
Updated 2026
Reviewed against current product specs