Beginner-Friendly DIY Faux Wood Ceiling Beam Installation Tutorial
Installing faux wood ceiling beams delivers maximum visual impact per dollar invested in home improvement. This tutorial provides complete installation guidance for first-time installers, walking through each phase from measurement through final inspection with detailed explanations that build your understanding alongside your completed project.
Understanding your ceiling structure guides installation planning. Residential ceilings typically feature wooden joists at 16 or 24-inch intervals, supporting overhead weight while providing attachment points for ceiling-mounted items. Faux beam mounting brackets must engage these structural members for secure installation. Your stud finder locates joists by detecting the denser wood material through ceiling finishes.
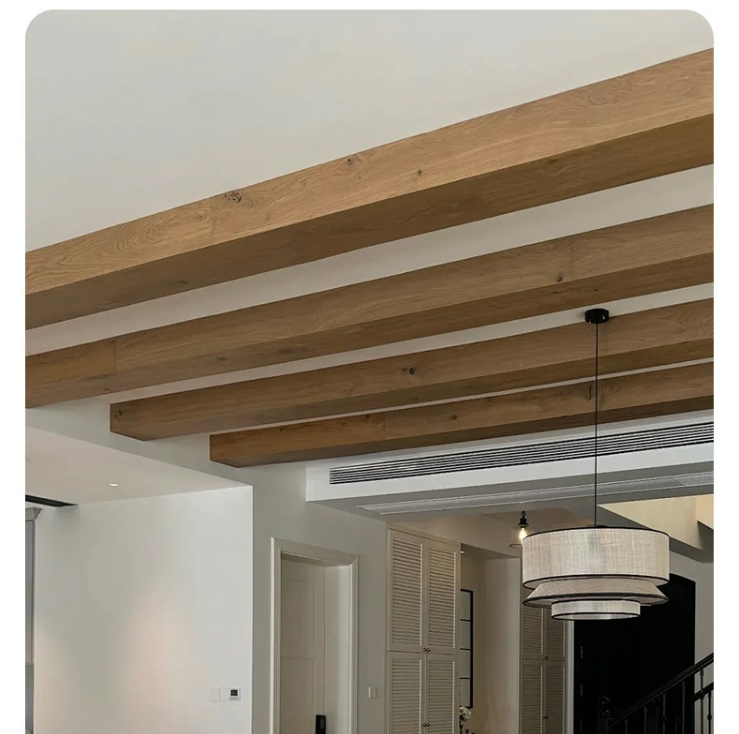
Determining optimal beam spacing involves balancing visual impact against proportionality. Wider spacing creates bold, dramatic statements suitable for large rooms with high ceilings. Tighter spacing produces a more traditional coffered ceiling effect that works well in modest spaces. Most residential installations fall between 32 and 48 inches on center—experiment by temporarily positioning cardboard templates before committing to final positions.
Beam size selection relates directly to ceiling height. As a general guideline, beam depth should approximately equal one-twelfth of ceiling height—8-inch beams for 8-foot ceilings, 10-inch beams for 10-foot ceilings, and so forth. This proportion maintains visual balance without beams appearing oversized relative to room dimensions.
Beginning installation at the room center establishes reference geometry for subsequent beams. Mark center points on opposite walls, snap chalk lines connecting these points, and position your first beam along this centerline. Subsequent beams install parallel to the center beam, maintaining consistent spacing throughout.
Corner and wall intersections require mitered cuts for clean appearances. A 45-degree miter on beam ends allows perpendicular beam runs to meet cleanly at corners. Practice cuts on scrap material before cutting finished beams, adjusting angles as needed for precise fit.
Joint treatment between beam sections demands attention for seamless appearance. Where beams must span longer distances than single-piece lengths allow, position splices over bracket locations where mounting hardware provides structural support. Use wood-colored wood filler to conceal seams after installation.
Final inspection verifies quality before considering the project complete. Check each beam for levelness, secure attachment, and consistent spacing. Address any visible gaps, misalignments, or surface damage before declaring the installation finished.
Technical References
ASTM standards cited in every specification
Test Data
Lab results from internal testing program
Updated 2026
Reviewed against current product specs