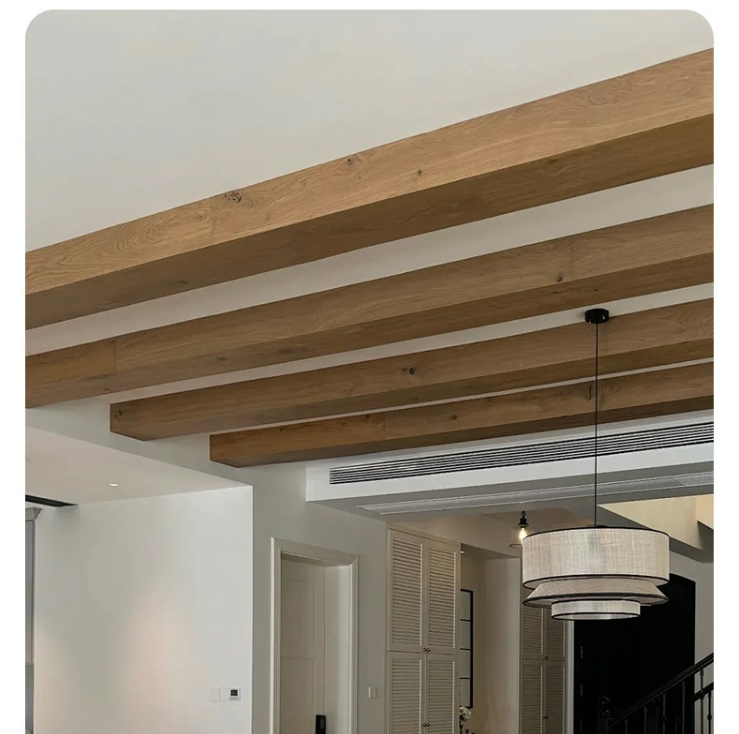
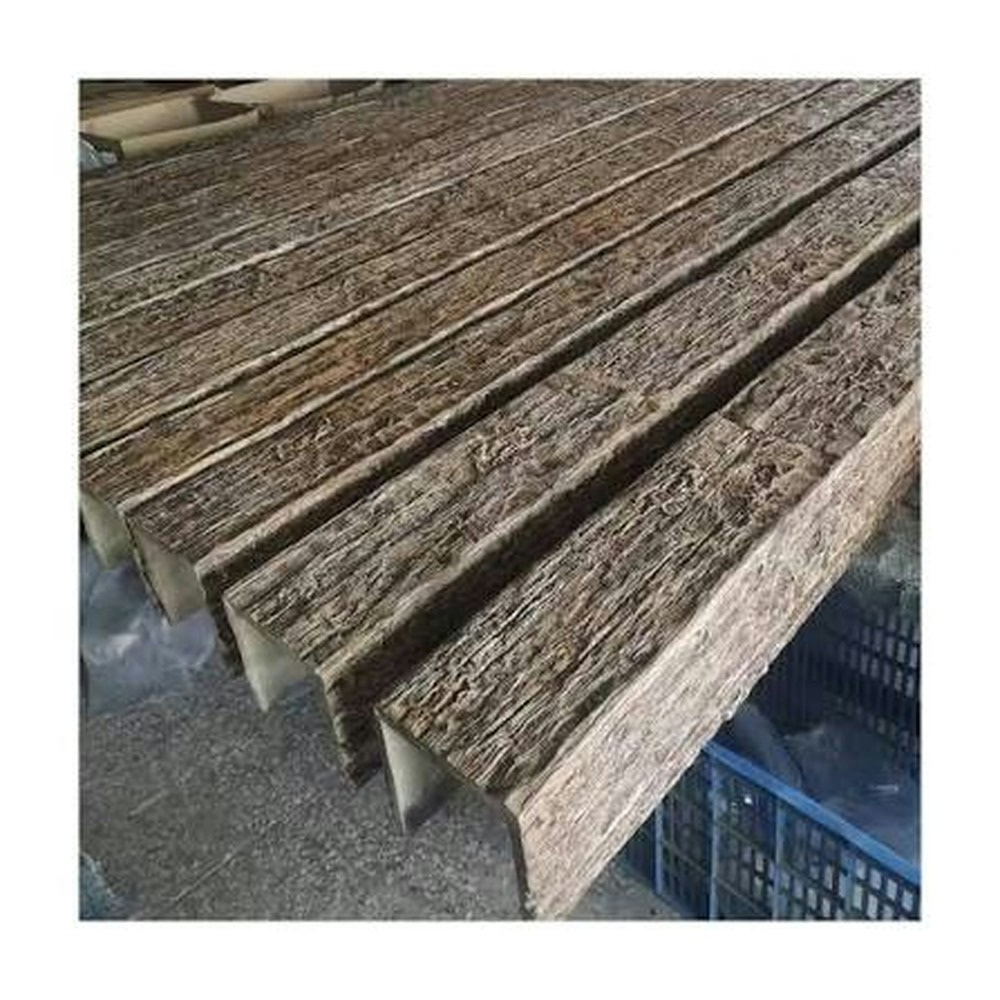
Bracket-Mounted Installation Polyurethane Faux Timber Ceiling Beams
Bracket-mounted installation systems represent the most common approach for attaching polyurethane faux timber beams to ceiling structures, offering secure attachment while maintaining the clean, floating appearance that makes faux beams visually appealing. Understanding bracket mounting principles, hardware options, and installation best practices enables successful beam installations that perform reliably over decades of service.
Bracket Mounting Philosophy: Bracket systems work by transferring beam weight to structural ceiling elements through concealed steel hardware while maintaining clean lines between beam and mounting surface. Properly installed bracket systems support full beam weight without visible mounting hardware, creating the illusion that beams float magically from ceiling surfaces. This aesthetic outcome requires precise installation positioning and quality hardware.
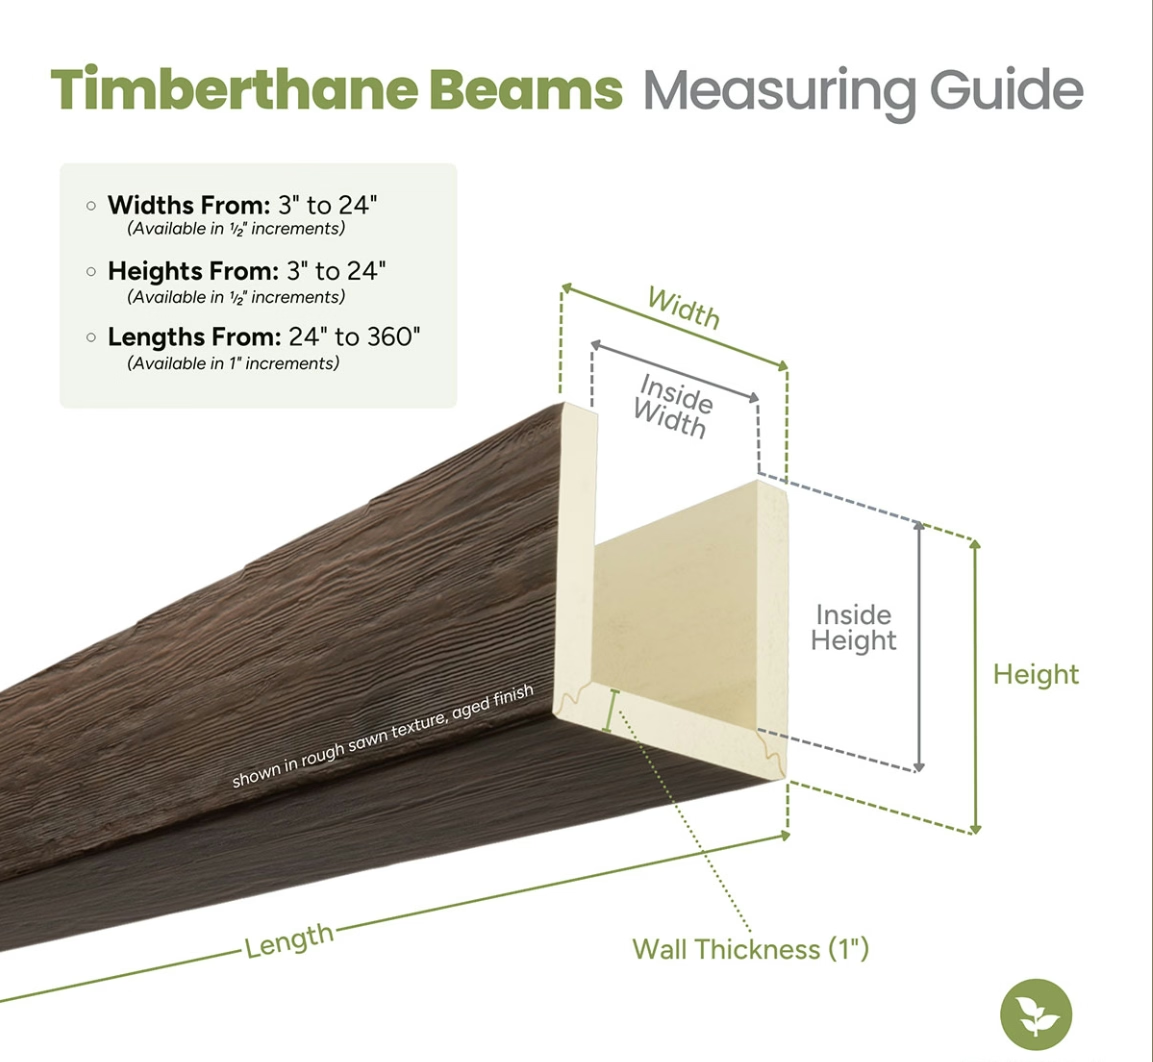
Hardware Components: Typical bracket mounting systems include ceiling plates welded to vertical threaded rods, beam carriers that engage beam hollow interiors, and connecting hardware that links ceiling plates to carriers. Materials range from zinc-plated steel for interior applications to stainless steel for humid or coastal environments. Hardware load ratings must exceed actual beam weight by minimum 4:1 safety factor.
Installation Sequence: Professional installations follow established sequences ensuring accuracy and security. First, ceiling structure is located and marked for mounting point positions. Ceiling plates get fastened to structural elements using appropriate fasteners for substrate type. Threaded rods get adjusted to achieve precise beam height. Beam carriers get positioned within beam cavities at mounting points. Finally, beams get lifted into position with carriers engaging threaded rods, then secured with locking hardware.
Ceiling Substrate Considerations: Mounting substrate strength determines acceptable beam sizes and mounting point spacing. Wood joist ceilings accept standard lag screws into joist framing. Concrete ceilings require drilled anchors or epoxy-set inserts. Steel beam substrates accommodate welded or clamped connections. Metal deck ceilings may require supplementary blocking or special hardware. Substrate assessment before beam selection prevents installation failures.
Span and Support Planning: Unsupported beam spans create deflection that stresses mounting hardware and may cause visible sagging over time. Maximum unsupported span depends on beam profile weight and mounting bracket spacing. General guidance suggests support points at maximum 1800mm intervals for standard profiles, reducing interval spacing for heavier XL beams. Engineering consultation recommended for spans exceeding 2400mm.
Access for Services: One advantage of bracket-mounted hollow beams involves potential for concealing electrical wiring, low-voltage cables, and HVAC ductwork within beam cavities. This access requires coordination during installation planning, with service routes mapped before ceiling plates get fastened. Beam cavities not used for service access may be sealed with spray foam to prevent dust accumulation and pest intrusion.
Maintenance and Inspection: Bracket-mounted installations should undergo periodic inspection to verify continued secure attachment. Inspection frequency depends on building movement patterns, with high-traffic commercial buildings warranting annual checks. Visual inspection can identify gaps between beams and ceilings indicating hardware loosening. Prompt attention to observed issues prevents potential beam dropping incidents.

Technical References
ASTM standards cited in every specification
Test Data
Lab results from internal testing program
Updated 2026
Reviewed against current product specs