Elegant Victorian Style PU Faux Wood Beams for Classic Luxury Homes
A Victorian parlor without ceiling beams feels wrong. The architecture of the late nineteenth century was about visible craftsmanship, and the ceiling was where a wealthy homeowner showed that craftsmanship most clearly. Beams weren't hidden behind plaster. They were carved, painted, and proud.
Replicating that aesthetic in modern luxury homes requires a material that can hold fine detail and take period-appropriate finishes. Polyurethane faux wood beams do both, and they do it without the structural headaches that come with authentic Victorian timber.

What Made Victorian Ceilings Distinct
The Victorian era covered several decades of style evolution, but the throughline was decorative abundance. Ceilings featured bold contrasts, applied ornament, and a sense that no surface should be left plain.
Structural Honesty Became Decoration
In early Victorian homes, builders still exposed the actual roof structure. Floor joists and rafters did their job and remained visible. As the century progressed, even new construction imitated this look with applied trim and decorative beams that carried no load. The romance of exposed structure was more important than the engineering reality.
This is good news for modern designers using PU faux beams. You aren't pretending a beam holds up a roof. You're deliberately evoking the visual language of an era when ceilings were canvases.
Layered Profiles and Applied Ornament
Victorian ceilings rarely stopped at a single beam. They featured:
- Primary beams running in one direction
- Cross beams or smaller joists perpendicular
- Decorative corbels or brackets where beams met walls
- Applied moldings, often painted in contrasting colors
- Sometimes patterned ceilings between the beams
A well-designed Victorian-style ceiling has hierarchy. The largest elements set the structure. Smaller elements create texture. Paint and ornament bring everything to life.
Why PU Works for Victorian Detailing
Solid timber can absolutely do Victorian detailing. Old houses all over the world still have original carved beams in remarkable condition. The problem isn't whether wood can deliver the look. The problem is what wood demands in return.
Carving and Repetition
Carving a Victorian-style corbel by hand is a craft that takes years to master. A skilled woodcarver can produce a few dozen corbels per month at significant cost. PU resin corbels come out of a mold with the same detail on piece one and piece one thousand. For a luxury home that needs matching corbels every few feet across multiple rooms, this consistency is invaluable.
The same principle applies to beam profiles. Victorian designs often featured complex stepped profiles with multiple beads and reveals. Molding these in PU is straightforward. Molding them in solid timber requires either expensive millwork or skilled hand-shaping.
Weight in Tall Ceilings
Victorian homes tended toward generous ceiling heights. Ten-foot ceilings were common, and grand stair halls often went to sixteen feet or more. A solid oak beam at that scale weighs substantially. Running multiple parallel beams across a great room creates real structural questions about the existing ceiling assembly.
PU beams at the same visual scale weigh 80 to 90 percent less. They can be installed against standard ceiling framing or even attached directly to blocking between joists. The homeowner's tax records won't show that the ceiling was reinforced for a decorative project.
Finishing Takes Paint Beautifully
Victorian ceilings often featured painted beams rather than stained wood. White beams against a tinted ceiling, or vice versa, was a common scheme. Some designs went further, with stenciled patterns on the beam faces or gilded accents on the corbels.
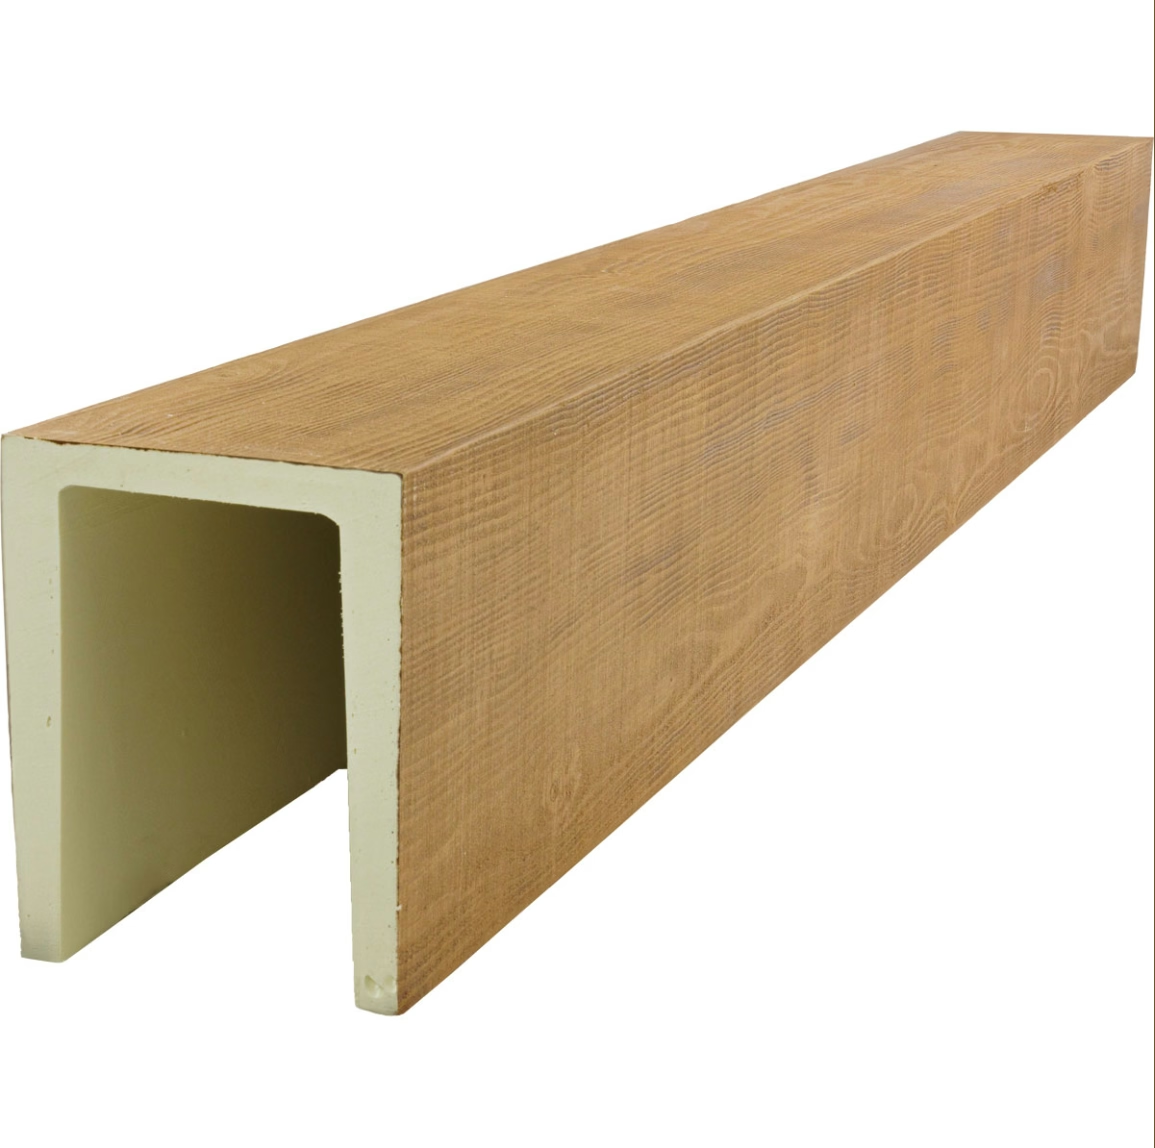
PU faux beams accept primer and paint just like fine furniture. The closed surface holds detail without bleeding resin into the finish. For installers and painters, working with PU feels similar to working with high-quality MDF, which most trades already know how to handle.

Design Patterns That Translate Well
Not every Victorian ceiling pattern works in a modern luxury home. Some look busy. Others feel like a period reenactment rather than a thoughtful design choice. The patterns below tend to read well across contemporary interpretations.
Coffered Grid with Painted Reveals
Create a grid of beams across the ceiling, with each coffer filled by a flat panel. Paint the panels a soft color and the beams in high-gloss white, or reverse that scheme with deep colored beams and pale panels. Add a small decorative element at each beam intersection.
This pattern works in dining rooms, libraries, and primary bedrooms. It adds rhythm without overwhelming furniture below.
Directional Beams with Decorative Corbels
Run beams in a single direction across a long room, with each beam supported by visible corbels at the walls. Choose corbels with Victorian-inspired curves and foliate details. Paint everything in the same tone so the structure reads as unified architecture rather than as decoration.
This pattern suits long galleries, hallways, and master suites with seating areas.
Stenciled Beams in Heritage Color Schemes
Take the structural beams of the home and apply stenciled patterns inspired by original Victorian designs. Foliate scrolls, geometric borders, and stylized flowers all translate well. The stencil work goes onto the beam face only, leaving the sides and soffit in a complementary tone.
This approach is more labor-intensive but produces a result that feels genuinely connected to the period.
Working With Restored and Reproduction Furniture
Victorian homes contain a mix of original family pieces, antiques, and newer furniture inspired by the era. The ceiling should relate to what's already in the room rather than competing with it.
If the dining table is a massive walnut piece from the 1880s, consider beams in a warm walnut tone that picks up the wood's depth. If the room leans toward painted mahogany furniture, consider beams that take paint cleanly so the ceiling can be finished in coordinating tones.
Pull color from the largest piece of fabric in the room and use it for either the beam or the coffer panels. That kind of careful reference makes the whole room feel intentional.
Installation Notes for Victorian-Style Layouts
Victorian ceiling designs involve more pieces than a simple beamed ceiling. Plan for installation time accordingly.
Pre-Assembly for Complex Patterns
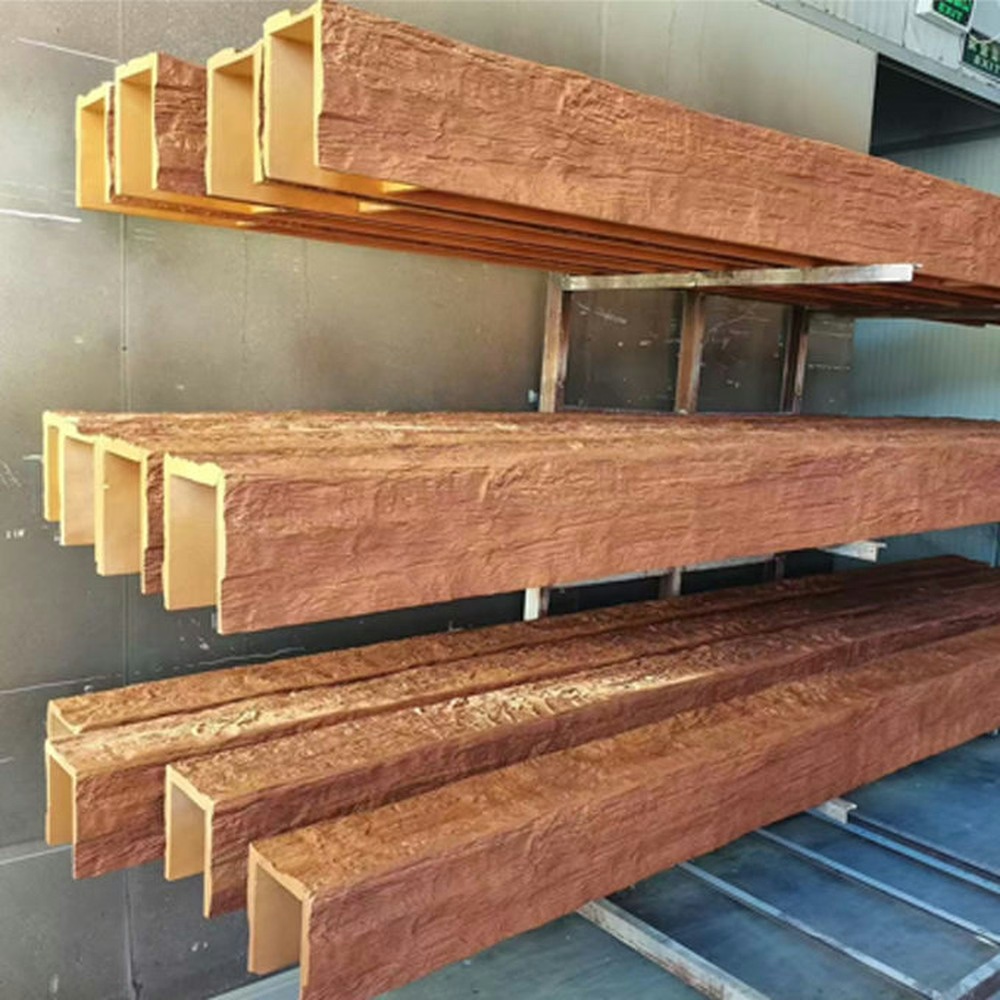
Where the design includes coffered grids or beam-and-corbel assemblies, pre-assemble sections on the floor before lifting them. Two installers can manage a 10-foot section that includes beams, perpendicular connectors, and corbels if those elements are joined at ground level. Lifting a fully assembled section into place against a ceiling requires careful staging but produces tighter joints.
Coordination With Plaster and Paint
Victorian-style ceilings usually involve multiple finish trades. The beam installation should happen before final plaster patching and after any electrical rough-in. Painters should be involved early so that color samples can be reviewed against the actual beam tones, not just on paper.
Allow time between beam installation and final paint for any caulking or filler work to cure. PU beams don't shrink or move with humidity the way real timber does, but the joints between beams and ceiling still benefit from a flexible caulk that can absorb minor building movement.
A Final Word on Authenticity
A Victorian-style ceiling done in PU faux beams will be authentic to the era's visual language without being authentic to its construction methods. That distinction matters less than designers sometimes assume. What matters is whether the finished room feels like a real Victorian interior, with all the warmth and craftsmanship that implies.
PU beams get you there without the weight, the cost, or the maintenance demands of solid timber. In luxury homes where every detail is scrutinized, that's not a compromise. It's a smart choice.
Technical References
ASTM standards cited in every specification
Test Data
Lab results from internal testing program
Updated 2026
Reviewed against current product specs


