
Installing faux timber beams as a DIY project is more accessible than most homeowners expect. The materials are lightweight, the tools are common, and the techniques are learnable from books and videos. What separates a DIY installation that looks professional from one that announces itself as amateur work is attention to detail in the planning and finishing stages. Get those right and the actual mounting goes smoothly.
The tips that follow assume a moderately handy homeowner with basic tools and some experience with projects like installing ceiling fans, mounting cabinets, or building simple structures. None of the techniques described require specialized equipment or advanced skills. They require patience, preparation, and willingness to redo a step if it is not right the first time.
The most important mindset for DIY beam installation is that slow and steady produces better results than fast and loose. Rushing leads to misalignment, missed steps, and finishing compromises that are visible in the final result. Taking time with each stage produces an installation that looks like professional work, which is the ultimate goal for any DIY project.
Planning your project carefully
Measure twice and order once is more than a cliché when it comes to faux beams. Measure the ceiling at the actual mounting height, in multiple locations along each planned beam run. Ceilings are rarely perfectly level, and walls are rarely perfectly parallel. The measurements you take determine the beam lengths you need, so accuracy matters.
Sketch your planned beam layout from above, showing the position of each beam, its length, and its relationship to walls, windows, and other architectural features. This sketch becomes your reference document throughout the project. Update it as you make decisions about bracket placement, joint locations, and end treatments.
Decide on the beam profile and finish before ordering. The profile (width and depth) affects the visual weight of the installation and the structural requirements for mounting. Heavier-looking profiles need more robust mounting. The finish should complement existing woodwork in the room, including floors, trim, doors, and cabinetry.
Calculate your beam quantity carefully, including waste allowance. Order 10 to 15 percent more than you think you need if your budget allows. The extra material covers mistakes, provides spare pieces for future touch-ups, and removes the pressure of having exactly enough. Trying to economize by ordering the exact calculated quantity often backfires when one beam is miscut or damaged.
Tools and materials to gather
Basic tools cover most of the installation. You will need a tape measure, level (4-foot minimum), stud finder, drill with appropriate bits, socket wrench or driver, caulk gun, and a fine-tooth saw for any field cuts. A laser level is helpful for ensuring multiple beams are at the same height but is not strictly necessary.
Safety equipment includes safety glasses, work gloves, and a dust mask. Drilling overhead produces debris that can fall into eyes. Cutting polyurethane produces fine dust that should not be inhaled. A simple pair of safety glasses and a dust mask costs a few dollars and prevents injuries that would derail the project.
Mounting hardware depends on your ceiling type. Drywall ceilings need heavy-duty toggle bolts or snap-toggle anchors. Plaster ceilings may require special masonry anchors. Concrete ceilings need hammer-drilled anchors rated for the load. Wood joist ceilings allow direct screwing into the framing. Match your hardware to your specific ceiling.
Finish materials include color-matched caulk, touch-up stain, and matching topcoat. Most beam manufacturers sell touch-up kits with everything needed. Buy the kit at the same time as the beams to have it ready when needed. Off-the-shelf wood fillers from the hardware store rarely match beam finishes properly.
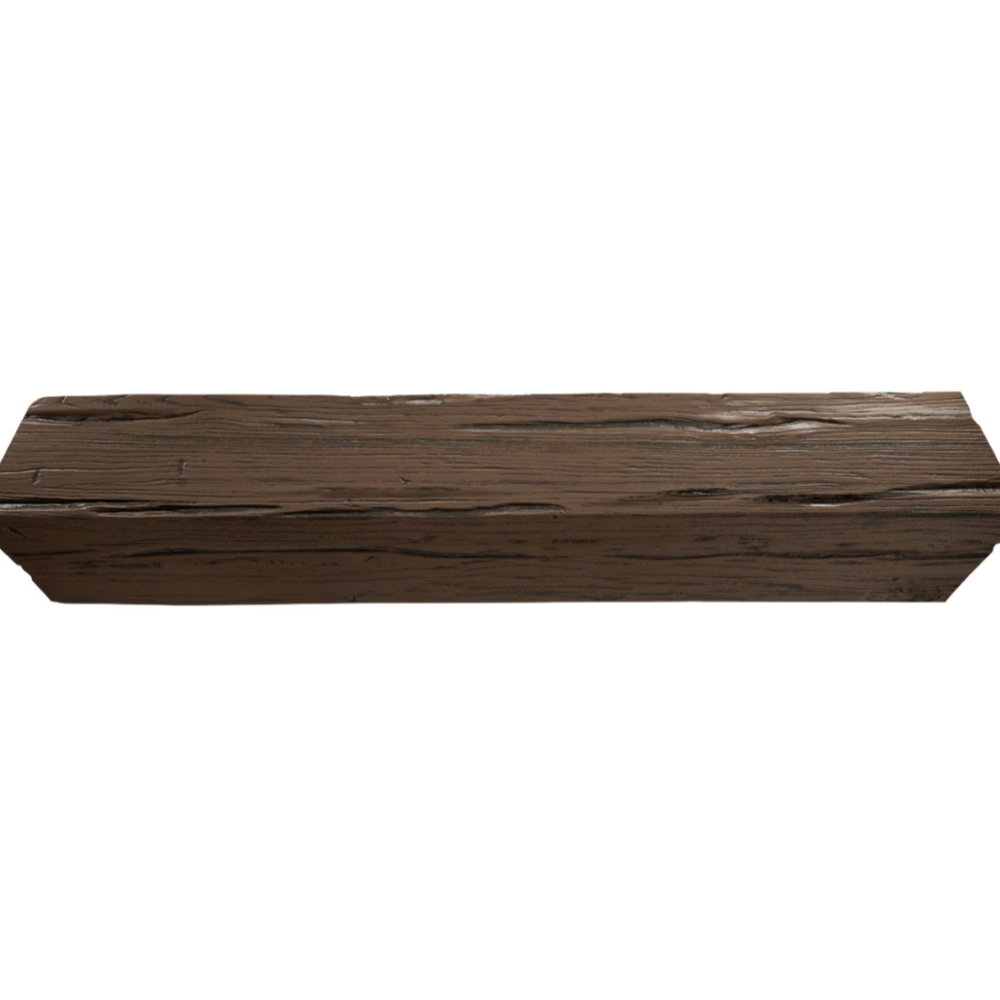
Preparing the installation space
Clear the room as completely as possible before starting. Move furniture to other rooms or cover it with plastic sheeting. Lay drop cloths on the floor to catch dust and debris. Remove or cover light fixtures, ceiling fans, and other items that might be damaged during installation.
Mark the ceiling where each beam will go. Use a chalk line or pencil marks to indicate the beam centerline. Double-check the marks by measuring from known reference points like walls or windows. Misalignment at this stage becomes misalignment in the finished installation, so take time to get the marks right.
Identify and mark ceiling joists or other structural elements. A stud finder locates wood framing behind drywall. Mark the joist locations with light pencil marks that will be hidden by the beams once installed. Knowing where the structural support is allows you to plan bracket locations that maximize holding power.
Plan your bracket locations before drilling. Brackets typically go within 6 to 12 inches of each beam end and at 24 to 36 inch intervals along the length. More brackets mean stronger installation but more drilling. Find the balance that provides adequate support without excessive work.
Mounting techniques that work
Pre-drill all bracket holes before installing any brackets. This approach lets you verify hole placement, adjust for unexpected obstructions, and ensure consistent hole sizing. Trying to drill and install brackets one at a time leads to inconsistencies that show up as alignment problems later.
Use the right drill bit for your anchors. The anchor manufacturer's specifications tell you exactly what bit size to use. A slightly undersized hole makes anchor insertion difficult. A slightly oversized hole prevents the anchor from gripping. Either error weakens the installation and may require relocating the bracket.
Install all brackets before hanging any beams. With all brackets in place, you can verify alignment, check for level, and make any necessary adjustments before the beams go up. Trying to hang beams as you install brackets makes it harder to spot alignment problems and correct them.
Lift beams onto brackets carefully. Even lightweight polyurethane beams are awkward to maneuver overhead, especially in longer lengths. Having a helper for the lifting and positioning step prevents damage to the beams and reduces the risk of dropping one on yourself. The beam does not need to be permanently attached until it is correctly positioned.
Secure beams to brackets with the hardware provided or recommended by the manufacturer. Some brackets use set screws that lock the beam in place. Others rely on the weight of the beam plus adhesive. Follow the manufacturer's installation guide for the specific bracket system you are using. Improvising the attachment method can lead to insecure beams.
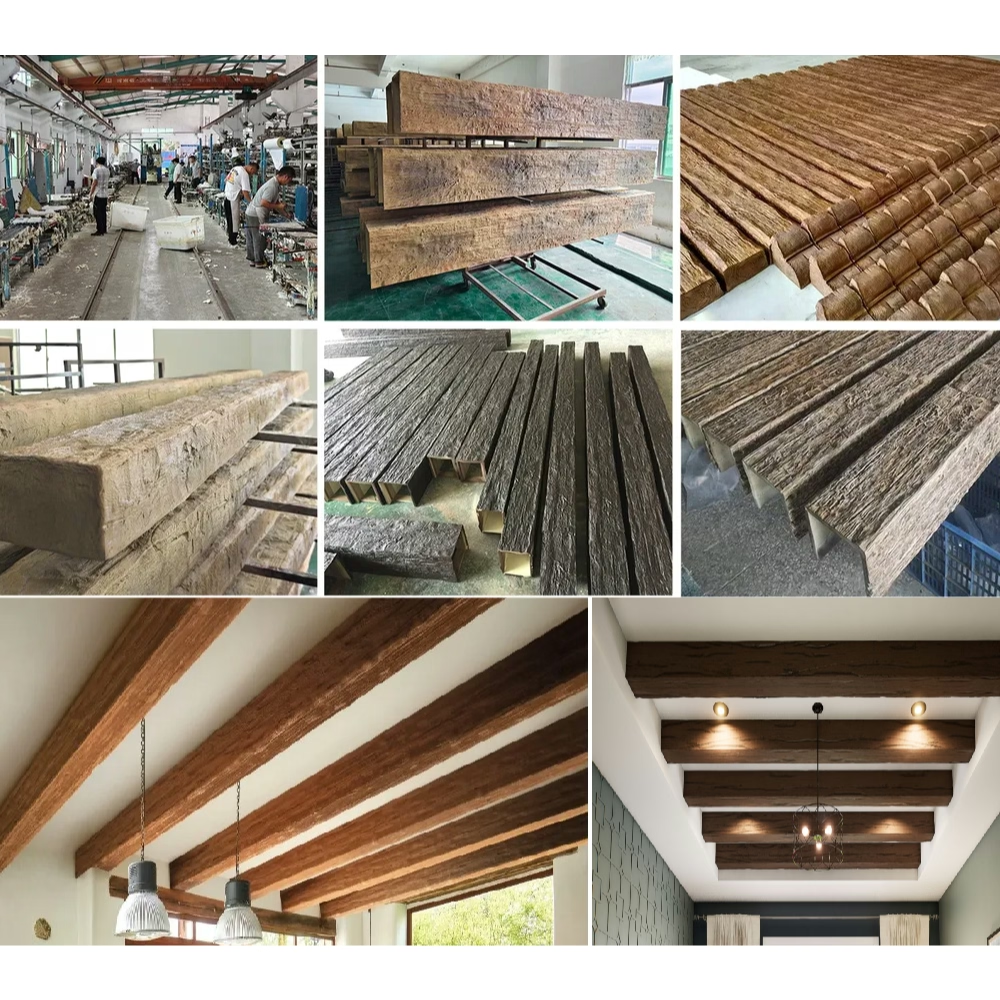
Cutting and fitting field modifications
Measure twice and cut once is essential for any field cuts. Polyurethane cuts cleanly with fine-tooth saws, but mistakes are expensive. Beams cut too short cannot be extended. Beams cut at the wrong angle produce gaps at joints. Careful measurement before cutting prevents most errors.
Use a fine-tooth saw for cutting polyurethane. A standard wood-cutting handsaw works, but a fine-tooth blade produces cleaner cuts with less chipping. A Japanese-style pull saw with very fine teeth is ideal. Power miter saws work well but produce more dust than hand cutting.
Support the beam on both sides of the cut line. Unsupported sections can break or chip as the saw completes the cut. A simple sawhorse setup or having a helper support the offcut side prevents damage. Cut slowly and let the saw do the work. Forcing the cut produces rough edges and can crack the polyurethane.
Finish cut ends immediately after cutting. The exposed polyurethane will start to oxidize and discolor within hours. Apply the manufacturer's recommended touch-up finish to cut ends as soon as the cut is complete. This prevents the visible darkening that develops on untreated cut surfaces.
Test-fit field cuts before final installation. A beam that fits perfectly when test-positioned should fit the same way when finally mounted. Any discrepancy between test-fit and final position indicates bracket alignment issues that need correction before the beam is permanently attached.
Finishing work that makes the difference
Caulk all joints between beams and between beams and walls. Even tight joints show hairline gaps that catch dust and become more visible over time. A thin bead of color-matched caulk, smoothed with a damp finger, disappears into the joint and creates a seamless transition. This single step dramatically improves the professional appearance of the installation.
Touch up all field-cut areas, screw heads, and any minor finish damage. The factory finish is consistent across the beam, but field work introduces small imperfections. Touch-up materials from the beam manufacturer match the original finish and blend invisible repairs. Keep a small brush and the touch-up kit handy throughout the installation.
Allow caulk and touch-up materials to cure fully before the final inspection. Most products need 24 hours to reach full cure. Inspecting too early can show the materials looking different than they will after curing. Patience at this stage prevents the premature judgment that leads to unnecessary rework.
Clean the beams gently after installation. Dust from drilling and cutting settles on beam surfaces during installation. A soft cloth or feather duster removes this dust without damaging the finish. Avoid wet cleaning for the first few days while finishes continue to cure.
Common DIY mistakes and how to avoid them
The most common mistake is inadequate structural support. DIY installers sometimes underestimate the loads that beams impose and choose anchors that are too light. When in doubt, choose heavier-duty anchors or add more brackets. The cost difference is small compared to the cost of a beam that comes down.
The second common mistake is poor layout planning. Beams that are not parallel to each other or to architectural features look obviously wrong. Time spent on careful layout marking pays off in the final appearance. If the layout does not look right on paper, it will not look right on the ceiling.
The third mistake is rushing the finishing stage. Caulking, touch-up, and cleaning are less exciting than mounting beams, but they are what make the difference between professional and amateur results. Budget time for finishing work and do not skip steps because the project is running long.
The fourth mistake is ignoring safety. Working overhead on a ladder or scaffold while handling long beams is inherently risky. Taking time to set up stable work platforms and having helpers for awkward lifts prevents injuries that would derail the project entirely. No beam installation is worth a trip to the emergency room.
The fifth mistake is trying to save money on the wrong things. Cheap anchors fail. Mismatched caulk looks bad. Off-brand touch-up materials do not blend. Investing in quality mounting hardware and finish products from the beam manufacturer ensures results that look professional. Saving money on these items is false economy.
When to call a professional
Some situations genuinely require professional installation. Complex ceiling geometries, very long spans, integration with structural elements, or projects requiring electrical work connected to the beams may exceed reasonable DIY scope. Recognizing these situations before starting prevents the frustration of a project that has to be abandoned halfway through.
Historic homes with plaster ceilings, lath construction, or other non-standard building methods often require professional techniques. The ceiling may not accept standard anchors, and finding adequate structural support can be challenging. A contractor experienced with older homes can navigate these issues efficiently.
Commercial installations or projects requiring code compliance should generally use professional installers. The documentation, inspection, and liability considerations are different from residential DIY work. Professionals understand the requirements and can ensure that installations meet applicable codes.
If you find yourself stuck partway through a DIY installation, calling a professional to finish the project is not failure. It is good judgment. Most contractors are willing to take over a partially completed project, and their expertise can resolve issues that have you stumped. The cost of professional finishing is usually less than the cost of redoing botched DIY work.
Technical References
ASTM standards cited in every specification
Test Data
Lab results from internal testing program
Updated 2026
Reviewed against current product specs


