
A faux beam installation can be structurally perfect and still look wrong if the joints are visible. The human eye is remarkably sensitive to discontinuities, and a hairline gap at a beam joint or a slight step where two beams meet catches attention immediately. The gap between intention and reality in amateur work is usually not in the mounting. It is in the joint treatment.
Professional finishers spend as much time on joints as they do on the beams themselves. The techniques are straightforward and require no special skills, but they demand patience, the right materials, and willingness to redo if the first attempt is not perfect. Get the joints right and the installation reads as a continuous timber ceiling. Get them wrong and every viewer knows exactly where the beams start and stop.
The underlying principle is simple: make the joint transition gradual rather than abrupt. An abrupt transition, even a tiny one, reads as a gap. A gradual transition, created by filling and feathering with flexible materials, becomes invisible. The techniques that follow are all variations on this principle.
Understanding why joints show
Joints show for several reasons, all of which need to be addressed for invisible results. Dimensional variation between beams creates slight gaps or steps at joints. Manufacturing tolerances allow small differences in width, depth, and straightness between beams, even in the same production run. These differences accumulate when multiple beams are joined.
Lighting direction amplifies joint visibility. Light raking across the ceiling at a shallow angle casts shadows into gaps that are invisible under direct overhead light. Beams that look perfect during the day may show obvious joints under evening lighting or when a flashlight beam rakes across them. Testing joint treatment under multiple lighting conditions reveals problems that single-direction inspection misses.
Differential movement between beams after installation can open up joints that were tight when the work was completed. Temperature and humidity changes cause beams to expand and contract slightly, and if the joint treatment is rigid, it cracks and separates. Flexible joint materials accommodate this movement without cracking.
Surface finish differences between adjacent beams make joints visible. If one beam has slightly more sheen than its neighbor, the boundary reads as a joint even when the physical connection is seamless. Finishing all beams in a project with the same technique and materials before installation prevents this problem.
Joint types and their challenges
Beam-to-beam joints in long runs are the most common joint type. Two beams meeting end-to-end create a joint that must be filled, finished, and made invisible. The challenge is that the joint runs across the full width of the beam, and any imperfection is visible over its entire length.
Corner joints present different challenges. Beams meeting at right angles create complex geometry where the joint is three-dimensional rather than linear. The joint must be filled and finished where the faces meet, where the ends meet, and where the surfaces transition around the corner.
Beam-to-wall joints create a different challenge. Here the joint runs along the entire length of the beam rather than across a limited span. Any imperfection repeats along the full length, which amplifies its visibility. Getting this joint right requires consistent technique applied over the entire run.
Beam end caps create joints that can be obvious if not handled carefully. The joint between the beam body and the end cap face is a potential failure point. The end cap must fit snugly, be fully seated, and be finished consistently with the surrounding surface.
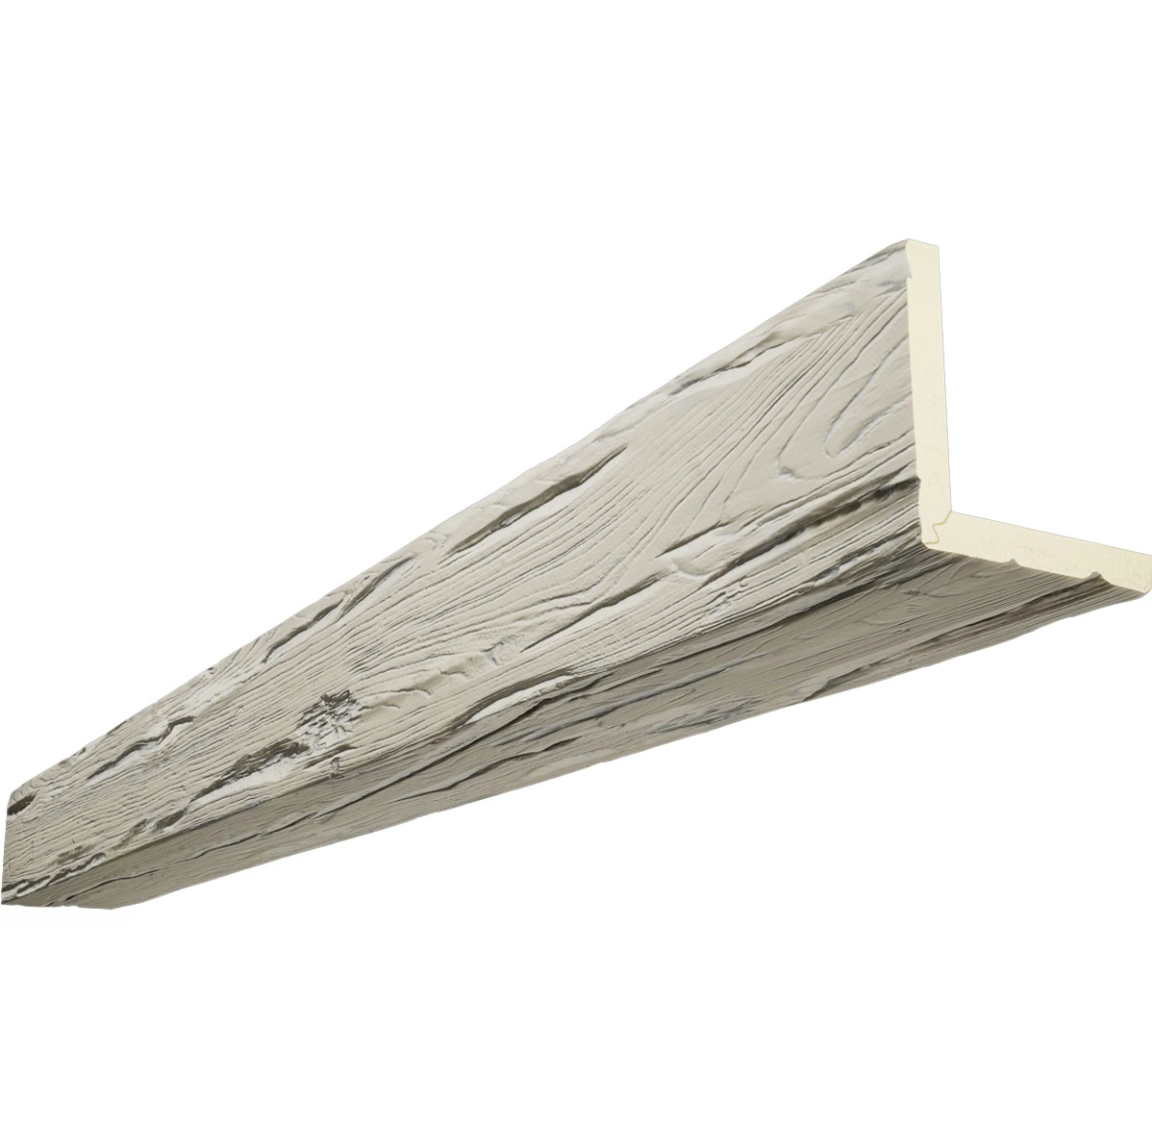
Material selection for joint treatment
Color-matched caulk is the workhorse of joint treatment. The best products are paintable acrylic latex caulks that accept stain and finish. They remain flexible after curing, which accommodates the small movements that occur as beams expand and contract with temperature changes. They clean up with water while wet, which simplifies application and cleanup.
Wood filler comes second in the toolkit. For gaps wider than about 3 millimeters, caulk alone may sag or shrink. A two-part wood filler or a stainable wood putty fills larger gaps effectively. The filler must accept stain if the beam finish includes stain, or match the base color of the beam if clear topcoat is used.
Touch-up stain and glaze from the beam manufacturer address color differences at joints. Even when the joint itself is filled and invisible, the joint area may have slightly different color than the surrounding surface due to the filler absorbing finish differently. The manufacturer's touch-up products are formulated to match the original finish.
Clear matte topcoat seals the joint treatment and ensures that the joint area matches the surrounding surface in sheen. The topcoat from the beam manufacturer or the recommended equivalent should be applied to all joint treatment areas once the filler and stain have cured.
Step-by-step joint treatment process
Start by cleaning the joint area thoroughly. Remove all dust, debris, and any loose material from the joint gap and surrounding surfaces. A vacuum with a crevice tool attachment works well, followed by wiping with a slightly damp cloth. Let the area dry completely before applying any filler or caulk.
Fill large gaps (3mm or wider) with wood filler before applying caulk. Press the filler firmly into the gap, overfilling slightly to allow for shrinkage as it cures. Allow the filler to cure fully per the manufacturer's instructions before proceeding. Sand any excess filler flush with the surrounding surface using fine sandpaper (220 grit or finer).
Apply color-matched caulk to the joint, slightly overfilling the gap. A caulk gun with a fine-cut nozzle gives good control. Apply steady pressure while moving smoothly along the joint to produce a consistent bead. The caulk should bulge slightly above the joint level before tooling.
Tool the caulk immediately after application. A damp finger, a plastic spoon, or a specialized caulk tool works. The goal is to push the caulk into the gap while creating a concave profile that will disappear into the joint when finished. Wipe excess caulk from the tool frequently to prevent smearing.
Allow the caulk to skin over (usually 15 to 30 minutes) before applying finish. The caulk should not be fully cured, but should not be tacky. Apply a thin coat of touch-up stain or glaze to blend the caulked area with the surrounding surface. Multiple thin coats blend better than one thick coat.

Special techniques for challenging joints
For beam-to-beam joints in prominent locations, some finishers apply a piece of scrim or fiberglass tape over the joint before the first coat of finish. The tape bridges the joint and provides a surface for the finish to grip, reducing the risk of the joint treatment cracking over time. The tape should be thin enough to disappear under the finish.
Corner joints benefit from a backer rod technique. A foam backer rod pressed into the joint behind the caulk provides support for the caulk and reduces the amount of material needed. The backer rod also ensures that the caulk adheres only to the sides of the joint rather than the bottom, which allows for proper flexible movement without cracking.
End cap joints are best addressed by ensuring a tight fit before the beam is mounted. If the end cap gap is visible before mounting, the cap should be adjusted, shimmed, or replaced to achieve a tight fit. Trying to fill a large gap at the end cap with caulk produces a visible ridge that never looks right.
For beams that will be painted, a different approach works. A thin strip of paper tape pressed into wet caulk and then painted over creates a virtually invisible joint. The paper bridges the joint and provides a surface that accepts paint identically to the surrounding beam surface. This technique works only if the beams will be painted a solid color that matches across the joint.
Quality checking before declaring done
Test joints under multiple lighting conditions before considering the work complete. Check the joints in direct light, under raking light from a flashlight held near the wall, and from normal viewing positions across the room. Joints that are invisible from one angle may show from another.
Run a finger along each joint to check for any ridges or steps. The finger is more sensitive than the eye to subtle imperfections. Any raised edge or depression indicates an area that needs additional finishing. Mark these areas with a pencil and address them before final topcoat application.
Check joint treatment from the normal viewing height and from below on your knees, simulating how a seated person sees the ceiling. Joints that look perfect when you are standing and looking up may be obvious to someone sitting below. The most critical viewing position is the one the room's occupants will actually experience.
Allow adequate cure time before final inspection. Joint treatment materials continue to shrink and harden for 24 to 48 hours after application. A joint that looks perfect immediately after finishing may develop hairline cracks as materials cure. Scheduling final inspection for the day after completion catches these issues before the project is officially complete.
Preventing future joint problems
Ensure adequate ventilation in the installation space during and after installation. Polyurethane and finishing materials release moisture during cure, and good airflow helps this process complete evenly. Poor ventilation can cause finishing materials to cure unevenly, which shows up as sheen differences in the joint area.
Maintain stable temperature and humidity in the space after installation. Rapid changes in temperature or humidity cause beams to expand and contract, which stresses joint treatment. Keeping the space at normal living conditions helps the materials stabilize and reduces the risk of future joint cracking.
Inspect joints annually as part of routine home maintenance. Catching and addressing minor joint separation early prevents it from becoming obvious. Small touch-ups cost little and prevent the gradual degradation that eventually requires complete re-caulking.
Avoid hanging heavy items from beams or applying unexpected loads. Faux beams are decorative, not structural, and adding unexpected weight can cause movement that stresses joints. If lighting or other items need to be hung from the beam area, plan for proper structural support rather than relying on the beam itself.
When joint problems indicate deeper issues
Visible joints after proper treatment may indicate dimensional instability in the beams themselves. If beams are expanding and contracting significantly with seasonal humidity changes, joint treatment will fail repeatedly. This is rare with quality polyurethane beams but can occur with inferior products.
Uneven joints across multiple beams may indicate structural movement in the building. If the ceiling structure is moving, beams will shift relative to each other and to walls. Joint treatment cannot compensate for structural movement. A contractor or structural engineer should assess the building before additional finishing work.
Persistent joint cracking despite proper treatment may indicate moisture issues in the installation space. Excess humidity causes beams and finishing materials to expand and contract, which stresses joints. Addressing the moisture source resolves the joint problems. A dehumidifier or improved ventilation often helps.
If joints continue to show despite expert treatment, consider whether the beams themselves are the issue. Dimensional variation between beams from the same production run is a quality problem. A claim to the manufacturer may be appropriate if the beams consistently do not fit together properly. Document the issues with photos and measurements to support any warranty claim.
Technical References
ASTM standards cited in every specification
Test Data
Lab results from internal testing program
Updated 2026
Reviewed against current product specs


