Quantity take-off — the process of determining exact material requirements from project plans — separates professional procurement from amateur guessing. Under-ordering creates project delays while waiting for restocking. Over-ordering creates inventory costs and return hassles. Systematic take-off methodology produces accurate requirements that enable efficient ordering, predictable budgets, and smooth project execution.
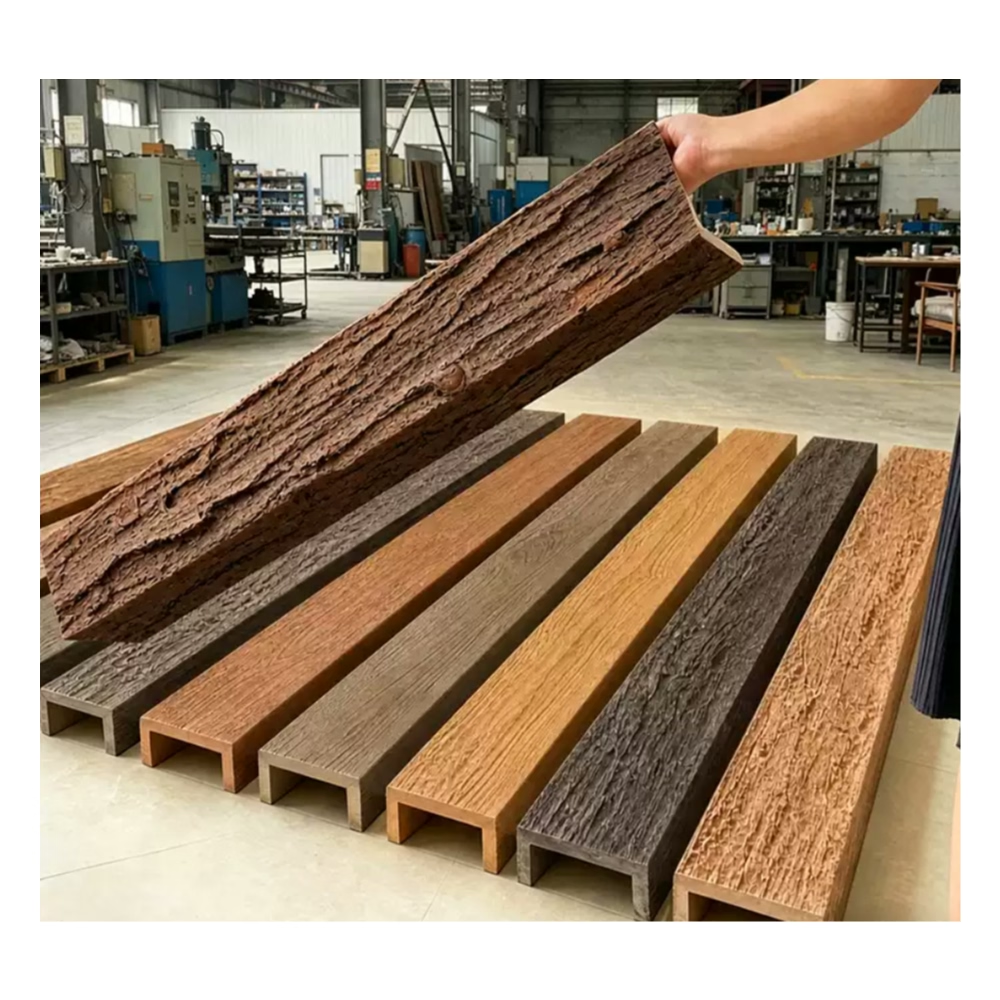
For faux timber beam projects, quantity take-off involves more than simply measuring room dimensions. Beam orientation, layout pattern, end treatment, splicing requirements, and waste factors all influence actual material needs. This guide provides the complete methodology that contractors and estimators use for professional quantity determination.
Documentation requirements
Before beginning take-off, gather complete project information:
Architectural drawings — floor plans, ceiling plans, and elevation views showing beam locations
Structural drawings — where beams mount to or wrap structural members
Beam schedule — if provided, lists beam sizes, lengths, and specifications
Finish schedule — identifies textures, colors, and special requirements
Site measurements — verify drawings match actual conditions for renovation projects
Incomplete documentation produces inaccurate take-offs. Request missing information before proceeding.
Step 1: Establish beam layout
Determine the beam installation pattern:
Parallel installation — multiple beams running in the same direction at regular spacing
Cross grid installation — perpendicular beam sets creating a coffered or lattice pattern
Single beam installation — one or two beams as accent elements
Wrap installation — beams covering existing structural members (U-shape or 3-sided)
The layout determines how length measurements apply.
Step 2: Measure primary dimensions
Record measurements in consistent units (preferably inches or millimeters):
Total span to cover — measure the full distance beams must extend
Beam spacing — where applicable, measure center-to-center spacing between beams
Number of beams — count beams in the layout
Profile cross-section — record the beam profile size (6x6, 8x8, etc.)
Double-check all measurements. Transcription errors create significant problems.

Step 3: Calculate individual beam requirements
For each beam in the layout:
Measured length — record the actual dimension the beam must span
Cutting allowance — add 2-3 inches for cuts that are not perfectly clean
Splicing allowance — where beams join, add overlap length (typically 6-12 inches)
End treatment — account for any decorative end cuts or returning into walls
Waste factor — add percentage for cuts, damaged pieces, and measurement errors

Step 4: Determine standard length requirements
Compare calculated lengths against available standard lengths:
| Calculated Length | Standard Length to Order | Beams per Span |
|---|---|---|
| Under 8' | 8' | 1 |
| 8' to 10' | 10' | 1 |
| 10' to 12' | 12' | 1 |
| 12' to 14' | 14' | 1 |
| 14' to 16' | 16' | 1 |
| Over 16' | Specify required | Splicing or custom |
Standard lengths are most economical. Custom lengths cost more and have longer lead times.
Step 5: Calculate total beam count
Multiply beams per span by number of spans:
Total linear feet = Beam length × Number of beams
Number of beams to order = Total spans (considering splicing if applicable)
Step 6: Apply waste and contingency factors
Add material for anticipated waste:
Standard installations — add 5% to total linear footage
Complex layouts — add 10% for cuts, angles, and fitting
First-time installers — add 15% for learning curve waste
Custom textures — consider higher waste with specialty finishes
Step 7: Account for accessories
Don't forget supporting materials:
Mounting hardware — brackets, hangers, and fasteners
Adhesive — construction adhesive in appropriate quantity
Finishing materials — touch-up compounds, stains, and sealants
Replacement stock — 5-10% extra beams for future repairs
Common take-off errors
Avoid these frequent mistakes:
Measuring room dimensions instead of beam spans — beams may not run wall-to-wall
Ignoring splicing requirements — long spans often require beam joints
Forgetting waste factors — actual consumption always exceeds theoretical
Using only图纸 dimensions — field verify for renovation projects
Neglecting end treatments — returns and decorative ends add length
Verification process
Before finalizing orders:
Cross-check calculations — have a second person review the take-off
Compare to similar projects — benchmark against comparable scope projects
Include contingency — add 5-10% for unknowns and field conditions
Document assumptions — record what you assumed about waste, splicing, etc.
Professional take-off produces professional results.
A foundation for project success
Accurate quantity take-off for faux timber beam projects eliminates the anxiety of material shortages and the waste of excess inventory. Follow this systematic methodology, verify assumptions with field conditions, and build contingency into every order. The time invested in accurate take-off pays dividends throughout project execution.
Technical References
ASTM standards cited in every specification
Test Data
Lab results from internal testing program
Updated 2026
Reviewed against current product specs