Adhesive installation represents the fastest mounting method for faux wood beams when conditions allow. No drilling, no structural calculations, no specialized hardware — just clean, continuous bonding between beam and substrate. When executed properly, adhesive mounting produces strong, lasting bonds that outperform mechanical fastening in many applications. The technique requires no special skills beyond basic surface preparation and adhesive application discipline.
This method works best for ceiling installations where beams mount to flat, solid substrates like drywall, plaster, or wood sheathing. The key to success lies in understanding adhesive limitations and following preparation protocols rigorously. Shortcuts in either area produce callbacks.
When adhesive mounting works best
Adhesive-only installation suits specific conditions:
Solid substrates — drywall, plaster, wood sheathing, and concrete provide adequate bonding surfaces
Ceiling orientation — gravity assists when beams mount overhead rather than on walls
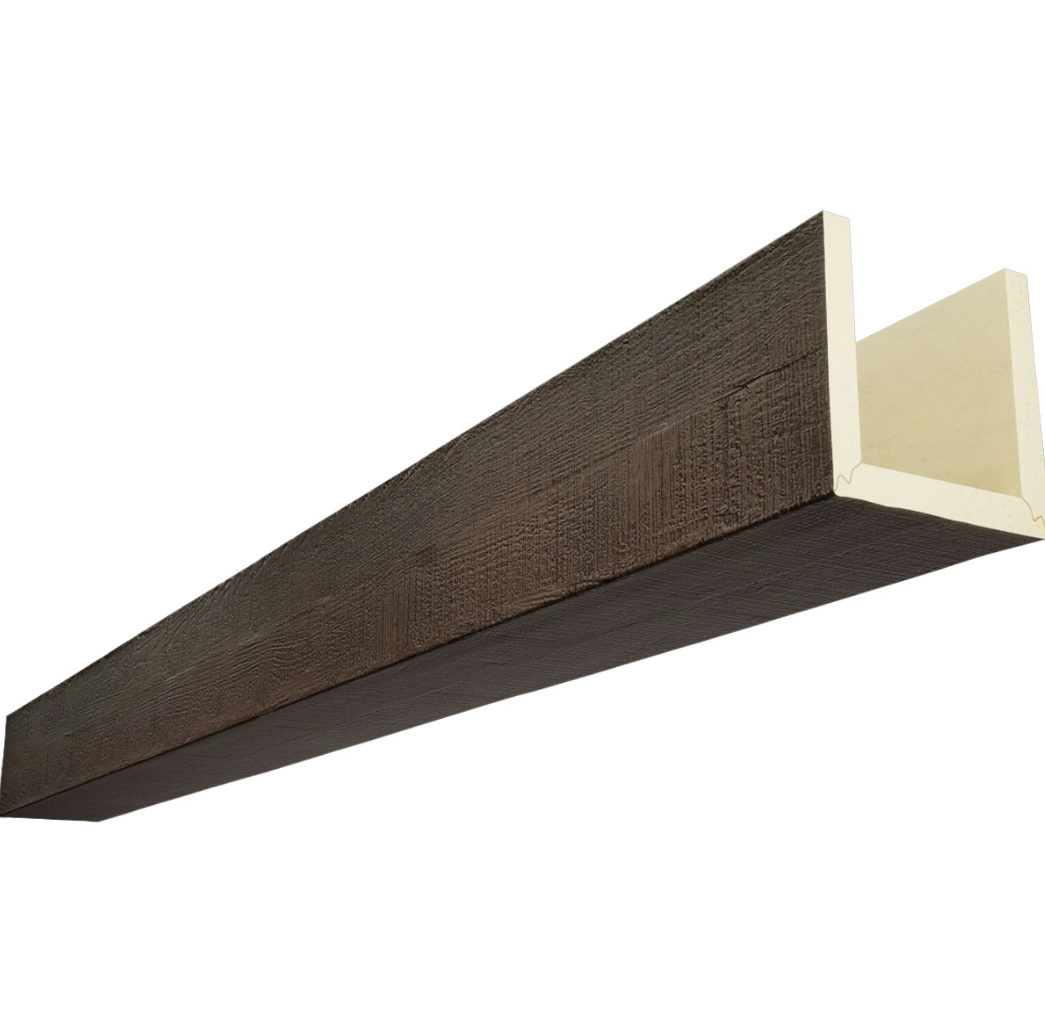
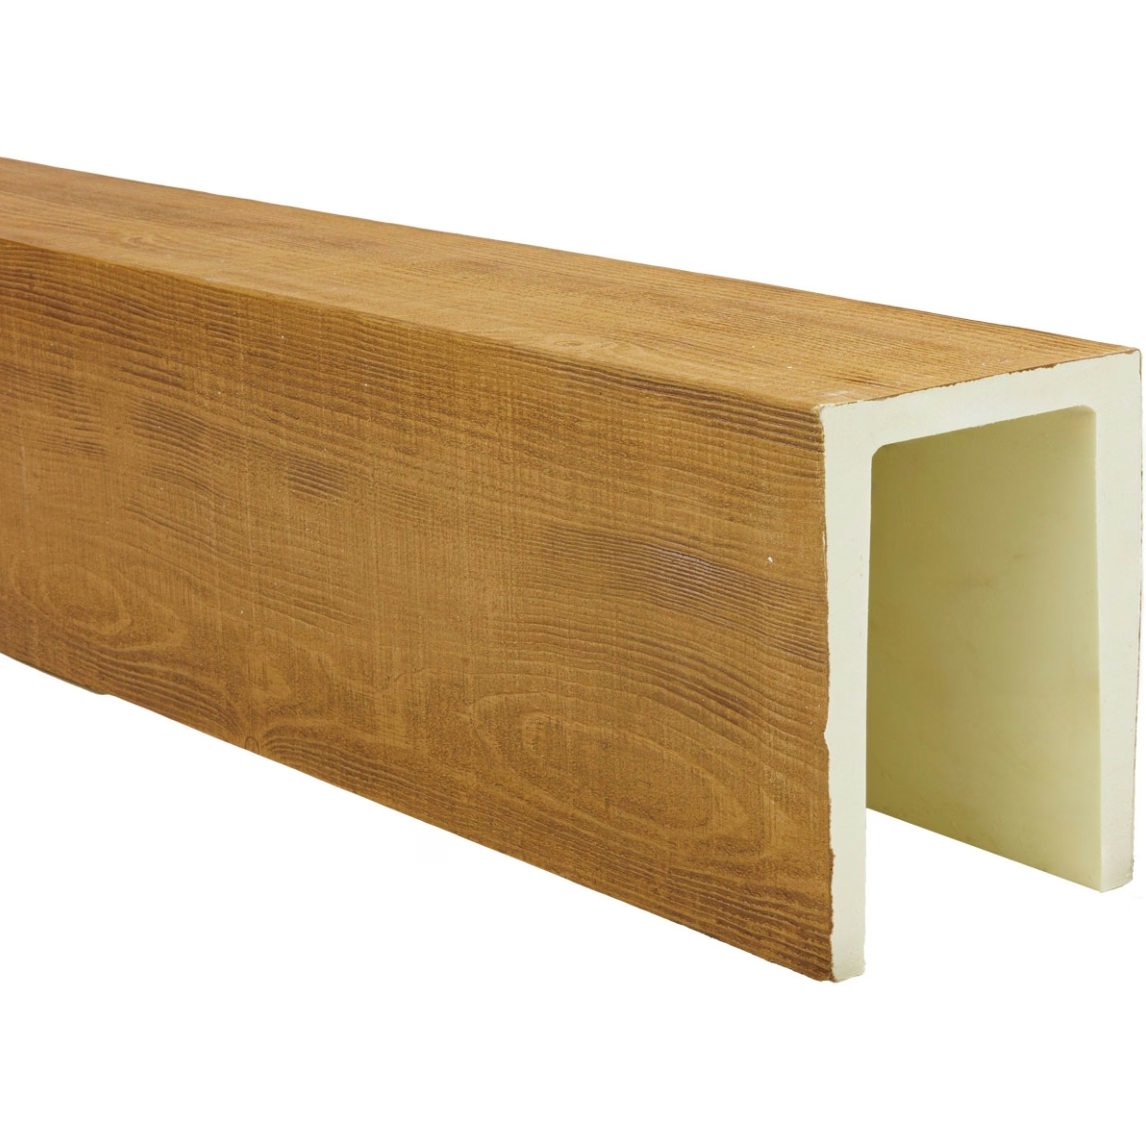
Hollow or lightweight beams — lighter beams (under 15 lbs per linear foot) bond reliably
Controlled environments — interior applications with stable temperature and humidity
One-person projects — when assistance is limited, adhesive allows single-person positioning
Where conditions deviate from these ideals — heavy solid beams, wall mounting, exterior exposure, or questionable substrates — supplement adhesive with mechanical fastening.
Required materials
Gather supplies before beginning:
Construction adhesive — premium polyurethane or hybrid polymer adhesive in caulk tubes
Adhesive applicator — heavy-duty caulk gun for consistent bead application
Support bracing — temporary supports to hold beams while adhesive cures
Cleaning supplies — surface cleaner, clean rags, and TSP for prep
Personal protective equipment — gloves, safety glasses, and respirator if required
Optional: shims — thin material for gap-filling where substrate is uneven
Quality adhesive costs more but produces better bonds. The per-tube savings from economy products rarely justify the installation risk.
Step-by-step installation process
Step 1: Verify substrate suitability
Test the mounting surface before committing to adhesive:
- Press firmly with thumb — surface should not compress or crumble
- Lightly scratch surface with key — should not chalk or delaminate
- Check for moisture — damp substrates prevent proper bonding
Unsuitable substrates require mechanical attachment or substrate preparation.
Step 2: Prepare the surface
Surface preparation determines bond strength:
- Remove all dust, dirt, and loose material
- Clean greasy or glossy surfaces with TSP solution
- Allow surfaces to dry completely (moisture inhibits bonding)
- Lightly sand glossy surfaces to improve adhesion
Never skip cleaning. Contamination is the primary cause of adhesive failures.
Step 3: Dry-fit the beam
Position beams without adhesive to verify fit:
- Mark reference lines on ceiling for alignment
- Check that beam ends land where intended
- Verify adequate clearance for handling
- Adjust layout if needed before committing
Changes after adhesive application are difficult and messy.

Step 4: Apply adhesive
Apply adhesive in proper pattern:
- Apply continuous bead along center of mounting surface
- Add additional beads 2-3 inches from edges
- For wide beams, apply zigzag pattern covering full surface
- Do not apply adhesive so thick that it squeezes out
Adequate coverage matters more than excessive application.
Step 5: Position the beam
Install beam immediately after adhesive application:
- Lift beam into position with help if needed
- Align with reference marks precisely
- Press firmly across entire surface to collapse adhesive beads
- Verify alignment with level or reference marks
Full surface contact is essential. Gaps create weak points.
Step 6: Support while curing
Temporary support prevents slippage:
- Install temporary bracing at each end
- Supports should hold beam firmly but not deform it
- Leave supports in place for minimum 24 hours
- Room temperature above 50°F accelerates curing
Do not rush this step. Movement during cure destroys the bond.
Step 7: Remove excess adhesive
Clean up squeeze-out immediately:
- Use putty knife to remove bulk adhesive
- Clean remaining residue with appropriate solvent
- Work carefully to avoid smearing on finished surfaces
- Allow adhesive to skin over before solvent cleaning
Cured adhesive is much harder to remove. Immediate cleanup is easier.
Cure time and loading
Adhesive strength develops over time:
Initial set — 30 minutes to 1 hour; beam holds but bond not yet strong
Handling strength — 4-6 hours; light handling acceptable
Working strength — 24 hours; normal use can resume
Full cure — 48-72 hours; maximum bond strength achieved
Respect cure times. Loading beams before adequate cure risks bond failure.
Common mistakes to avoid
These errors cause adhesive installation failures:
Inadequate surface prep — dirty, dusty, or glossy surfaces prevent bonding
Insufficient adhesive — gaps create weak points in bond line
Moving beams during cure — any movement destroys developing bond
Cold temperatures — adhesive cures slowly below 50°F; may not cure at all
Loading before cure — premature loading causes bond failure
Wrong adhesive — not all construction adhesives bond well to polyurethane
Follow the process meticulously and adhesive installation delivers reliable results.
When to add mechanical fastening
Supplement adhesive with mechanical fasteners for:
- Solid heavy beams over 15 lbs per foot
- Wall-mounted installations
- Exterior applications
- High-vibration environments
- Any questionable substrate condition
Mechanical fastening adds little time but significantly improves reliability.
Efficient, reliable mounting
Adhesive installation for faux wood beams provides an efficient, professional mounting method when conditions are appropriate. The technique rewards careful preparation and patient cure times with strong, lasting bonds. For ceiling-mounted hollow beams in interior applications, adhesive often represents the optimal mounting approach.
Technical References
ASTM standards cited in every specification
Test Data
Lab results from internal testing program
Updated 2026
Reviewed against current product specs


