The DIY Opportunity
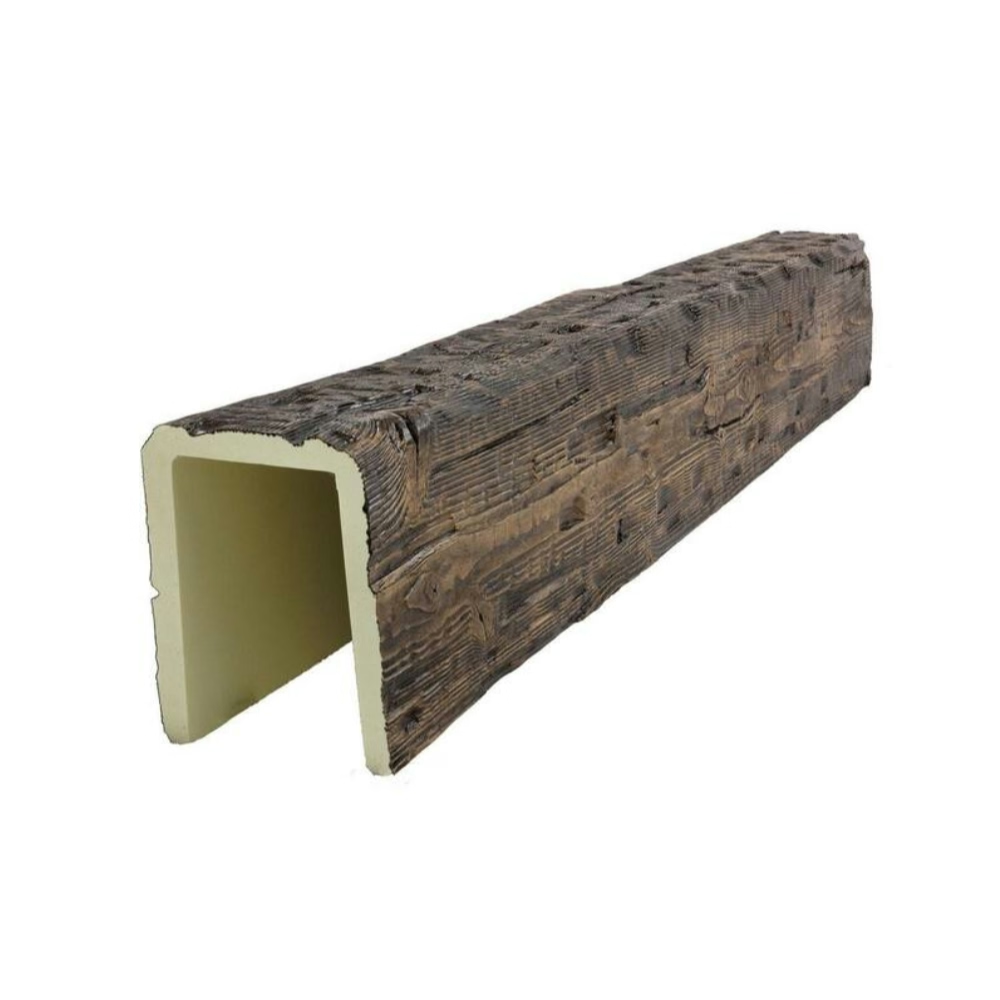
Faux beams are DIY-friendly. Unlike solid timber, polyurethane's lightweight makes homeowner installation practical.
Professional results are achievable.
DIY Assessment
Are You Ready?
Honest self-evaluation:
- Comfortable on ladders
- Basic tool proficiency
- Physical capability for heights
- Time for thorough work
- Patience for precision
Know your capabilities.
Project Suitability
DIY works for:
- Standard ceiling heights (under 12 feet)
- Accessible installations
- Simple layouts
- Adequate help available
Complex projects need professionals.
When to Hire Help
Professional needed when:
- High ceilings requiring equipment
- Complex structural coordination
- Commercial projects
- Time constraints severe
Know when to stop.
Essential Tools
Must-Have Tools
Basic requirements:
- Tape measure
- Level (4-foot minimum)
- Drill/driver
- Stud finder
- Sawhorses
- Ladder (appropriate height)
- Caulk gun
These cover most projects.
Helpful Tools
Makes work easier:
- Laser level
- Impact driver
- Angle finder
- Miter saw
- Router (for finishing)
- Paint sprayer
ful but not essential.
Tool Checklist
Before starting:
- [ ] Measuring tape (25-foot minimum)
- [ ] 4-foot level
- [ ] Drill with bits
- [ ] Stud finder
- [ ] Sawhorses (2 minimum)
- [ ] Extension ladder
- [ ] Caulk gun
- [ ] Safety glasses
- [ ] Helper for lifting
Prepare completely.

Planning Phase
Measurement Fundamentals
Measure accurately:
- Room dimensions at ceiling height
- Beam positions marked
- Blocking locations identified
- Joist/stud positions found
Measure twice, order once.
Blocking Plan
Plan blocking placement:
- Mark joist locations
- Calculate blocking pieces
- Determine lumber sizes
- Plan spacing (16-24 inches)
Blocking enables everything.
Material List
Create complete list:
- Beam specifications
- Blocking lumber
- Fasteners (type and quantity)
- Adhesive if using
- Finish supplies
- Caulk and filler
Complete preparation prevents delays.
Installation Process
Blocking Installation
Step 1: Install blocking
- Locate and mark all joists
- Cut blocking to fit snugly between joists
- Apply construction adhesive (optional)
- Secure blocking with structural screws
- Verify level and alignment
Blocking must be right.
Beam Preparation
Step 2: Prepare beams
- Unpack and inspect beams
- Mark fastener locations
- Pre-drill holes (3/16 inch)
- Apply finish if needed
- Let finish dry completely
Prepared beams install smoothly.
Beam Mounting
Step 3: Mount beams
- Position helpers at beam ends
- Lift beam to position
- Align with reference marks
- Start center fasteners first
- Work toward ends alternately
- Check alignment frequently
- Complete all fasteners
Secure carefully.
Finishing
Step 4: Finish work
- Fill screw holes with wood filler
- Let filler dry and sand smooth
- Caulk all joints and gaps
- Touch up finish as needed
- Clean excess caulk
Finishing makes perfection.
Common DIY Mistakes
Skipping Blocking
Most common mistake:
- Blocking too far apart
- Blocking missing entirely
- Blocking not secured
- Beam eventually sags
Blocking is essential.
Alignment Errors
Alignment problems:
- Not checking with level
- Installing off-center
- Uneven spacing
- Crooked positions
Check constantly.
Rushing Finish
Finish shortcuts:
- Not letting primer dry
- Insufficient coats
- Poor technique
- Visible marks
Take finish time.
Safety First
Ladder Safety
Essential precautions:
- Appropriate ladder height
- Three points of contact
- Level, stable footing
- Helper at base
- No overreaching
Safety prevents accidents.
Heavy Lifting
Team lifting:
- Never lift alone
- Communicate clearly
- Lift with legs
- Take breaks
Two-person minimum.
Dust and Fumes
Ventilation matters:
- Dust mask when sanding
- Adequate ventilation for finish
- Eye protection
- Work in ventilated space
Protect your health.
Success Checklist
Before finishing:
- [ ] All beams aligned
- [ ] All fasteners secure
- [ ] Screw holes filled
- [ ] Joints caulked
- [ ] Finish complete
- [ ] Cleaned excess materials
- [ ] Final inspection passed
Complete verification ensures success.
DIY faux beam installation delivers professional results when approached systematically. Preparation prevents problems: accurate measurement, complete materials, proper blocking. The work isn't difficult—it's just thorough. Take time with each phase, and your beams will look installed by professionals.
Technical References
ASTM standards cited in every specification
Test Data
Lab results from internal testing program
Updated 2026
Reviewed against current product specs