The Aging Imperative
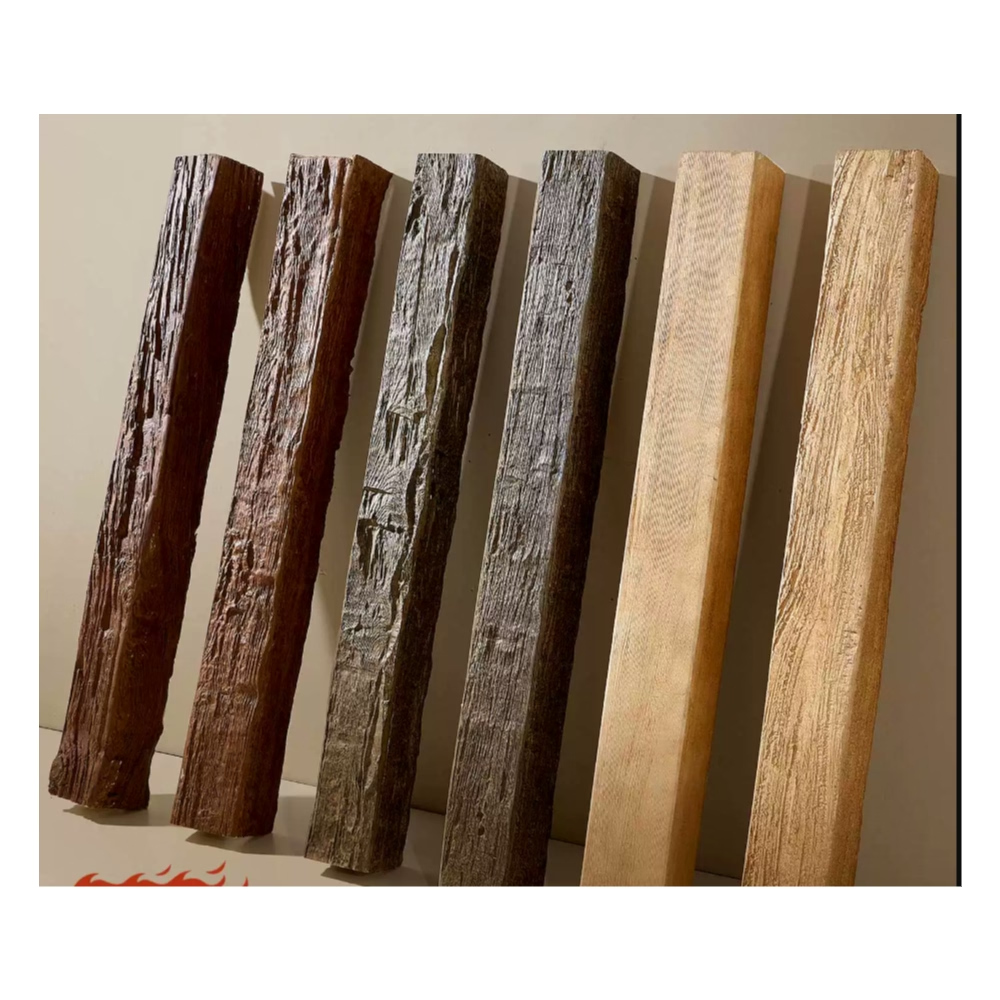
New faux beams look new. But many interiors—farmhouse, rustic, vintage—need beams that look as if they've aged for decades.
Aging techniques create authentic character.
Understanding Aging Layers
Surface Preparation
Foundation matters:
- Clean, dust-free surface
- Light sanding for adhesion
- Proper primer coverage
- Base color establishment
Preparation enables aging.
Base Coat Application
Foundation layer:
- Appropriate base color
- Even coverage
- Complete curing
- Surface ready for aging
Base supports effects.
Aging Effects
Creating character:
- Color variation
- Surface checking
- Wear patterns
- Patina development
- Edge distressing
Layered approach.
DIY Aging Techniques
Wash Technique
Faded appearance method:
- Thin paint mixture (1 part paint, 3 parts water)
- Apply randomly with brush
- Wipe excess while wet
- Let dry completely
- Repeat for depth
Wash creates age.
Dry Brush Technique
Highlight method:
- Load brush with light color
- Remove most paint on cloth
- Brush lightly across grain
- Concentrate on edges and details
- Build gradually
Dry brush adds wear.
Sponging Technique
Patched aging:
- Load sponge with thinned paint
- Dab randomly on surface
- Vary pressure for depth
- Let dry between layers
- Build realistic variation
Sponge creates patina.
Burnishing
Stress marking:
- Fold sandpaper gently
- Lightly rub edges and corners
- Create wear patterns
- Blend into surrounding area
- Avoid obvious artificiality
Burnishing suggests use.

Professional Techniques
Spray Applications
Professional aging:
- Fine mist distribution
- Even coverage
- Controlled application
- Consistent results
Spray aging requires equipment.
Color Layering
Professional approach:
- Multiple thin layers
- Varying color tones
- Strategic placement
- Natural-looking buildup
Layering creates depth.
Texture Enhancement
Professional treatment:
- Grain highlighting
- Checking emphasis
- Edge reinforcement
- Surface refinement
Texture creates authenticity.
Achieving Specific Looks
Light Weathering
Subtle age:
- Single wash layer
- Light dry brushing
- Minimal distressing
- Soft patina
Light aging suits modern spaces.
Heavy Distressing
Dramatic aging:
- Multiple wash layers
- Heavy dry brushing
- Strong burnishing
- Deep color variation
Heavy aging suits rustic spaces.
Custom Patina
Unique effects:
- Mixed techniques
- Custom color combinations
- Project-specific approach
- Signature appearance
Custom patina requires expertise.
Common Mistakes
Over-Application
Too much aging:
- Obvious artificiality
- Cluttered appearance
- Loses credibility
- Wastes time
Less creates more.
Uniform Results
Same pattern everywhere:
- Repeating artificiality
- No natural variation
- Looks manufactured
- Lacks authenticity
Randomness essential.
Rushing Process
Insufficient time:
- Incomplete drying
- Muddy colors
- Blended effects
- Poor results
Patience required.
Finishing Sequence
Step Order
Proper progression:
- Prime if needed
- Base coat (complete cure)
- First aging layer
- Dry completely
- Second aging layer
- Seal and protect
Sequencing ensures success.
Drying Time
Critical patience:
- Between each layer
- Before handling
- After final application
- Before installation
Rushing ruins.
Aging techniques transform new faux beams into weathered beauties. Layered approaches—washes, dry brushing, sponging, burnishing—create authentic character. Quality requires restraint: less aging, applied skillfully, produces more convincing results than heavy-handed application. Patience between layers ensures lasting beauty.
Technical References
ASTM standards cited in every specification
Test Data
Lab results from internal testing program
Updated 2026
Reviewed against current product specs