The weekend project has become a cherished tradition in households across the country. There is something deeply satisfying about transforming a space with your own hands, waking up Sunday morning and knowing that by Sunday evening, something in your home will look fundamentally different and better. Ceiling renovation has historically occupied a different category altogether, one reserved for professionals with specialized equipment and the help of at least one strong friend. That divide has now effectively disappeared, thanks to the development of ultra-lightweight polyurethane fake timber beams designed specifically with the DIY homeowner in mind.
When Marcus, an IT professional with no construction background beyond assembling flat-pack furniture, decided his dining room needed character, he initially resigned himself to hiring a contractor. The quotes he received ranged from sobering to alarming. The cheapest option still ran into thousands of dollars for what Marcus estimated was two days of work. He spent forty-five dollars on a pair of ultra-lightweight faux timber beams instead, borrowed a second ladder from his neighbor, and completed the entire installation in a single Saturday afternoon. The result, he says, looks better than the contractor options he had been considering.
What Makes These Beams DIY-Friendly
The term "ultra-lightweight" is not marketing language when applied to quality PU faux timber beams. It describes a genuine physical characteristic that transforms the installation experience. A 10-foot beam in natural wood might weigh 80 to 120 pounds depending on species and profile. The same beam in high-density polyurethane foam weighs between 12 and 25 pounds. This difference is not incremental; it is categorical. A single person can lift, position, and secure a lightweight beam without assistance, which means the entire project can be managed by one individual working at their own pace without waiting for help to arrive.
The mounting systems designed for these beams reinforce their accessibility. Rather than requiring steel brackets, support cables, or structural bolts, most faux beam installations rely on one or more of three primary methods: French cleats, keyhole hanging plates, or construction adhesive with minimal mechanical fasteners. Each method is straightforward to execute with basic tools. French cleats, for instance, involve attaching a two-piece mounting bracket to the ceiling and the beam respectively, then simply hanging the beam by engaging the cleat pieces. The system is forgiving enough to allow for minor adjustments after the beam is hung, which eliminates the stress of having to get the position exactly right on the first try.
The cutting and fitting process is similarly approachable. Polyurethane faux beams can be cut with standard woodworking tools including circular saws, miter saws, and hand saws. No special blades are required; a standard carbide-tipped blade designed for general wood cutting provides clean, splinter-free cuts. Unlike solid timber, which may require specialized joinery for mitered corners or exposed end grain matching, faux beams can often be finished with end caps or decorative trim pieces that hide cut edges seamlessly.

Planning Your DIY Beam Project
Successful DIY beam installation begins with accurate measurement and thoughtful layout planning. Before purchasing any materials, take the time to measure the ceiling space carefully and sketch a layout that shows where each beam will be positioned. Consider the location of light fixtures, ceiling vents, smoke detectors, and any other fixtures that may affect beam placement. The goal is to achieve a balanced, symmetrical arrangement that looks intentional and professional.
Beam spacing significantly affects the visual result. Beams spaced too far apart can look sparse and disconnected, while beams placed too close together can create visual crowding that overwhelms the room. A general guideline is to aim for beam spacing between one-third and one-half of the room's width, but this should be adjusted based on ceiling height and the overall aesthetic you are trying to achieve. In rooms with particularly high ceilings, closer spacing can help create a sense of intimacy, while lower ceilings benefit from wider spacing that avoids boxing in the room visually.
Joining beams at corners or where they meet at odd angles requires attention but is not difficult with the right approach. Internal corner joints can be achieved by cutting one beam to length and using an end cap or decorative trim piece to finish the joint cleanly. External corners and mitered joints benefit from the same techniques used in crown molding installation, where pieces are cut at complementary angles and fitted together. Since faux beams are hollow, you may need to back-fill cut ends with wooden blocks or construction adhesive to provide a solid surface for fasteners.
Tools and Materials Checklist
For a typical room-scale beam installation, the following tools and materials are sufficient. A tape measure and pencil for layout and marking, a spirit level (laser or bubble) for ensuring beams are perfectly horizontal or parallel, a drill or driver for driving fasteners, a saw for cutting beams to length, construction adhesive rated for construction applications, appropriate mounting hardware (often included with the beams from the manufacturer), and ladders or scaffolding sufficient to work at ceiling height safely. A second person, while not strictly necessary, is helpful for managing long beams during positioning.
Regarding safety, the reduced weight of these beams eliminates most of the physical hazards associated with handling heavy timber. However, working at height remains the primary safety concern. Ensure that your ladder or scaffold is stable, positioned on a level surface, and rated for your body weight plus the weight of any materials you will be handling. Two-point stepladders and adjustable platform steps are preferable to leaning ladders for ceiling work, as they allow both hands to be free during installation. Take breaks if working overhead for extended periods, as arm fatigue can affect precision.
Finishing Touches That Elevate the Result
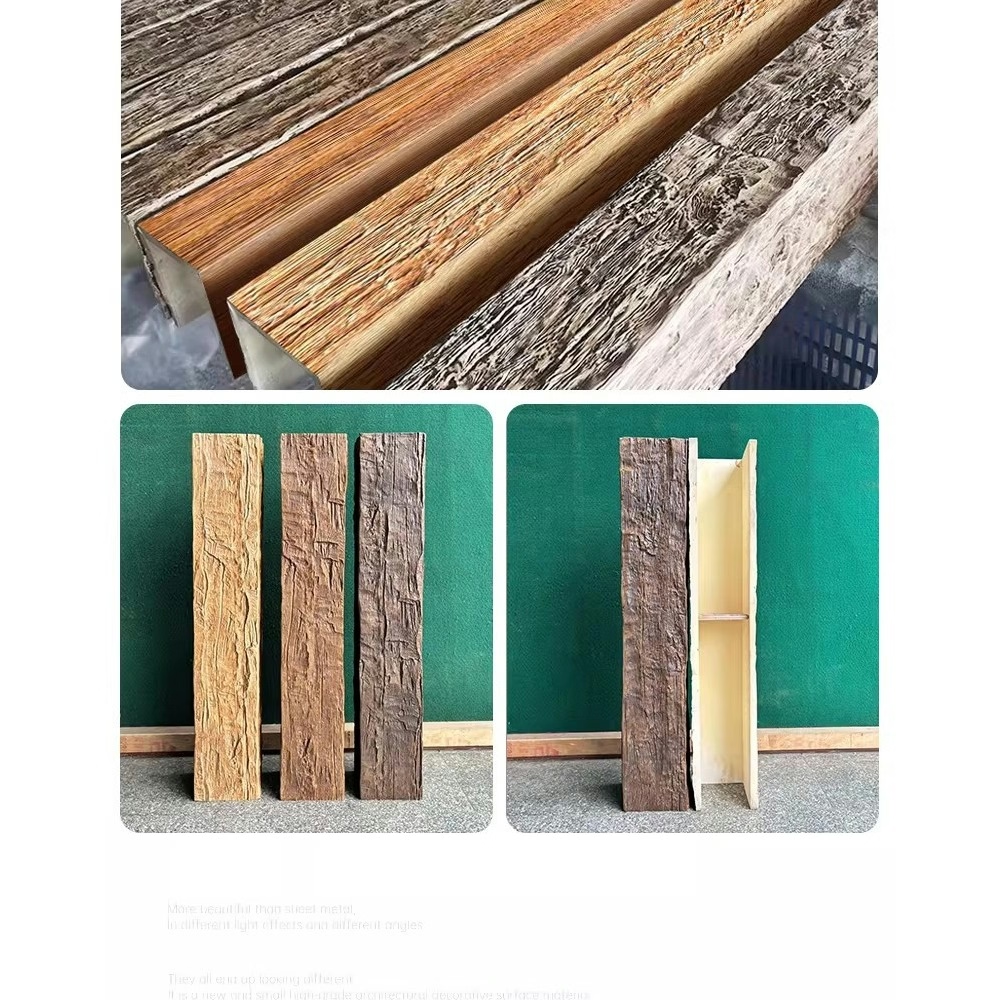
The raw installation is only part of the story. The details that transform a good result into a great one involve color matching, weathering effects, and lighting considerations. Most PU faux beams arrive in a neutral primed state or with a pre-applied base coat that accepts paint or stain readily. For the most convincing timber effect, apply a wood stain in layers, working the stain into any embossed grain texture with a brush or rag, then sealing with a clear topcoat to protect the finish.
Some installers choose to add weathering effects such as saw marks, minor surface scratches, or subtle color variations that occur naturally in aged timber. These effects can be achieved using strategic application of darker stain in recessed areas and lighter applications on raised surfaces. The goal is to create the impression of a beam that has accumulated character over time rather than one that looks freshly manufactured and perfect.
Lighting dramatically affects how ceiling beams are perceived in the finished space. Recessed downlights positioned between beams create pools of light that accentuate the texture and depth of the timber effect. Uplighting from within a beam cavity, where the beam encloses a light fixture, creates a warm ambient glow that enhances the rustic character. Consider the lighting plan as part of the overall beam installation project, and if possible, install any new lighting fixtures before the beams are hung so that you can work around them cleanly.

Enjoying the Transformation
The impact of well-installed ceiling beams on a room's character cannot be overstated. They introduce vertical lines that draw the eye upward, making ceilings feel higher and spaces feel larger. They add warmth through both color and texture. They establish a design vocabulary that can be carried through other elements in the room, from furniture selection to textile choices to wall color. And the best part for the DIY installer is the story: you built this yourself, and every time you look up, you can take genuine pride in knowing that your own hands transformed the ordinary into something special.
Technical References
ASTM standards cited in every specification
Test Data
Lab results from internal testing program
Updated 2026
Reviewed against current product specs


