
A single faux beam crossing a ceiling reads as a beam. Add perpendicular purlins, drop in matching corbels at the wall plates, and the same ceiling reads as a timber-frame structure. That visual upgrade is the entire case for polyurethane purlins and brackets, and it explains why these accessories have become some of the highest-velocity SKUs in a beam importer's catalog.
Understanding the Vocabulary
Designers and builders sometimes use these terms interchangeably, which leads to specification confusion. A few quick definitions help clarify:
- Purlin: A horizontal member running perpendicular to the main beam, used both structurally in real timber framing and decoratively in faux systems to suggest a built-up roof structure
- Bracket: A diagonal or right-angle support element at the beam-to-wall transition, sometimes called a corbel
- Strap: A flat metal-look band wrapping the beam, often included with bracket sets for visual continuity
In a faux system, none of these elements carry structural load. They exist to establish visual rhythm and to suggest the layered construction of a real timber-frame building. Polyurethane versions deliver the appearance at a fraction of the weight.
Why Polyurethane Purlins Outperform Real Wood
Real timber purlins are straightforward to fabricate but expensive to install at ceiling level. Each piece must be measured, cut, and individually fastened. In old homes they were structural and often dovetailed or mortised into the main beams. In new construction they are typically non-structural and simply face-mounted.
Polyurethane purlins eliminate the heaviest parts of that work. The pieces arrive cut to length, factory finished, and ready to install with adhesive and a few trim screws into blocking. A two-person crew can install 80 to 120 linear feet of purlin in a day once the layout is marked.
The weight difference is dramatic. A 4-inch by 6-inch solid oak purlin running 12 feet weighs between 35 and 50 pounds. The same profile in polyurethane is closer to 5 pounds. For ceilings not engineered for additional dead load, this is the difference between a feasible installation and a structural consultation.
Surface Realism That Holds Up on Camera
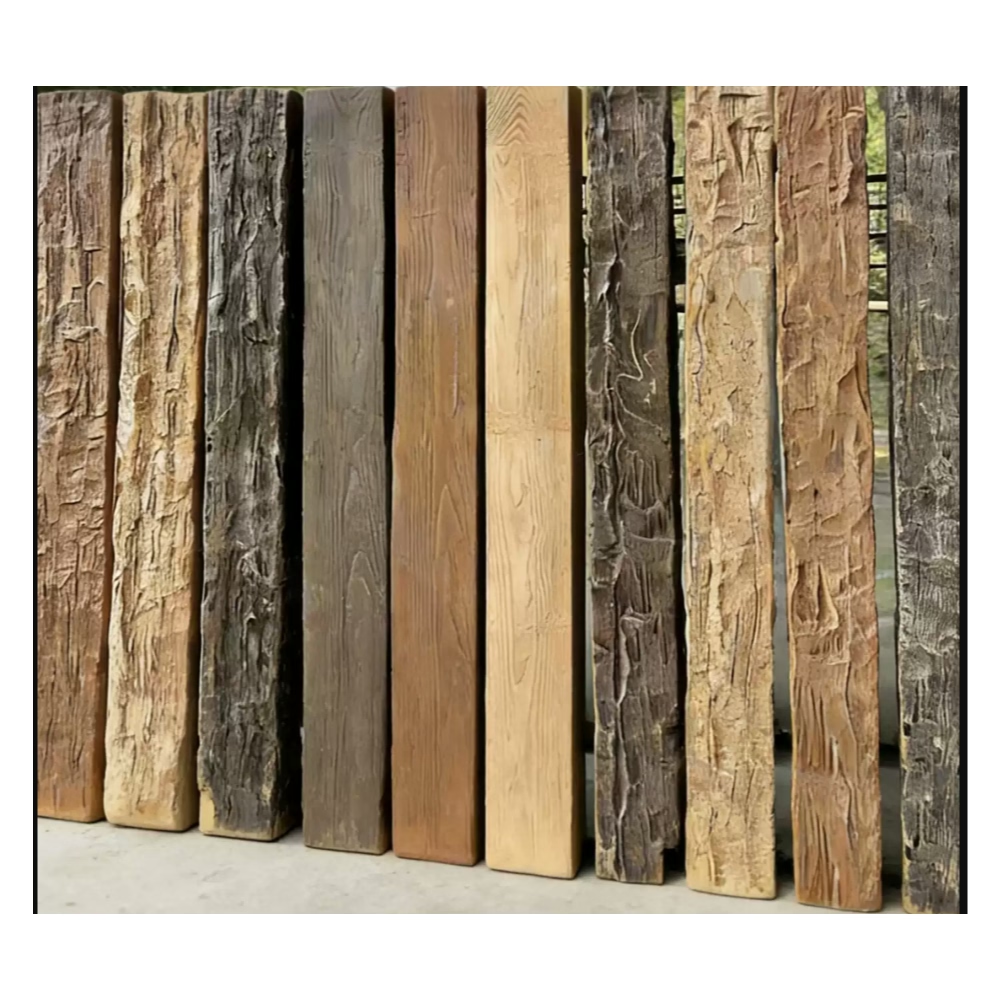
Photographs and video are unforgiving surfaces for faux materials. Polyurethane purlins have steadily improved because mold-makers now pull textures directly from reclaimed timber. The result captures the saw marks, the slight cupping, and the irregular grain that real wood purlins show after a century of seasoning.
A quality polyurethane purlin should pass close inspection from a few feet away under typical interior lighting. Designers walking clients through finished spaces consistently report that visitors do not question the material until they are told.
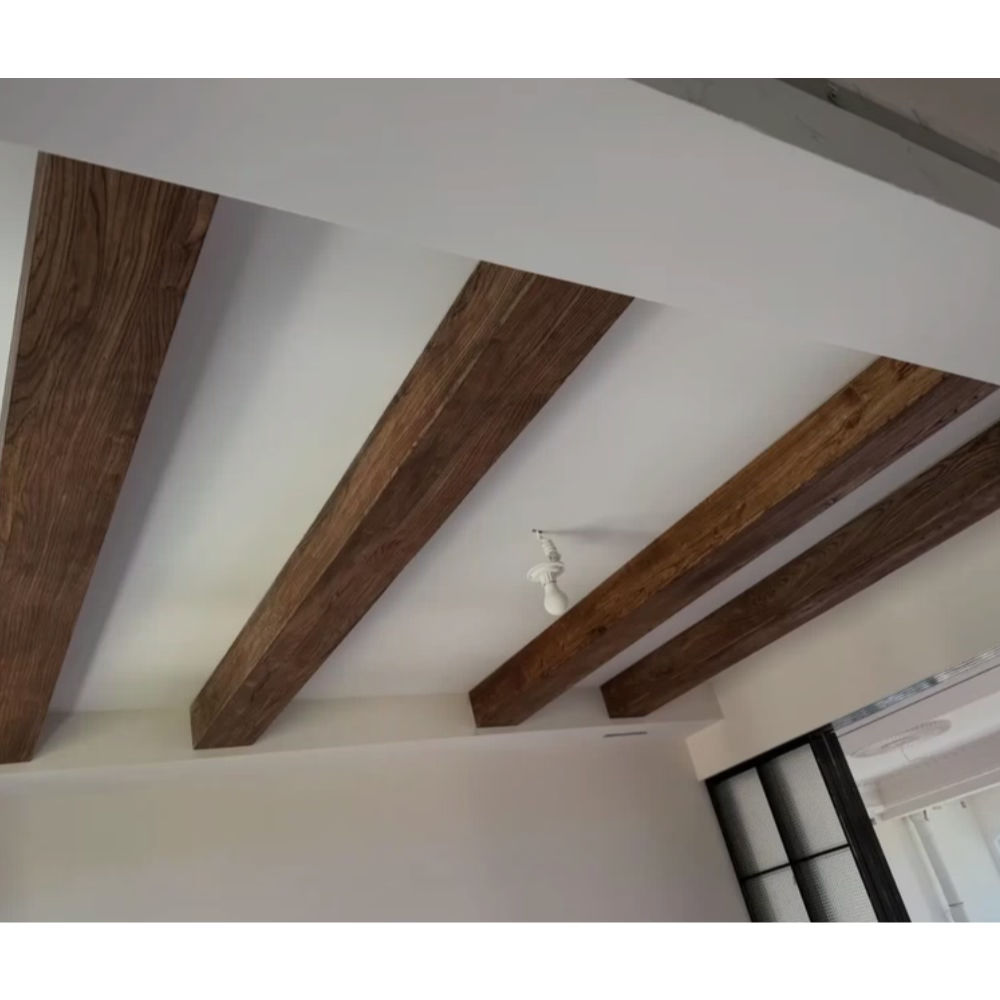
Brackets as the Connector Detail
The junction between beam and wall is where most faux systems reveal themselves. A beam that ends abruptly at drywall looks unfinished. A beam that meets a properly scaled bracket reads as though it has been carrying the roof for a hundred years.
Bracket profiles range from simple right-angle blocks to deeply carved scrollwork. The choice depends on the architectural language of the room:
| Style | Bracket Profile | Finish |
|---|---|---|
| Rustic farmhouse | Chunky, hand-hewn shape | Distressed stain |
| Craftsman bungalow | Tapered with exposed grain | Warm oak tones |
| Modern farmhouse | Simplified stepped profile | Soft white or greige |
| Tuscan/Mediterranean | Scrolled with curves | Aged walnut |
| Industrial loft | Bracketed with metal straps | Black or dark bronze |
Polyurethane brackets reproduce all of these convincingly. For importers, stocking two or three bracket profiles per beam finish captures the majority of demand without bloating inventory.
Coordinating Purlins and Brackets with the Main Beam
Visual coherence across a faux beam system depends on three matching factors:
- Stain or paint color: Even small variations become obvious across multiple pieces on the same ceiling
- Surface texture: A smooth beam next to a rough-hewn bracket creates visual mismatch
- Edge profile: Sharp square edges next to rounded soft edges look like two different materials
The simplest way to ensure coherence is to source all three elements from the same manufacturer's matching program. Most leading PU beam brands offer coordinating purlins, brackets, and accessories that are guaranteed to align. For high-end projects where custom finishes are required, send the same stain formula to all elements and finish them at the same time.
Layout Patterns That Sell the Look
Designers have a small library of layouts they reach for repeatedly. Each layout sends a different visual message, and the choice affects how many purlins and brackets the project consumes.
Single beam with purlins: One main beam runs the length of the ceiling with purlins crossing at 16 to 24 inches on center. This is the most common layout and the easiest to install. Best for rooms where a single architectural statement is needed.
Beam-and-joist grid: Multiple parallel beams run across the ceiling with shorter purlins filling between them. Suggests the underside of a floor structure above. Common in finished basements and ground-floor commercial spaces.
Coffered treatment: Beams form a rectangular grid creating recessed panels. Each panel can hold a medallion, light fixture, or ceiling fan. Adds formality to dining rooms and libraries.
Truss-style assembly: Brackets and short purlins form a triangular truss shape at each beam end. Suggestive of heavy timber construction. Common in great rooms with cathedral ceilings.
The brackets themselves work in any of these layouts. They are typically installed at every beam-to-wall transition and sometimes at intermediate points along long beams to break up the run.
Installation Details Contractors Need to Know
Purlins install perpendicular to the main beam, which means they require blocking or strapping behind the ceiling drywall. On new construction, the blocking should be specified during framing. On renovation work, install snap-style blocking backers through small access holes or use construction adhesive combined with mechanical fasteners into the existing ceiling framing where possible.
The standard installation sequence runs as follows:
- Mark purlin layout on the ceiling using a chalk line
- Snap additional layout lines perpendicular for blocking locations
- Install blocking backers if not already in place
- Dry-fit each purlin and number it on the back
- Apply polyurethane-compatible adhesive in a serpentine bead
- Press purlin into position and secure with finish nails or trim screws
- Fill fastener heads, caulk seams, and touch up stain as needed
For bracket installation, similar steps apply with the addition of angled blocking at the wall plate to carry the diagonal load visually. Most polyurethane brackets are hollow on the back, which means they need a flat mounting surface behind them. Cut a piece of plywood blocking to fill the gap if the wall framing is uneven.
Tools and Crew Requirements
A two-person installation crew can typically handle the work with standard carpentry tools:
- Cordless drill with finish nailer or trim screw attachment
- Miter saw with a fine-tooth blade for any length cuts
- Stud finder and chalk line
- Caulk gun loaded with paintable polyurethane adhesive
- Stain touch-up kit and matching filler
Specialty tools are not required for most installations. Laser levels speed up layout on large jobs but are not essential for residential work.
Sizing and Proportion
Bracket and purlin sizing should relate to the main beam. A common mistake is undersizing accessories so they disappear next to the beam. The accessories should be substantial enough to register visually but not so large that they overwhelm the composition.
A workable guideline:
| Main Beam Size | Purlin Width × Depth | Bracket Projection |
|---|---|---|
| 5 in × 7 in | 3 in × 5 in | 8–10 in |
| 6 in × 8 in | 4 in × 6 in | 10–12 in |
| 8 in × 10 in | 5 in × 7 in | 12–15 in |
| 10 in × 12 in | 6 in × 8 in | 15–18 in |
Bracket projection refers to how far the bracket extends from the wall along the underside of the beam. Larger brackets feel heavier and more rustic; smaller brackets feel lighter and more contemporary.
Commercial Applications
Restaurants, hotels, retail showrooms, and event venues all use purlins and brackets to create ceiling interest at a reasonable cost. The economics are particularly favorable for commercial work because:
- Faster installation means less downtime for the business
- Lighter weight eliminates structural consultations on ceiling retrofits
- Consistent factory finishes reduce punch-list items at opening
- Fire-rated polyurethane simplifies code compliance in assembly occupancies
Importers serving commercial accounts should pay close attention to fire ratings. Many commercial jurisdictions require Class A or Class B flame spread ratings on overhead decorative elements. Quality polyurethane programs carry these ratings and the documentation to back them up.
Acoustic Considerations
In restaurants and similar venues, ceiling treatments interact with room acoustics. Purlins and brackets installed flat against the ceiling have minimal acoustic impact. When installed with a 1 to 2 inch standoff, they can help break up parallel surfaces that cause flutter echo. Designers sometimes specify acoustic insulation behind the purlin field for additional absorption.
This is rarely a concern in residential work but worth mentioning in commercial specifications where sound quality affects the customer experience.
Lead Times and Logistics
For importers, purlins and brackets typically ship alongside beam orders as complementary products. Lead times from quality manufacturers run 4 to 6 weeks for standard items and 8 to 12 weeks for custom finishes. Container utilization is excellent because the pieces nest efficiently, with brackets and short purlins filling the voids between longer beams.
For project managers scheduling installation, ordering accessories at the same time as the main beams is almost always the right call. Splitting orders between suppliers introduces color-matching risk and adds freight cost.
When the Look Calls for Real Wood Instead
Polyurethane purlins and brackets are not the right choice for every project. Where the design genuinely calls for structural timber, where fire codes require non-combustible construction, or where the budget supports old-growth material, real timber is the correct specification. Polyurethane shines in the much larger market of projects where the visual goal can be met without the structural and economic cost of real wood.
For most designers, most projects, and most budgets, polyurethane purlins and brackets deliver the timber-frame look efficiently and predictably. That combination is why the category continues to grow year over year in both residential and commercial segments.
Technical References
ASTM standards cited in every specification
Test Data
Lab results from internal testing program
Updated 2026
Reviewed against current product specs


