
Corbels are among the most visually prominent accessories in a faux beam installation. Positioned where the beam meets the wall, a corbel is the architectural element that suggests the beam is doing real structural work. Choose the right corbel, match the finish carefully, and the entire ceiling treatment reads as authentic timber construction. Choose the wrong size or finish, and the corbels become the first clue that something is not quite real.
The Visual Role of Corbels
In traditional architecture, a corbel is a structural or semi-structural element that projects from a wall to support a beam, shelf, or overhanging masonry. Corbels can be carved from stone, shaped from brick, or formed from timber. The projecting form creates an immediately recognizable visual: something triangular or bracket-shaped is apparently carrying a load.
In a decorative context, corbels perform the same visual function without the structural requirement. A polyurethane corbel positioned under a faux beam suggests that the beam is being supported, which immediately elevates the composition from "decorative object" to "architectural element."
This distinction matters for how the room is perceived. A beam without corbels reads as something hung on the ceiling. A beam with properly scaled corbels reads as something that belongs to the building.
Profile Types and Their Design Associations
Corbels come in a range of profiles, each with different historical and stylistic associations. Understanding these associations helps designers select the right corbel for the intended look.
Simple bracket corbels feature a right-angle profile with minimal ornamentation. They suggest structural function without historical specificity. Best for contemporary and transitional interiors.
Stepped corbels have one or more horizontal ledges stepping outward. They reference the stepped brackets common in Medieval and Gothic architecture. Work well in rustic and farmhouse interiors.
Scrolled corbels incorporate a curved upper portion that transitions from vertical to horizontal. These are the most classically styled, referencing Greek, Roman, and Renaissance design. Best for formal and traditional interiors.
Leaf and acanthus corbels feature carved foliage motifs. The acanthus leaf in particular is associated with classical column capitals. These corbels work in the most formal settings, including formal dining rooms and traditional hotel lobbies.
Fleur-de-lis corbels incorporate the stylized lily motif. Common in French-influenced and Victorian interiors. Often specified in spaces with established French or European design vocabulary.
Hand-carved appearance corbels use deep relief and irregular surface texture to suggest genuine carved timber. These are the most realistic options and the most effective at selling the structural illusion.
Size Scaling Guidelines
Corbels must be scaled to the beam and to the room. An undersized corbel under a substantial beam looks like a mistake. An oversized corbel in a small room looks like a prop.
The primary measurement is the corbel's vertical height, which determines how far it projects below the beam. Common guidance:
| Beam Width | Corbel Height | Corbel Projection |
|---|---|---|
| 5–6 in | 6–8 in | 8–10 in |
| 7–8 in | 8–10 in | 10–12 in |
| 9–10 in | 10–14 in | 12–16 in |
| 11–12 in | 14–18 in | 16–20 in |
Projection refers to how far the corbel extends from the wall along the underside of the beam. Larger projections suggest heavier structural loads and work better with rustic or traditional styles. Smaller projections suit contemporary installations.
For rooms with very high ceilings, scaling corbels up one size from the guideline adds visual weight that proportional corbels might lack. The additional size reads as deliberate design choice rather than miscalculation.
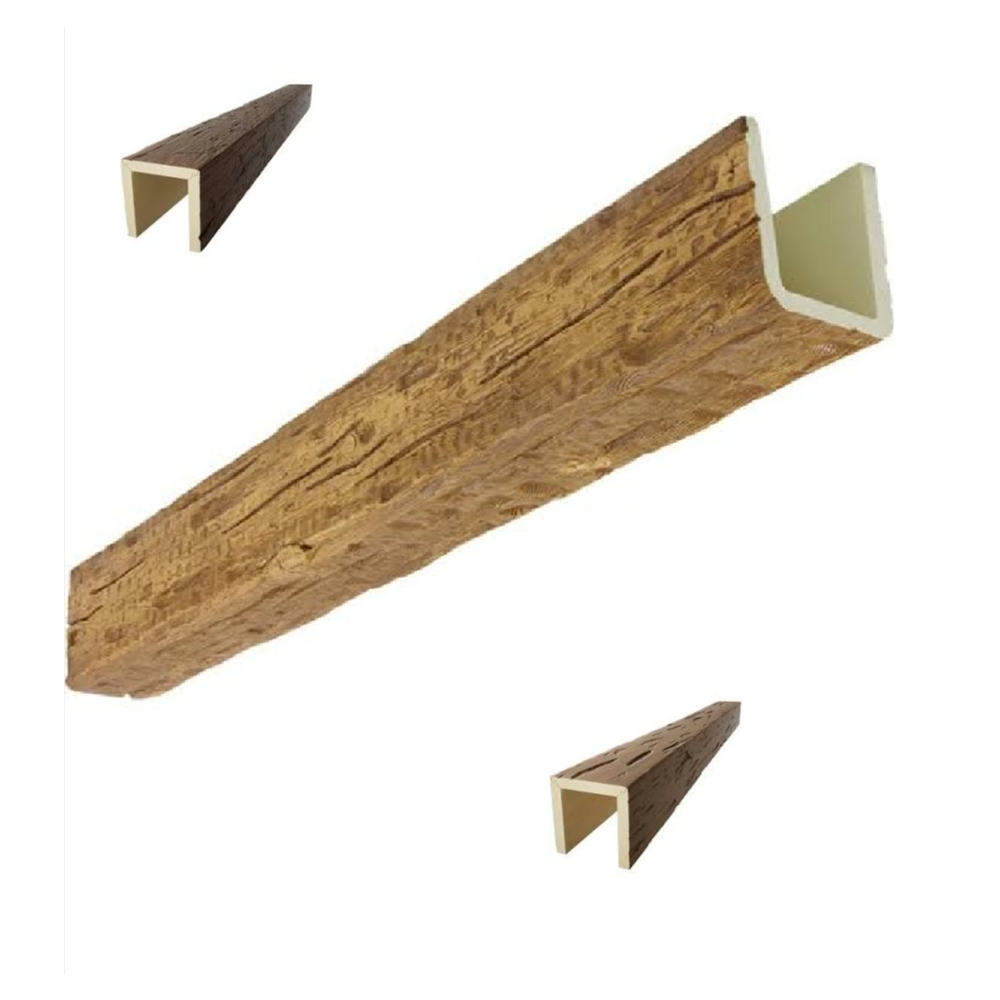
Finish Coordination with Faux Beams
Finish matching between corbels and beams is critical. Even slight variations become obvious when the two elements are placed side by side at the most visible point in the room.
The same rules that apply to beam-to-beam finish matching apply to corbel-to-beam matching:
- Order corbels from the same manufacturer as the beams
- Request batch-matched finishes when ordering multiple corbels
- Confirm finish samples under actual room lighting before committing to production
Most manufacturers offer corbels in the same finishes as their beam products, which simplifies the coordination. When a custom finish is required, apply the same formula to both the beam and the corbel at the same time, in the same conditions.
Surface Texture Considerations
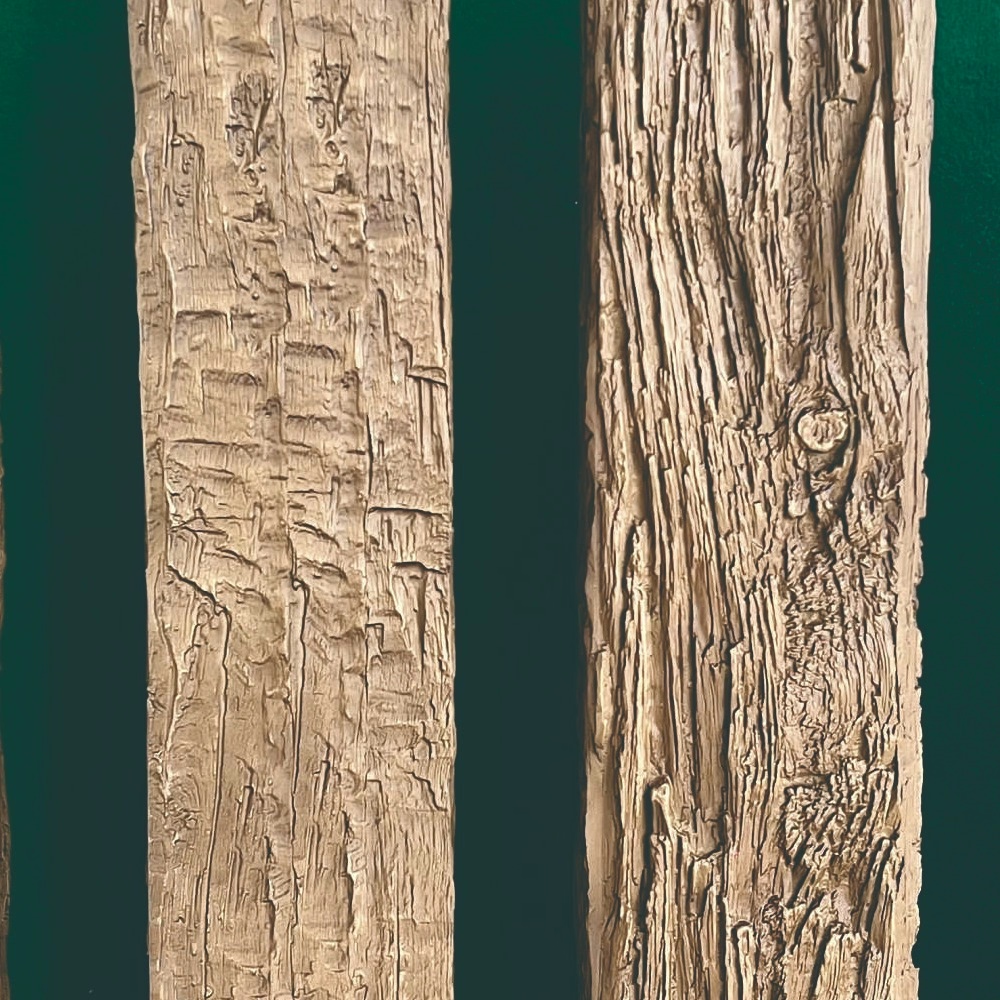
The texture of the corbel surface must also match the beam texture. A rough-sawn corbel next to a smooth beam looks wrong. A hand-hewn corbel next to a machine-finished beam looks wrong.
This is one reason why purchasing corbels and beams from the same manufacturer matters. The manufacturer controls both textures and can ensure they are compatible.
For projects where a specific corbel profile is only available in a slightly different texture than the beam, the mismatch may be acceptable if the design intent calls for it. Mixing textures deliberately, as in a rustic-modern fusion interior, can work. But accidental mismatches are almost always noticeable and should be avoided.
Installation Practices
Installing corbels is straightforward for experienced finish carpenters. The process follows these steps:
- Locate wall studs or blocking behind the planned corbel position
- Mark the corbel location on the wall, typically centered under the beam end
- Apply construction adhesive to the back of the corbel
- Press the corbel into position against the wall and under the beam
- Secure with finish nails or trim screws into the blocking
- Fill nail holes with color-matched filler
- Touch up any gaps between the corbel and the beam
For corbels installed on masonry or concrete walls, the process is similar but uses masonry-compatible adhesive and concrete anchors instead of nails.
Most quality corbels are hollow on the back to reduce weight. This means the mounting surface must be flat. If the wall surface is uneven, install a flat mounting board behind the corbel to provide a consistent backing.
Hardware and Blocking Requirements
Corbels do not carry structural load, but they are often installed with mechanical fasteners that give installers confidence the corbel will stay in place. The fasteners also serve a practical purpose: they hold the corbel in position while adhesive cures.
Standard practice is to install two to four fasteners per corbel, depending on the corbel size. The fasteners should be driven into solid blocking or into wall studs. Drywall alone cannot hold a corbel reliably.
For corbels installed at beam ends where the beam itself provides additional support, fewer fasteners are needed because the beam restricts the corbel's movement.
Applications in Different Room Types
Living Rooms and Great Rooms
The most common application for corbels is in living rooms and great rooms with exposed beam ceilings. Corbels at each end of each beam run add the visual weight that makes the ceiling feel intentional rather than decorative.
In these spaces, corbels are typically installed in the simplest bracket configuration with a finish that matches the beam. Two or three sizes larger than the minimum recommended size often improves the composition.
Kitchens
Kitchens present an opportunity for corbels in a distinctive way: corbels supporting shelf brackets above kitchen islands or countertops. The corbel-beams relationship is the same, but the application is a shelf rather than a ceiling beam.
Matching corbels across multiple locations in an open-plan kitchen creates architectural continuity. The same corbel profile under the ceiling beams can also appear under the open shelving.
Formal Dining Rooms
Formal dining rooms often call for the most ornate corbel profiles. Scrolled corbels with carved details, or corbels with acanthus leaf motifs, add the level of detail that formal spaces require.
These corbels work best with beams that have a corresponding level of detail: hand-hewn textures, darker stains, and more substantial proportions. The overall composition should feel deliberate and considered.
Commercial Spaces
Restaurants, hotel lobbies, and retail showrooms use corbels to add character to standard ceiling treatments. The economics are favorable because the installation cost is low, the visual impact is high, and the corbels contribute to the overall brand experience.
For commercial installations, specifying corbels that are rated for the occupancy type and that carry appropriate fire documentation simplifies code compliance.
Matching Corbels to Other Accessories
A complete beam installation often includes multiple accessory types. Corbels work alongside:
- Strap accents: Straps on the beam surface, corbels at the ends
- Purlins: Purlins crossing the beams, corbels at beam ends
- Ceiling medallions: Medallions at chandelier locations, corbels at beam ends
- Wall plates: Decorative trim where beams meet walls, corbels providing additional detail
When all these accessories are from the same manufacturer's program, finish and texture matching is essentially guaranteed. When sourced from different suppliers, additional coordination effort is required.
Common Specification Mistakes
Several recurring errors appear in corbel specifications:
Undersizing: Specifying corbels too small for the beam, leaving them visually ineffective. When in doubt, go larger.
Finish mismatch: Ordering corbels separately without coordinating batch numbers or finish samples. Always request a physical sample before committing to production.
Wrong profile for style: Specifying a simple modern corbel with a rustic beam, or vice versa. The profile and the beam must share a design vocabulary.
Insufficient blocking: Not specifying blocking at corbel locations during framing, leading to compromised installations on drywall. Include corbel positions on framing plans.
Fire rating gaps: Using interior-rated corbels in commercial assembly occupancies that require rated materials. Always check code requirements for the specific occupancy.
Purchasing Considerations for Importers
For importers, corbels represent one of the highest-value accessories in the beam category. The attach rate is high, the margins are healthy, and the product is easy to store and ship.
Stocking recommendations:
- Three to five profile types covering simple, stepped, and ornate options
- Two to three finish options per profile
- Three size options per profile to cover different beam sizes
- Matching hardware and adhesive as add-on items
This inventory covers the majority of project requirements while keeping inventory manageable. Custom profiles and finishes are available by special order for larger projects.
Lead times for standard corbels run 3 to 5 weeks. Custom finishes or profiles add 6 to 10 weeks. For project scheduling, include corbels in the initial beam order rather than treating them as a separate purchase.
A complete corbel program transforms a beam catalog from a single-product offering to a systems approach that addresses the full ceiling composition. Designers appreciate the completeness. Project managers appreciate the simplicity. Importers appreciate the margin.
Technical References
ASTM standards cited in every specification
Test Data
Lab results from internal testing program
Updated 2026
Reviewed against current product specs


