
Renovation projects present unique challenges and opportunities. Unlike new construction, renovations work with existing structures that cannot be easily modified. Walls are fixed, ceiling heights are established, and the existing conditions constrain what can be done. Within these constraints, polyurethane faux ceiling beams offer one of the most impactful transformations available, turning dated or plain ceilings into architectural features without the structural complications of traditional construction.
Why Ceilings Are renovation Priorities
Ceilings are often the last element addressed in renovations and the first to be noticed when they are wrong. Several factors make ceilings a renovation priority:
Visibility: The ceiling is the largest surface in most rooms. Its condition and appearance set the tone for the entire space.
Problem exposure: Dropped ceilings, popcorn textures, water stains, and dated finishes concentrate negative attention on the ceiling plane.
Underutilized potential: While walls and floors receive constant attention in renovation projects, ceilings are frequently overlooked despite their visual impact.
High-impact, low-disruption: Ceiling renovation using beams can proceed without affecting walls, floors, or furniture placement, minimizing disruption to the occupied home.
Renovation Scenarios for Faux Beams
Popcorn Ceiling Replacement
Textured or "popcorn" ceilings were common from the 1960s through the 1990s. Removing the texture is expensive, messy, and sometimes impractical. Rather than removing the texture, covering it with beams is often the more practical solution.
Beams installed across a popcorn ceiling hide the texture completely while adding architectural interest. The installation does not require scraping, sanding, or refinishing the existing ceiling.
Water Damage Repair
Ceilings with water stains or damage from leaks can be repaired, but the repairs are often visible. Installing beams over the damaged area hides the evidence while adding visual interest. The beams are positioned to cover the damaged area, and any necessary repairs are made to the underlying ceiling.
Outdated Drop Ceiling
Drop ceilings with fluorescent fixtures and 2×4 tiles date a space instantly. Removing the drop ceiling and exposing the structure above is sometimes possible, but often the structure above is unattractive or the ceiling height loss from the original structure is significant.
Beams installed on a drop ceiling can create a beam ceiling appearance without removing the drop ceiling tiles. The beams span between walls, and the tiles remain visible between them. This approach is less expensive than full ceiling replacement and produces a substantially improved result.
Flat, Uninteresting Ceilings
Many homes have flat, untextured ceilings that provide no visual interest. Adding beams creates dimension, shadow, and architectural rhythm that transform the space.
The beams can be installed in various configurations: a single accent beam, parallel beams, or a grid pattern. The configuration should respond to the room dimensions and the overall design intent.
Planning the Renovation
Successful ceiling beam renovation requires planning that addresses existing conditions.
Assessment
Before specifying beams, assess the existing ceiling:
- Measure ceiling height at multiple points
- Check for levelness and plane issues
- Locate structural elements—joists, beams, blocking
- Identify any mechanical systems in the ceiling cavity
- Note any moisture issues or damage
- Assess the condition of the existing finish
This assessment informs beam sizing, attachment methods, and coordination requirements.
Layout Development
Develop a beam layout that responds to the room:
- Consider furniture placement and sight lines
- Position beams to avoid conflicts with light fixtures
- Align beam spacing with room proportions
- Consider how beams interact with windows, doors, and other elements
The layout should be drawn at scale, showing beam positions, dimensions, and relationships to other elements.
Coordination
Coordinate the beam installation with other renovation work:
- Electrical: Light fixtures, recessed cans, ceiling fans
- Mechanical: HVAC supply and return locations
- Plumbing: Any pipes that penetrate the ceiling
- Fire protection: Sprinkler head locations in commercial spaces
Coordinate these systems before ordering beams. Moving a light fixture is easier before beams are installed.
Installation Approaches
Renovation beam installation follows one of several approaches depending on existing conditions.
Direct Attachment
If the existing ceiling has adequate structure behind it, beams can be attached directly with appropriate fasteners. This is the simplest approach when blocking or joists are accessible.
Blocking Addition
If the existing ceiling lacks adequate structure at beam locations, blocking can be added between joists. This requires small access holes or removal of limited ceiling area.
Furring
If the ceiling plane is significantly out of level, furring strips can be installed to create a level mounting surface for beams. The furring adds minimal thickness while providing a flat mounting plane.
Soffit Construction
For beams that must span significant distances or that must cover existing conditions, soffit construction may be required. A soffit frame is built from standard lumber, and beams are applied as finish elements.
Finish Considerations
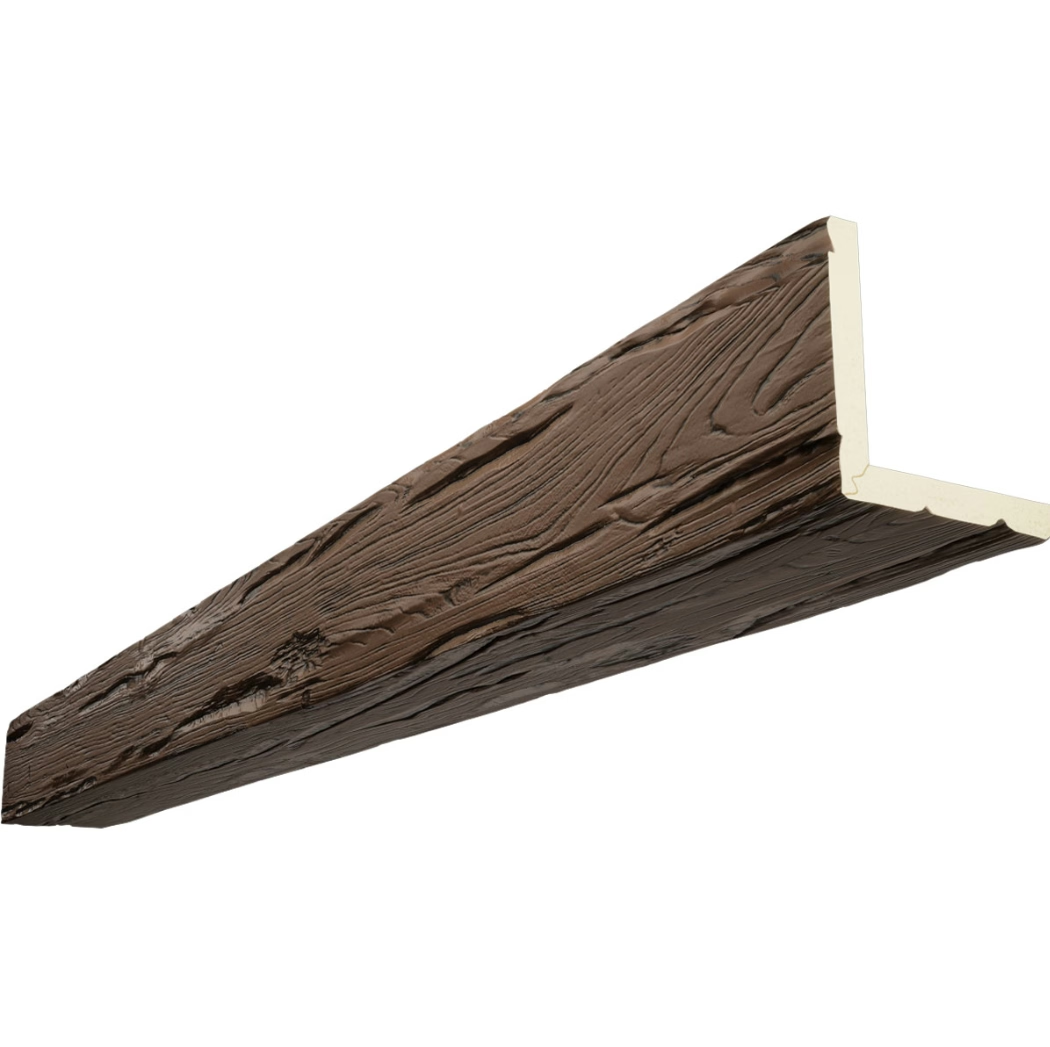
The beam finish should coordinate with the renovation's overall finish plan.
Matching new finishes: If the renovation includes new trim, flooring, or other wood elements, the beams should coordinate with these finishes.
Complementing existing finishes: If the renovation leaves existing wood elements in place, the beams should complement rather than clash with them.
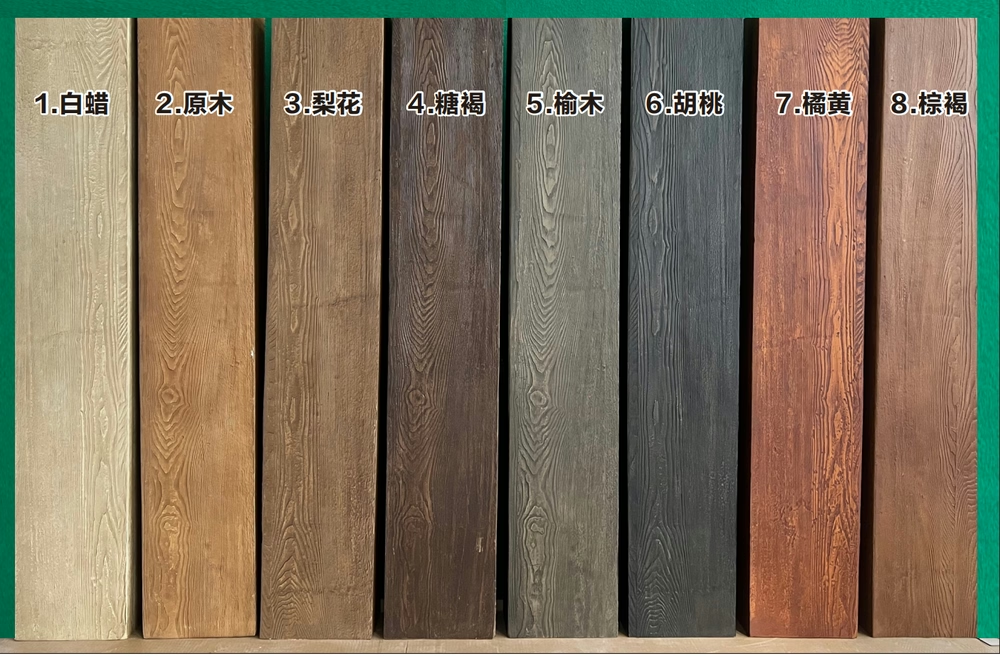
Creating contrast: Contemporary renovations may deliberately create contrast between new beams and existing finishes. Dark beams against light walls, or painted beams against wood floors, can create striking effects.
Obtain physical finish samples before committing. View them in the actual room lighting to verify the appearance.
Working with Existing Architecture
Renovation beams must often interact with existing architectural elements.
Crown moulding: If the room has existing crown moulding, the beam installation should coordinate with it. The beams can terminate at the moulding, or the moulding can be extended to meet the beams.
Chandeliers and ceiling fans: These fixtures should be removed and reinstalled during beam installation. The beam layout should account for fixture positions.
Walls and corners: Beams should terminate cleanly at walls. Corner details should be planned, whether the beams meet at corners or run parallel to walls.
Windows and doors: Beam positions should consider the visual relationship with windows and doors. Beams that align with window frames or door headers create visual rhythm.
Budget-Friendly Renovation Approaches
Not every renovation requires an elaborate beam installation. Several approaches deliver impact at modest cost.
Single accent beam: One substantial beam crossing the primary seating area creates a focal point. This is the highest-impact, lowest-cost option.
Accent plus trim: A single beam combined with coordinating crown moulding and wall trim creates a comprehensive architectural statement without a full-beam installation.
Beam wraps: Existing soffits or bulkheads can be wrapped with beam material, transforming eyesores into features.
Partial treatment: Beams installed only above key areas—dining table, primary seating, bed—limit the material investment while creating focused impact.
These approaches allow renovation budgets of any size to achieve meaningful ceiling transformation.
Timing Within the Renovation Sequence
Beam installation should be sequenced correctly within the overall renovation.
After rough-in, before finish: Beams should be installed after electrical, plumbing, and mechanical rough-in is complete but before finish painting. This allows coordination with other systems and finishing of beam edges.
After floor protection: The floor should be protected before beam installation begins. Dust and debris from drilling and cutting can damage existing flooring.
Before fixture installation: Light fixtures and ceiling fans should be removed before beam installation and reinstalled after.
After primer, before final paint: If the beams are painted rather than factory-finished, install after the ceiling is primed but before final paint. This allows touch-up work.
The Renovation Advantage
Renovation projects benefit from faux beams because the transformation is dramatic without the disruption of traditional construction. The existing structure is preserved; only the appearance changes.
For homeowners who want architectural improvement without major construction, beam-based ceiling renovation offers the ideal solution. The work proceeds quickly, the mess is minimal, and the result is substantial.
For designers and contractors, beam-based renovation expands the scope of what is possible in existing spaces. Dated ceilings become designed surfaces. Problem ceilings become features. The transformation is limited only by imagination.
Technical References
ASTM standards cited in every specification
Test Data
Lab results from internal testing program
Updated 2026
Reviewed against current product specs


