
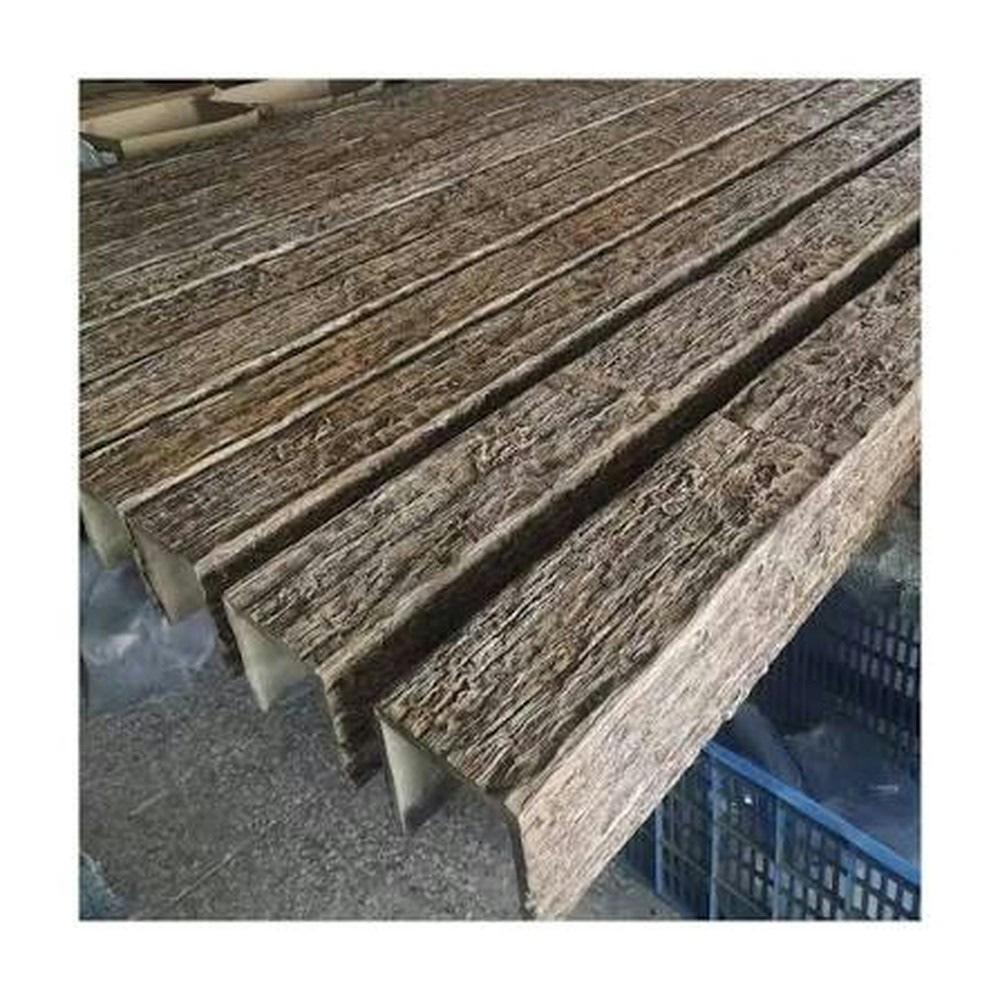
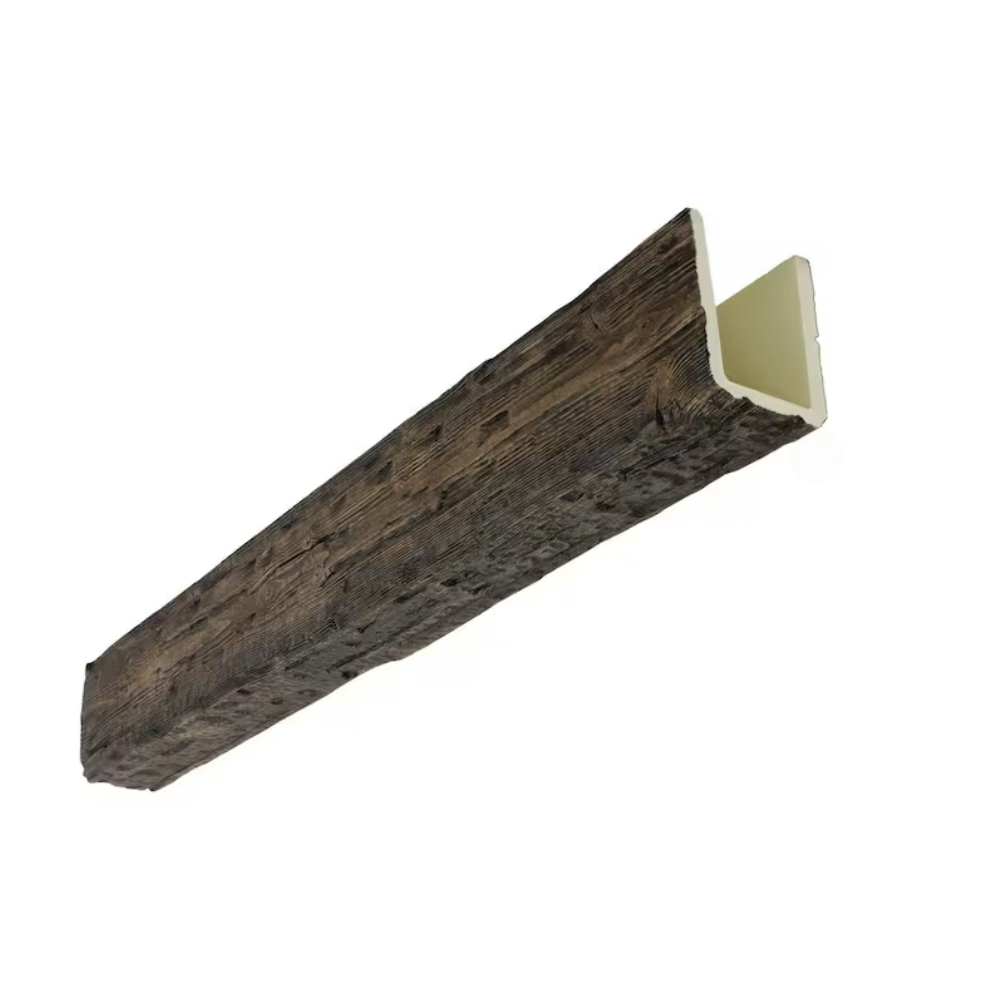
The difference between an amateur finish and a professional one often comes down to surface preparation. Even the finest PU faux wood beam, with its carefully molded grain texture and perfectly distributed color pigments, can look substandard if the finishing details are wrong. Cut ends expose the foam core. Mounting holes collect dust. The natural voids in highly textured profiles catch grime. Color-matched grain filler compounds address each of these challenges, creating a cohesive finished appearance that rivals in-factory molded products.
Understanding Grain Filler Chemistry
Grain filler compounds for PU faux wood applications are formulated specifically for polyurethane substrates, not adapted products designed for natural wood. This distinction matters because the adhesion chemistry differs. Natural wood grain fillers rely on mechanical bonding into porous cell structures. PU faux beams have a closed-cell surface that requires chemical adhesion to achieve lasting results without peeling or chipping.
Quality grain filler compounds use a polyurethane-modified binder that bonds chemically to the beam surface while accepting pigment loads that match beam colors precisely. The filler fills voids and pores without shrinking excessively during cure, which would create depression that catches light and becomes visible. Most professional formulations cure to a firm but sandable state within 2-4 hours, allowing same-day finishing for time-sensitive projects.
Application viscosity matters for practical use. Too thin and the compound runs or sags on vertical surfaces. Too thick and it cannot penetrate deep grain patterns effectively. Premium products are formulated to hang on vertical surfaces without running while flowing into fine details when worked with a flexible putty knife or spreader.
Matching Colors Systematically
Color matching is not an approximation game. Reputable manufacturers maintain spectral data for every beam colorway they produce, then formulate grain filler compounds to match those exact specifications. This means requesting the filler product that corresponds to your specific beam SKU, not trying to select from a generic color chart and hoping for adequate match.
When ordering beam products, inquire about coordinating filler compounds from the same manufacturer. Many suppliers offer complementary filler products as part of their professional finishing system. Using mismatched products from different manufacturers risks visible seams or color shifts under different lighting conditions.
For custom color beam orders, request that the manufacturer provide custom-matched filler compound as well. This service typically adds minimal cost but ensures field repairs and finishing work will blend seamlessly with the original material. Some contractors include this as a specification requirement for commercial projects where appearance standards are documented in the contract.
Practical Applications and Techniques
The most common use for grain filler compound is addressing cut ends and field modifications. When beams must be trimmed to fit on-site, the exposed foam core differs in texture and appearance from the molded surface. Filling the cut surface with a color-matched compound, allowing cure, and lightly sanding flush restores the appearance of continuity.
Mounting holes present similar challenges. Hardware attachment points that pass completely through the beam expose the foam core from multiple angles. Filling these holes completely, then refinishing with touch-up coating, creates a surface that reads as continuous molded material rather than repaired modification.
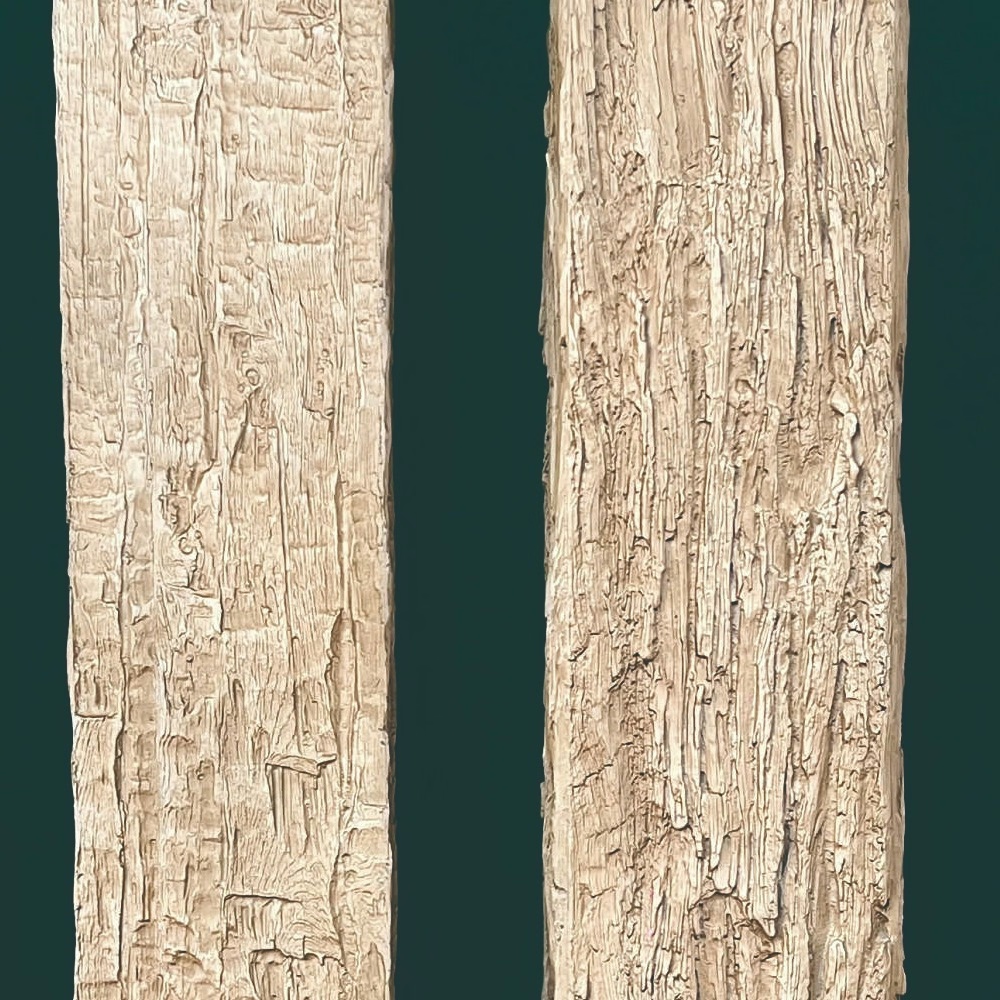
Texture blending requires technique. Simply filling voids with compound and allowing it to cure creates a smooth patch that looks like a repair rather than original material. The professional approach involves working filler into the grain pattern, then using texture rollers or stamps to recreate the original surface character before full cure. This technique requires practice but produces results indistinguishable from factory-molded surfaces.
| Filler Application | Surface Type | Technique |
|---|---|---|
| Cut ends | Exposed foam | Full coat, sand flush when cured |
| Mounting holes | Recessed void | Pack firmly, overfill slightly, sand level |
| Grain voids | Textured profile | Work into pattern, texture to match |
| Corner returns | Mitered joint | Feather thin at edges, build in center |
Professional Finishing Workflow
A systematic finishing workflow ensures consistent results across large installations. Begin by inspecting all beam surfaces under good lighting, marking any areas requiring filler attention with painter's tape. This inventory guides material estimation and ensures no repairs are overlooked during the finishing phase.
Mix filler compound according to manufacturer instructions—some products require catalyst addition for proper cure, while others are ready to use from the container. Work in manageable sections, applying filler to all identified areas before moving to the next step. Avoid over-mixing or working with product that has begun skinning over, as adhesion and finish quality suffer.
Allow adequate cure time before sanding. Rushing this step typically results in filler pulling away from edges or creating dust that clogs sandpaper without achieving smooth results. Temperature and humidity affect cure times; follow manufacturer guidelines for your specific conditions rather than assuming times from different environments.
Final finishing with manufacturer-recommended topcoat products ensures color consistency across repaired and unrepaired surfaces. The topcoat bonds to both the original beam surface and the filled areas, creating a seamless appearance that holds up to cleaning and environmental exposure.
Estimating Material Requirements
Professional installers develop material estimation formulas based on experience with specific products and beam profiles. For standard textured beams, estimate approximately 1 fluid ounce of filler compound per linear foot of exposed cut end. Dense grain patterns require more material than subtle textures because the voids are deeper. High-relief profiles may require 1.5-2 ounces per linear foot for complete filling.
Hole filling requirements depend on hole diameter and beam thickness. A standard lag screw hole (approximately 3/16 inch diameter) through a 6-inch beam requires roughly 0.1 fluid ounce of filler compound. Larger hardware or through-bolts proportionately increase material requirements.
Ordering filler compound with initial beam orders ensures color-matched products are available when installation begins. Stocking extra compound for larger projects provides buffer for unexpected modifications or damage during handling. Most manufacturers offer filler compounds in sizes from 4-ounce tubes for small touch-up work through gallon containers for large commercial installations.
Storage and Shelf Life
Proper storage extends filler compound shelf life and maintains working properties. Keep containers tightly sealed when not in use, and store away from direct sunlight and temperature extremes. Most polyurethane filler compounds remain usable for 12-18 months when properly stored, though settling may require stirring before application.
Avoid using filler compound that has separated significantly, developed a strong odor, or shows signs of curing in the container. These conditions indicate age-related degradation that will produce poor results. When in doubt, test a small amount on a scrap piece before committing to a visible application.
For projects spanning extended timelines, store filler compounds in climate-controlled conditions rather than leaving them in unconditioned storage spaces. Temperature cycling accelerates degradation and can cause condensation contamination of open containers.
Working with Multiple Beam Colors
Large commercial installations may specify different beam colors for different areas or architectural zones. Managing filler compounds for multiple colorways requires organization to prevent cross-contamination and ensure proper matching.
Label all filler containers clearly with corresponding beam SKU numbers and color names. Store products separately to prevent accidental substitution. When working in areas with different beam colors, complete filler applications for one colorway before moving to areas with different specifications.
Some contractors use separate application tools (putty knives, spreaders, brushes) for each colorway to prevent transfer contamination. While excessive for simple touch-up work, this attention to detail matters for visible repairs in high-profile installations where close inspection is likely.
Training and Skill Development
Proficiency with grain filler compounds develops through practice. New users should begin with less visible applications before tackling prominent repairs or modifications. Understanding how the specific product behaves—cure time, sandability, color shift during drying—enables predictable results.
Manufacturer technical support provides valuable guidance for specific applications. Many suppliers offer application videos, written guides, and even on-site training for large commercial projects. Taking advantage of these resources accelerates the learning curve and prevents costly mistakes on visible installations.
The investment in learning proper finishing techniques pays dividends throughout a contracting career. Skilled finishers command premium pricing for their work and develop relationships with designers and project managers who value the attention to detail that distinguishes professional installations from amateur attempts.
Technical References
ASTM standards cited in every specification
Test Data
Lab results from internal testing program
Updated 2026
Reviewed against current product specs


