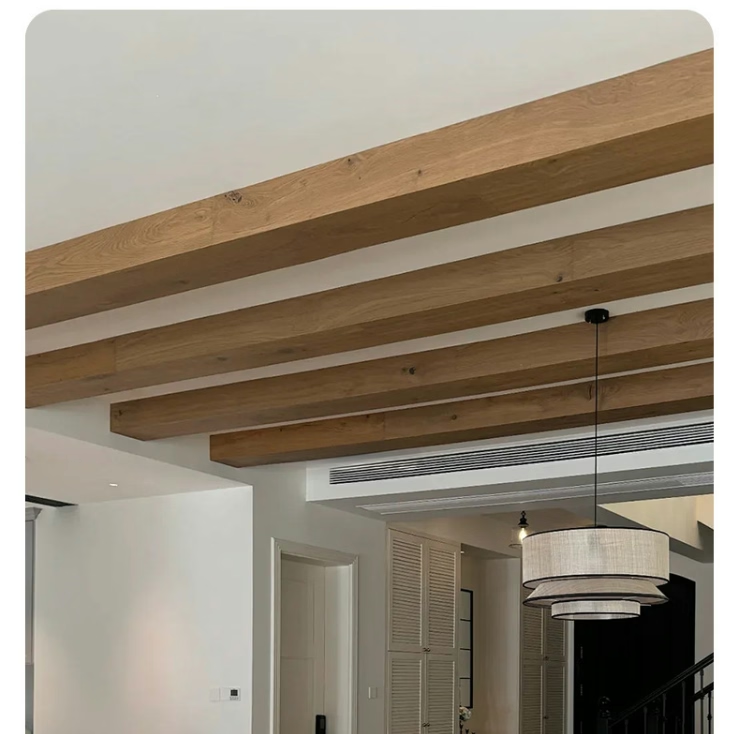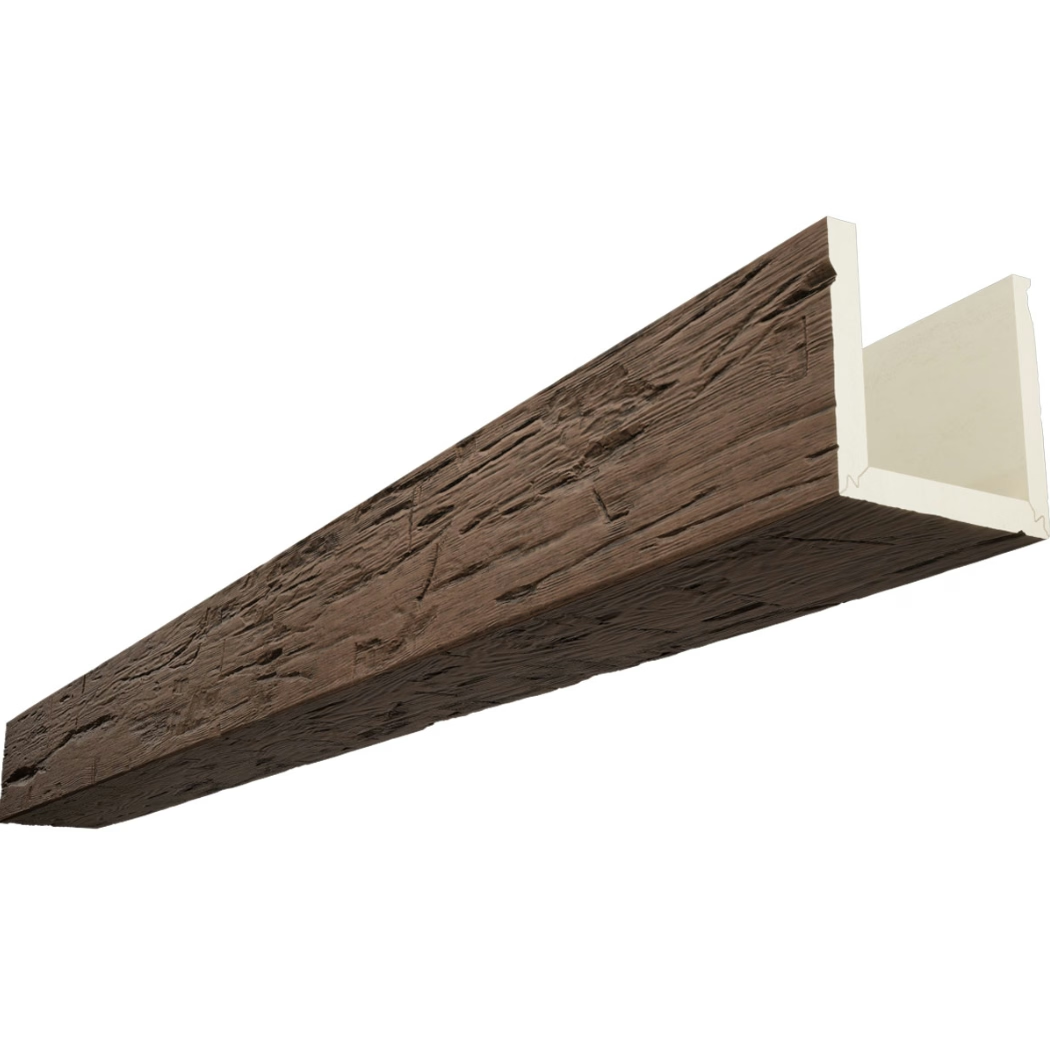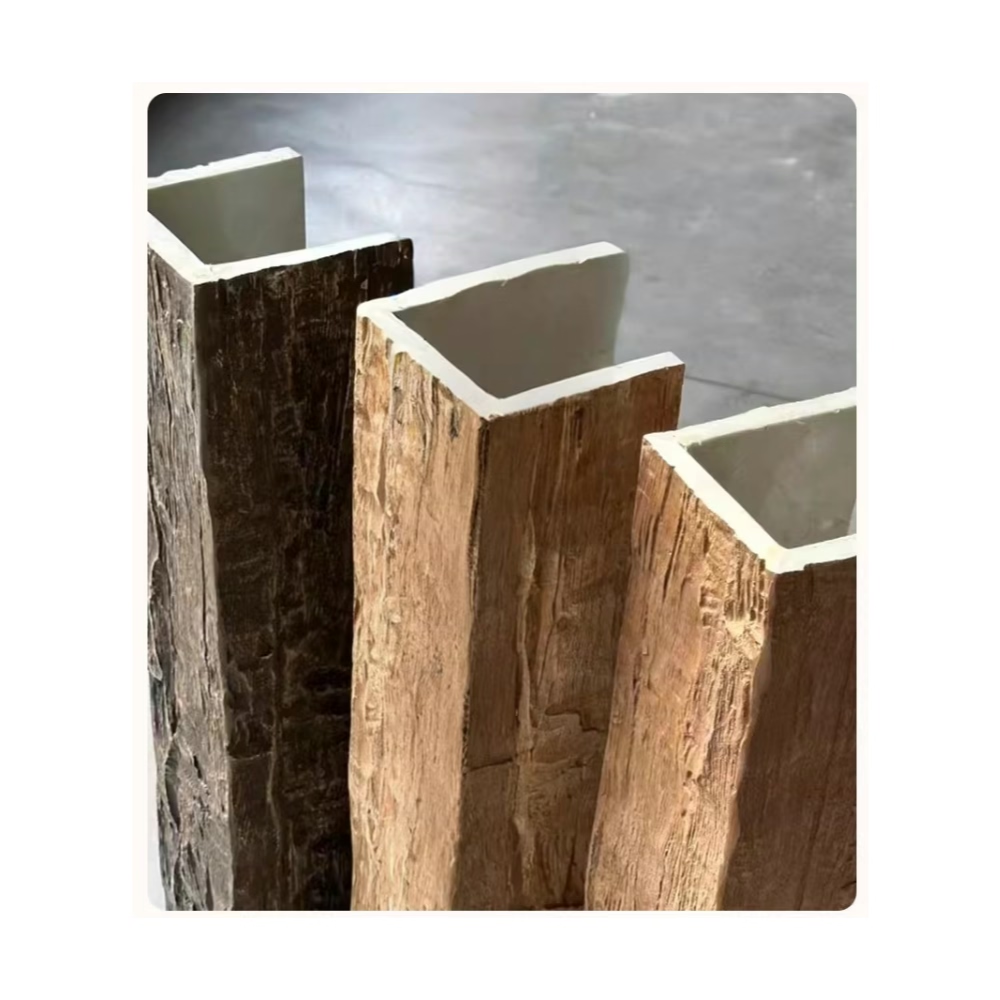
The owner of a twelve-year-old fashion boutique faced a dilemma familiar to retailers: the ceiling showed its age with water stains, cracking plaster, and outdated acoustic tiles, but closing for an extended renovation meant losing momentum during peak selling season. Her contractor proposed installing commercial grade polyurethane beams directly over the existing ceiling grid, eliminating demolition, reducing dust and noise, and cutting the project timeline from six weeks to eleven days. Sales continued uninterrupted while the renovation transformed the space from tired to spectacular.
This renovation approach has gained significant traction because polyurethane faux beams accommodate the imperfect substrates common in renovation work while delivering premium aesthetic results. Understanding how to specify, install, and detail these products in renovation contexts helps contractors and designers capture projects that might otherwise be deferred due to cost or disruption concerns.
Why Polyurethane Excels in Renovation Contexts
Renovation work presents challenges that fresh construction avoids entirely. Existing ceilings contain layers of previous installations, hidden structural issues, and surfaces that rarely meet the tolerances new construction expects. Polyurethane beams tolerate these conditions because they install with adjustable mounting systems, hide substrate imperfections, and require no load-bearing modifications to existing structure.
The material weighs a fraction of real timber, allowing installation directly on existing ceiling systems without engineering assessment or structural reinforcement. A four-meter beam section at twelve kilograms creates minimal additional loading on ceiling joists or grid systems that already support lighting, HVAC diffusers, and ceiling tiles. Structural engineers reviewing renovation plans frequently approve polyurethane beam installations that would require expensive engineering analysis if specified in solid timber.
Moisture resistance proves particularly valuable in renovation contexts where existing building envelopes may have marginal performance. HVAC systems, plumbing leaks, or humidity from adjacent spaces can degrade real timber over time, causing warping, splitting, or mold growth. Polyurethane absorbs no moisture, maintaining dimensional stability regardless of environmental conditions and eliminating the biological decay concerns that affect organic materials in problem buildings.
Installation Methods for Existing Structures
Direct mounting to ceiling joists works when joist locations are known and accessible from above or below. Installers locate joist positions using stud finders or reference drawings, then mount blocking or backing boards between joists at designated beam locations. The blocking provides solid mounting substrate for French cleats or lag screws, creating connections that exceed the load requirements for ceiling beam installations.
Grid system overlay installation suits spaces with suspended ceiling grids that lack accessible joists. Installers suspend additional framing members from the existing grid at beam locations, then mount beams to the supplementary framing. This approach raises the ceiling plane slightly—typically twenty to forty millimeters—but creates opportunities for integrated indirect lighting, improved acoustic performance, and modern visual impact that justifies the minimal height loss.
Adhesive bonding to existing ceilings works for smooth, sound, clean substrates such as plaster, drywall, or concrete. Construction adhesive formulated for polyurethane substrates creates bonds that complement mechanical fastening, providing distribution of loads across the entire beam back rather than concentrated attachment points. Surface preparation requirements for adhesive bonding include cleaning, drying, and in some cases priming to ensure adequate bond development.

Design Strategies for Shop Renovation
Retail environments benefit from beam installations that create spatial hierarchy and guide customer movement through merchandise displays. Parallel beams draw the eye through the space, while perpendicular installations can emphasize product zones, checkout areas, or fitting rooms. The visual guidance effect proves particularly valuable in larger format stores where customers might otherwise struggle to navigate expansive floor plans.
Color selection significantly impacts how beams function in retail renovation contexts. Warm honey tones suit boutiques, home furnishings, and lifestyle retail where relaxed purchasing behavior is desired. Darker walnut and mahogany tones communicate luxury and exclusivity in jewelry, fashion, and specialty goods retail. Neutral oak finishes provide flexibility in multi-tenant retail spaces where future tenants may have different brand aesthetics.
Beam profile selection should consider the scale of the renovated space. Retail environments with ceiling heights exceeding four meters accommodate large-scale beams measuring 300 millimeters or larger in width and depth. Smaller retail spaces with standard 2.7 to 3.0 meter ceilings typically work better with 150 to 200 millimeter profiles that provide visual interest without overwhelming the space.
Design Strategies for Office Renovation
Office renovation beams should align with corporate culture and workspace design philosophy. Technology companies and creative agencies often prefer industrial aesthetics with exposed beams in natural or lightly finished tones, emphasizing authenticity and craftsmanship. Financial services and legal firms typically specify more refined, formal beam details that communicate stability and attention to quality.
Collaboration zones in open office renovations benefit from beam installations that define neighborhoods without constructing walls. The spatial definition helps teams orient within large floor plates while maintaining the collaborative environment that modern office design emphasizes. Beam heights of 200 to 300 millimeters provide sufficient visual presence without creating oppressive overhead conditions that reduce employee comfort.
Private offices and executive suites frequently employ beam installations on visible ceiling areas visible through glass partitions or doorways. The aesthetic investment signals organizational values and attention to workspace quality. Beam finishes in executive areas should coordinate with furniture, millwork, and architectural finishes, creating cohesive interior environments that support recruitment and retention objectives.
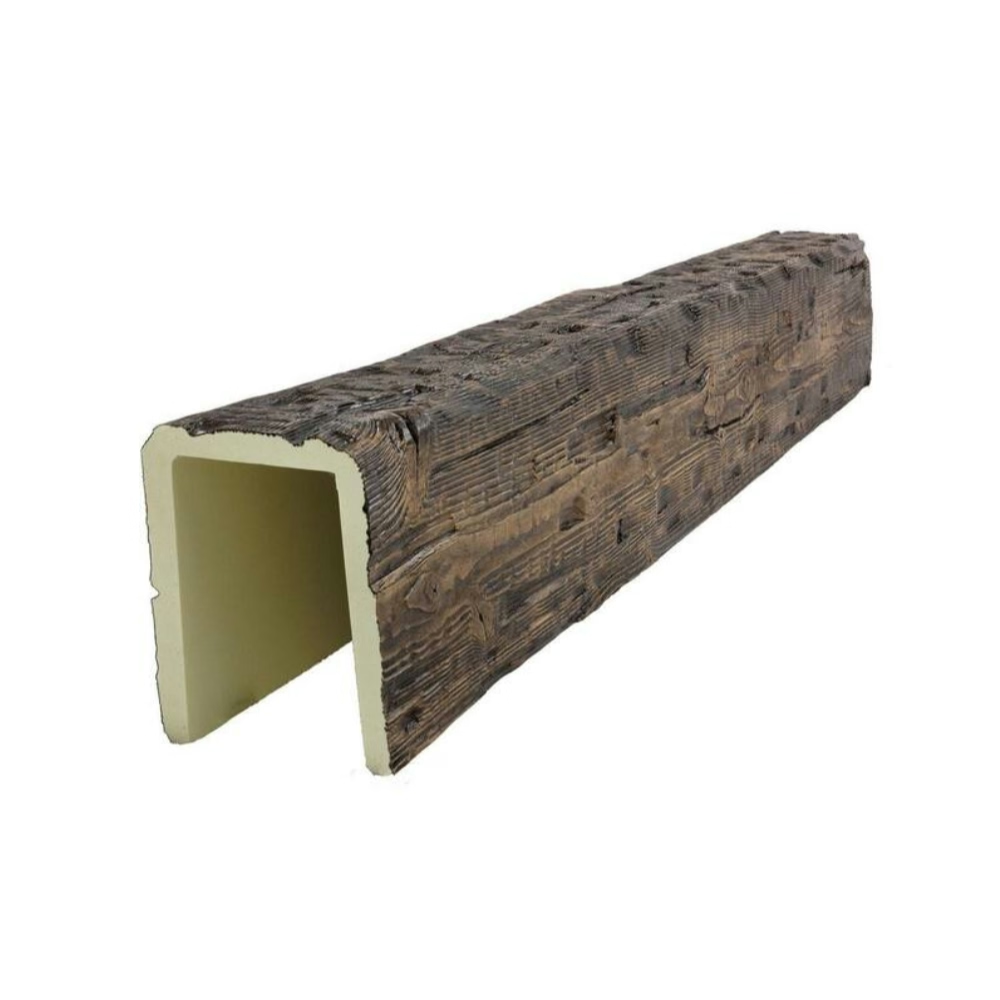
Managing Renovation Logistics and Timeline
Successful renovation material procurement requires early specification and order confirmation to avoid delays. Commercial grade polyurethane beams typically require four to six weeks for production and shipping, with expedited service available at premium pricing for urgent projects. Project schedules should account for material lead times when planning renovation timelines that assume immediate availability.
Storage and material handling in occupied buildings requires coordination with building management, elevator scheduling, and security protocols. Beam shipments arrive in lengths that may require assembly on-site through splicing or segment installation. Pre-construction verification of elevator dimensions, stairwell clearance, and delivery access prevents expensive surprises during material receipt.
Coordination with other trades during renovation ensures beam installation proceeds without interference from electrical, mechanical, or finishing work. Beam mounting should follow rough electrical and precede finish painting, allowing electrical contractors to install integrated lighting while painters complete the ceiling plane. HVAC modifications requiring ceiling access should occur before beam installation or include provisions for beam removal and reinstallation.
Quality Verification and Compliance
Renovation specifications should require documentation of fire ratings, structural performance, and material composition. Commercial building codes increasingly enforce compliance verification during certificate of occupancy processes, and renovation projects may face inspection at any point during construction. Having documentation readily available prevents costly delays when building officials request specification compliance evidence.
Field verification of delivered materials includes checking dimensions against order specifications, inspecting surface finish quality under good lighting, and confirming that fire rating labels match specification requirements. Discrepancies identified before installation are far easier to resolve than problems discovered during inspection. Professional contractors photograph delivered materials and document any concerns before beginning installation.
Warranty documentation should transfer to the building owner upon project completion, including manufacturer warranty certificates, installation guidelines, and recommended maintenance procedures. Building owners appreciate receiving this documentation in a project closeout package, and the professional practice differentiates quality contractors from less thorough competitors.
Technical References
ASTM standards cited in every specification
Test Data
Lab results from internal testing program
Updated 2026
Reviewed against current product specs