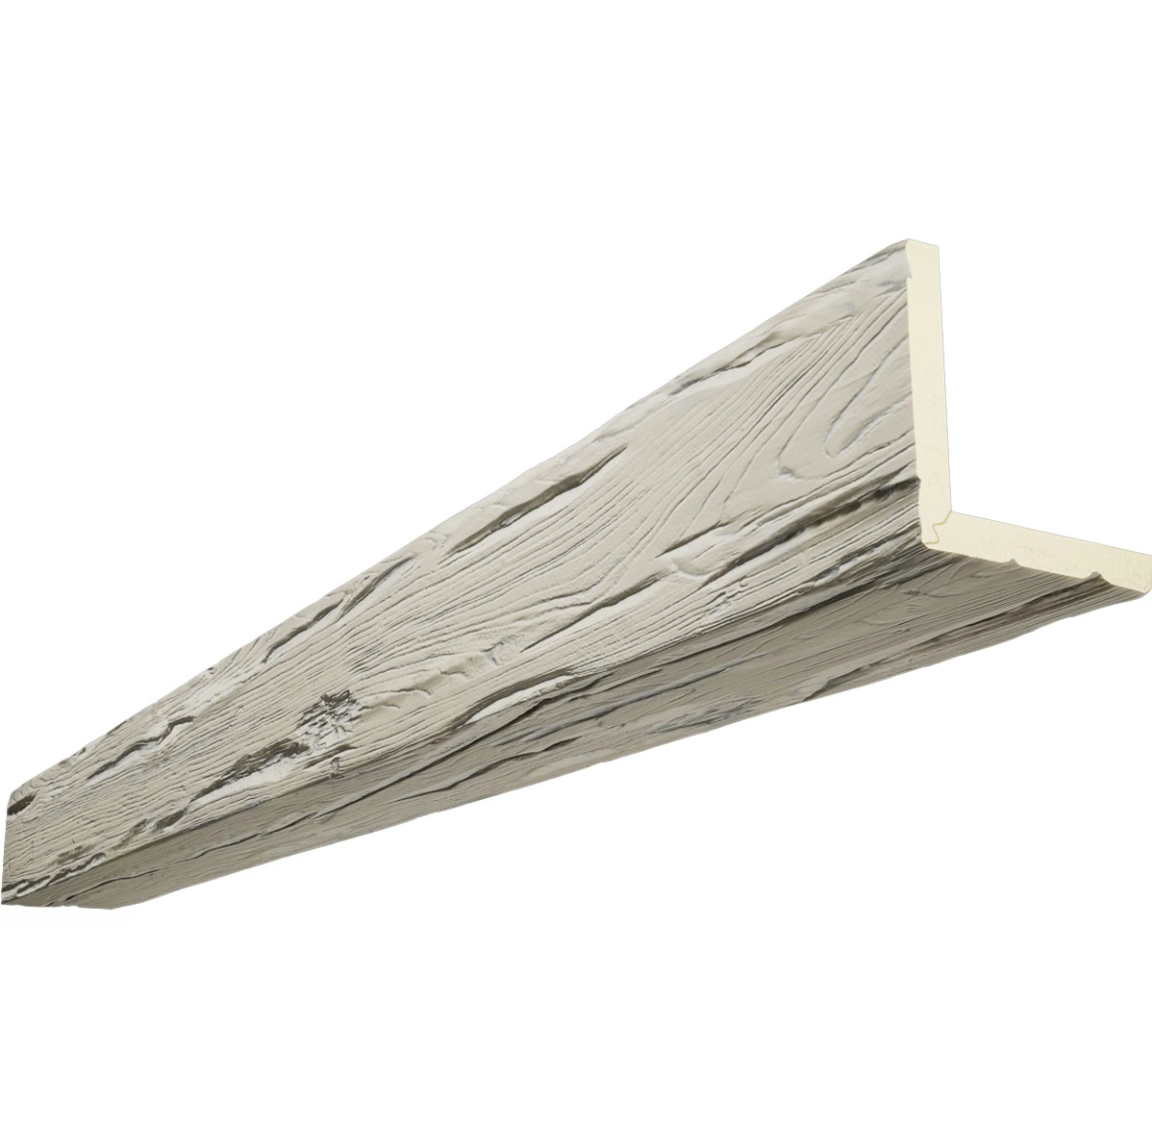
The homeowner's beam installation started well but encountered a problem halfway through the second day: the fourth beam in a row refused to align with the others, leaving a visible gap that grew larger toward one end. She had measured carefully, marked positions, and applied adhesive evenly, yet something was wrong. After a few minutes of investigation, she realized that the first three beams had been mounted slightly off-center, and each subsequent beam compounded the error. She removed the fourth beam, re-marked positions based on actual measurements rather than initial assumptions, and completed the installation with consistent alignment. The lesson about cumulative measurement error saved the remaining installation from similar problems.
DIY beam installation projects typically proceed smoothly when installers understand the common problems that emerge and have practical solutions ready before issues arise. This guide addresses the most frequent installation challenges with solutions developed from contractor experience and DIY community knowledge.
Measurement and Alignment Issues
Cumulative measurement error represents the most common DIY installation problem. Small measurement deviations at the beginning of an installation multiply through subsequent pieces, creating alignment problems that become increasingly difficult to correct as installation progresses. The solution involves measuring each piece position individually rather than assuming consistent spacing from an initial mark.
Starting positions should be verified against multiple reference points including walls, ceilings, and existing features. A single reference point may itself be slightly off, but checking against multiple references reveals any inconsistencies before installation begins. Snap chalk lines or laser levels provide reliable reference marks that remain visible throughout installation.
Laser levels have largely replaced traditional chalk lines and spirit levels for beam alignment, providing accuracy and convenience that manual methods cannot match. Self-leveling laser levels project reference lines that remain accurate across long distances, enabling precise alignment throughout large installations.
Ceiling Substrate Problems
Unlevel ceilings create alignment challenges that require careful management. Slightly unlevel ceilings can be addressed by shimming behind beams at low points, while significantly unlevel ceilings may require furring strips that establish a level mounting surface for beam installation.
Ceiling joists that don't align with intended beam positions require additional blocking or framing to provide solid mounting surfaces. Installers should locate joists using stud finders and reference any available construction documentation, then add blocking between joists where needed for beam mounting.
Drywall or plaster irregularities including low spots, high spots, and cracks complicate beam mounting. Surface preparation including patching, sanding, and priming creates more uniform substrates that accept adhesive and mounting hardware more reliably. Significant irregularities may require more extensive repair before beam installation begins.

Adhesive and Mounting Issues
Inadequate adhesive adhesion is a common problem when substrates are dusty, oily, or otherwise contaminated. Surface preparation with appropriate cleaners and allowing adequate drying time before adhesive application ensures reliable bond development. Most polyurethane adhesives work best on clean, dry, slightly roughened surfaces.
Adhesive selection matters significantly for installation success. Construction adhesives formulated for polyurethane substrates provide reliable bonds, while generic adhesives may not develop adequate strength. Manufacturer recommendations should guide adhesive selection, and using untested products risks bond failure that creates safety concerns.
Mounting hardware issues including inadequate fasteners, incorrect spacing, or improper engagement with substrates cause beams to sag, shift, or fall. Fasteners should be sized appropriately for beam weight and substrate type, with spacing determined by beam dimensions and load requirements. Pre-drilling pilot holes prevents splitting and ensures proper fastener engagement.
Beam Damage During Installation
Scratches and dents from handling occur frequently during installation, particularly when beams are moved into position in tight spaces. Pre-installation protection with painter's tape on vulnerable surfaces helps prevent damage, and immediate touch-up with manufacturer-recommended repair materials addresses damage that occurs.
Chipping at beam edges during cutting and fitting operations can be minimized with proper cutting techniques. Sharp blades designed for polyurethane cutting produce clean cuts without chipping, while dull or inappropriate blades tear and chip material. Test cuts on scrap material verify technique before cutting finished beams.
Cracking during mounting typically indicates excessive pressure, inadequate support, or structural movement. Beams should be mounted with appropriate support along their length, with pressure applied evenly during fastening. Any cracking observed during installation should be evaluated for cause before proceeding.
Splicing Long Beam Runs
Joining beam sections for long spans requires careful attention to alignment, joint treatment, and structural continuity. Scarf joints cut at angles provide more attractive finished appearances than square cuts, with the angled joint hiding any minor alignment variations while providing adequate bonding surface.
Joint reinforcement with backing blocks behind splices provides structural continuity that surface treatments alone cannot achieve. Wood or metal backing inserted behind the joint distributes loads across both beam sections while adhesive develops the bond that holds the assembly together.
Joint finishing requires techniques that hide the seam while maintaining realistic wood appearance. Color-matched fillers, careful grain pattern continuation, and textured finishing that simulates wood grain across joints create connections that are difficult to detect once complete. Practice on scrap material helps develop technique that produces acceptable finished results.
Working Around Obstacles
Light fixtures, ceiling fans, and HVAC components create obstacles that require creative beam arrangements or custom modifications. Beam layouts should be planned to avoid major obstacles where possible, but where obstacles exist within planned beam paths, custom cuts and treatments become necessary.
Electrical considerations for fixtures integrated with or mounted to beams require careful attention to code requirements and safety. Junction boxes must remain accessible, wire runs must satisfy code requirements, and any electrical work beyond simple fixture mounting should be performed by qualified electricians.
HVAC ducts and diffusers may require beam modifications including notching or splitting that accommodate ductwork while maintaining beam structural integrity. Custom modifications should preserve adequate beam cross-section to maintain load capacity while providing necessary clearances.
Finish Issues and Touch-Up
Color matching during touch-up requires using manufacturer-supplied touch-up materials or carefully matched alternatives. Standard wood stains rarely match polyurethane finishes accurately, and attempts to refinish small areas typically produce visible differences from surrounding surfaces.
Texture matching during repair involves reproducing the grain patterns, surface irregularities, and finish characteristics of the original beam. Practice on hidden areas or scrap material helps develop techniques that produce acceptable results, with the understanding that perfect matches may be impossible to achieve.
Seam visibility between original and repaired areas typically diminishes over time as finishes age and patina develops. Immediate results may show visible repair areas, but aging helps blend repairs into surrounding materials, particularly for finishes that develop character with age.
When to Seek Professional Help
Structural concerns including damaged ceilings, inadequate mounting substrates, or load-bearing questions warrant professional assessment before installation continues. Engineers or experienced contractors can evaluate conditions and recommend appropriate solutions that protect both the installation and building occupants.
Electrical or plumbing work intersecting with beam installation should be performed by qualified tradespeople. Even seemingly simple connections or modifications may have code implications that require licensed professionals to address safely and legally.
Complex beam configurations including curves, compound angles, or integration with structural elements typically exceed DIY capability. Custom fabrications or structural modifications benefit from professional design and installation that ensures safety and code compliance.
Technical References
ASTM standards cited in every specification
Test Data
Lab results from internal testing program
Updated 2026
Reviewed against current product specs


