A stunning faux wood beam installation depends on more than selecting beautiful beams. The difference between amateur-looking results and professional installations often comes down to thoughtful accessory selection that addresses functional requirements and enhances visual authenticity. Understanding the complete ecosystem of complementary products enables designers, contractors, and DIY enthusiasts to plan installations that look genuinely crafted rather than merely assembled.
Essential Functional Accessories
Every beam installation requires hardware that securely attaches the decorative element to the ceiling structure. While polyurethane beams are lightweight compared to timber, they still need reliable support that withstands normal building movement and occasional contact. The mounting approach depends on whether beams span between structural supports or hang independently.
Cleat mounting systems represent the most common approach for beams parallel to ceiling joists. Steel angles or specially designed mounting cleats attach directly to the structural framing, with corresponding attachment points on the beam underside. This method hides all hardware once installed and distributes load effectively across multiple attachment points. Quality manufacturers provide compatible cleat systems designed specifically for their beam profiles.
For beams perpendicular to joists or in situations where direct mounting proves challenging, hanger systems using threaded rods or cables provide alternative solutions. These systems require structural ceiling attachment capable of supporting the load, but they enable installations in locations without direct joist access. Professional installers often prefer these methods for particularly long spans where deflection resistance matters.
Regardless of approach, the rule is simple: never rely solely on adhesive mounting for beams. Adhesives fail over time, especially in temperature-fluctuating environments. Mechanical attachment through the beam into structural elements provides lasting security that adhesive alone cannot guarantee. The best installations use both methods together—adhesive for alignment and sealing, mechanical hardware for load-bearing security.
Decorative Support Elements
Corbels and brackets transform simple beam installations into architecturally sophisticated treatments. These decorative elements attach where beams meet walls or where they span across open spaces, adding visual weight and authenticity that bare beam terminations cannot achieve. Polyurethane manufacturers typically offer matching corbel designs that complement their beam profiles, ensuring coordinated aesthetics throughout the installation.
Selecting corbels requires balancing visual impact with proportional appropriateness. Oversized corbels that dwarf the beams they support create awkward proportions, while undersized brackets look inadequate and fail to provide the support appearance that motivates their inclusion. General guidance suggests corbel depth should approximately match beam height, with width proportional to overall installation scale.
Wall plates and frieze boards serve different but complementary roles in complete installations. Wall plates attach directly to the wall surface behind beams, creating the appearance of structural bearing where beams terminate. These strips of material—matching or coordinating with beam finish—ground the installation visually and provide clean edges where beams meet vertical surfaces. Frieze boards perform similar functions but extend around entire room perimeters, creating cohesive framing for ceiling treatments.
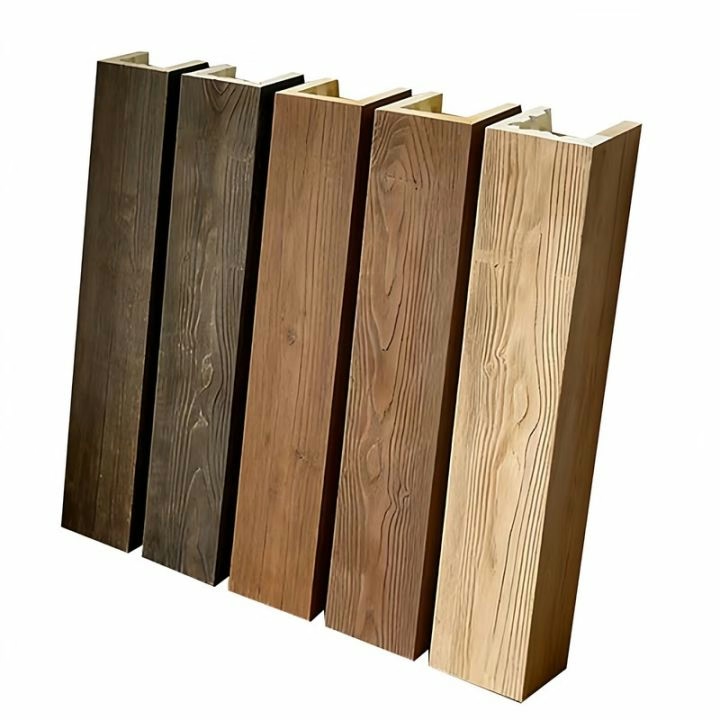
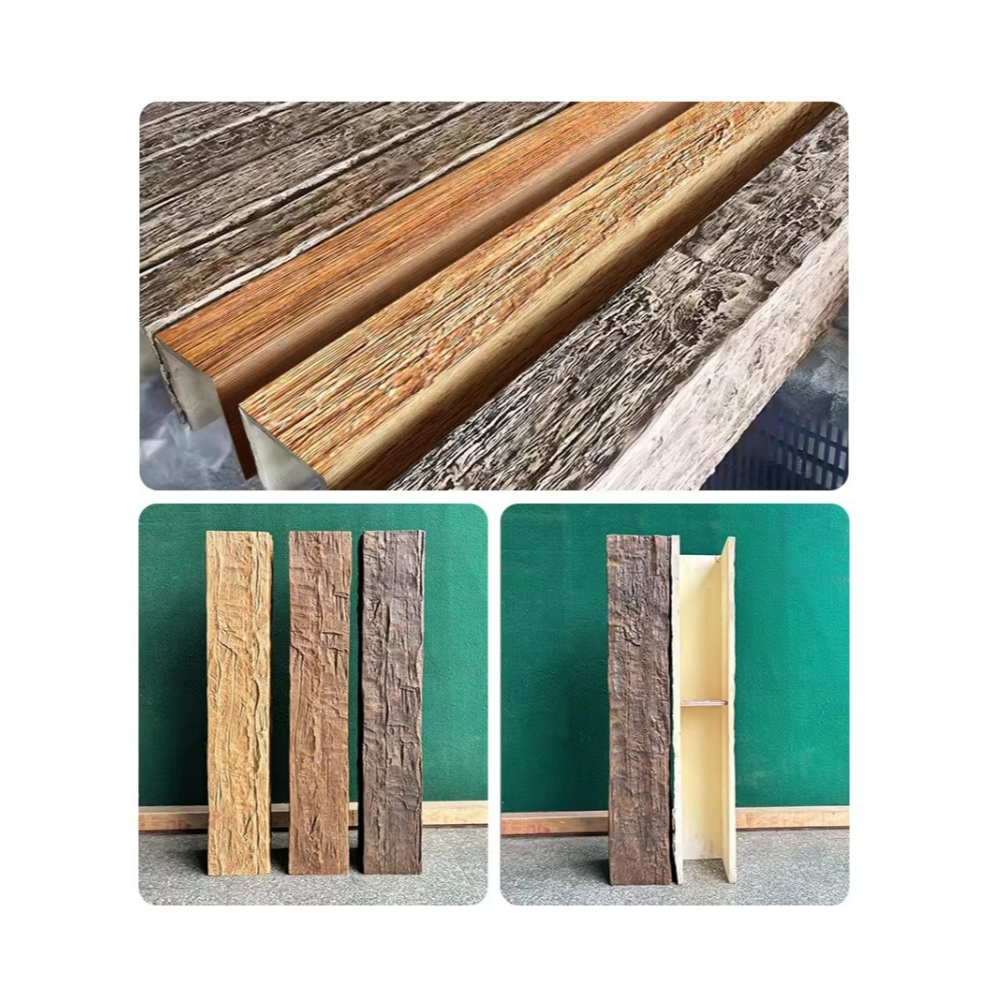
Finishing Touches That Complete the Look
End caps and closure pieces address beam terminations that occur at walls, posts, or other vertical surfaces. These molded elements create finished appearances without requiring complex field cutting or shaping. Quality end caps match beam textures and finishes seamlessly, making joints nearly invisible to casual observers.
Rafter tails extend beams beyond ceiling planes into visible overhangs, mimicking traditional roof construction where beams extend through exterior walls. These decorative extensions add significant visual authenticity to outdoor installations like covered patios or interior spaces with exposed roof structures. Polyurethane rafter tails often feature detailed shaping that would require extensive carpentry to achieve in timber.
Capping pieces and trim strips address transitions between beams and ceiling surfaces. These thin profiles hide gaps that inevitably occur where beams meet ceiling planes, providing clean lines that read as intentional rather than as installation imperfections. Matching trim pieces coordinate with beam finishes to maintain cohesive appearance throughout the installation.
Coordinating Across the System
Professional-looking installations result from treating the beam system as an integrated whole rather than assembling independent components. This means selecting accessories from the same manufacturer or product line when possible, ensuring consistent finish, texture, and quality across all visible elements.
When mix-and-match approaches become necessary—perhaps because specific accessories aren't available from one source—careful attention to finish compatibility prevents obvious mismatches. Wood-tone finishes are particularly challenging to coordinate across manufacturers because each applies color differently. Request samples of all components before committing to large orders, evaluating how pieces look together under various lighting conditions.
Scale relationships between components deserve careful consideration throughout the planning process. A beam installation that looks proportionally perfect in isolation may appear heavy or light depending on room dimensions, furniture scale, and overall design context. Large rooms generally accommodate larger beams and more substantial accessories, while smaller spaces benefit from more restrained proportions.
Sourcing Complete Accessory Packages
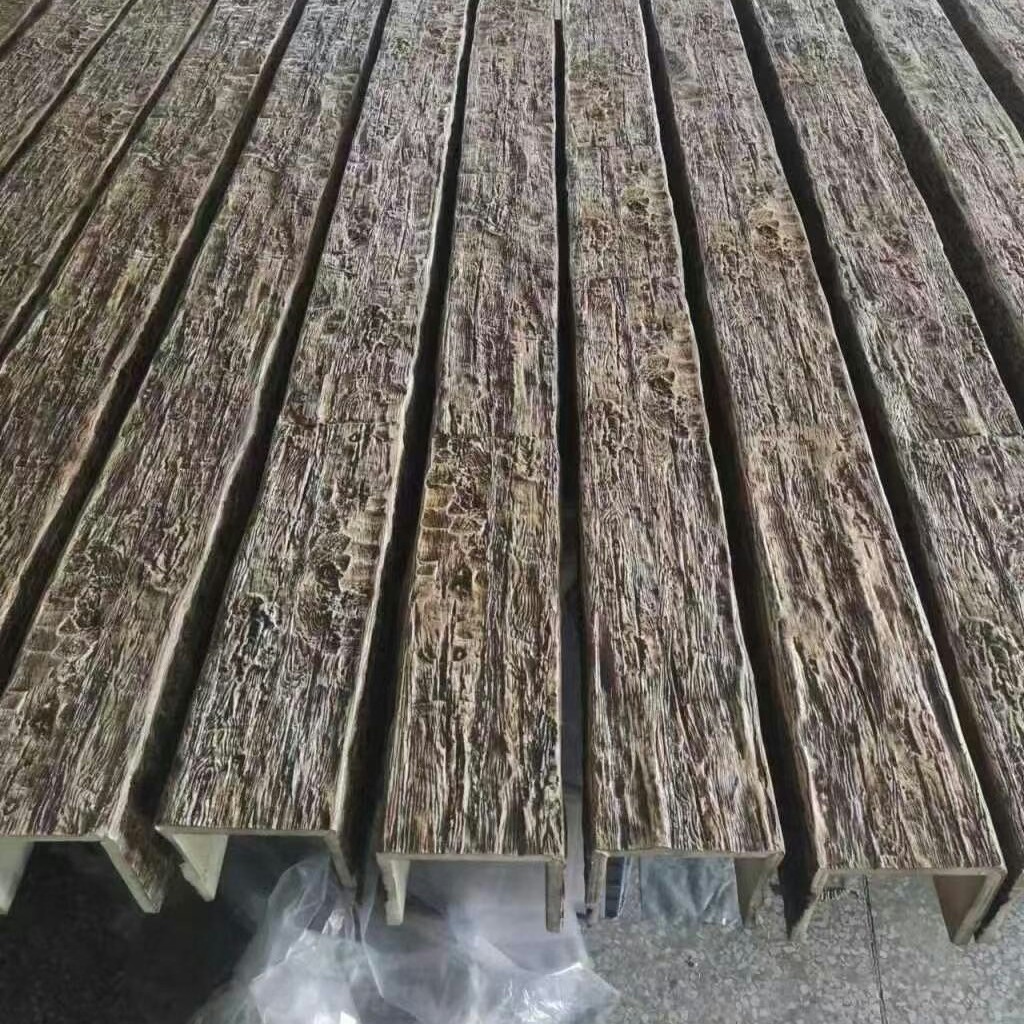
Many manufacturers offer pre-coordinated accessory collections designed to work with their beam products. These packages simplify procurement by bundling compatible items at attractive pricing, reducing the risk of incompatible components. For contractors handling multiple similar installations, standardized accessory packages also streamline installation procedures and reduce on-site decision-making requirements.
Custom accessory fabrication becomes necessary for non-standard installations or unique aesthetic requirements. Some manufacturers accommodate custom requests for specialized brackets, custom-mitered pieces, or unusual profile modifications. These capabilities come at premium pricing and longer lead times, but they enable installations that standardized products cannot achieve. Discuss custom requirements with manufacturers early in the planning process to understand feasibility, pricing, and scheduling implications.
Stocking recommendations for distributors depend heavily on customer mix and local market characteristics. Maintaining complete accessory inventory—rather than just popular beams—enables same-day quotes and quick fulfillment that differentiate distributors from competitors requiring special orders for every project. Focus inventory investments on universal accessories that work across multiple beam sizes and styles, supplementing with beam-specific items as orders confirm actual requirements.
Complete faux wood ceiling beam installations require attention to complementary accessories that address both functional and aesthetic requirements. The contractors and designers who master this complete system deliver installations that justify premium pricing while satisfying customers who receive genuine value for their investments.
Technical References
ASTM standards cited in every specification
Test Data
Lab results from internal testing program
Updated 2026
Reviewed against current product specs


