Successful faux timber beam installations begin long before the first piece is mounted. Careful planning and comprehensive material procurement prevent the frustration of mid-project delays, unnecessary trips for forgotten supplies, and the compromised results that arise from substitutions made under time pressure. A complete bill of materials prepared before purchasing begins creates the foundation for smooth execution and professional outcomes.
Primary Structural Elements
The beams themselves represent the most significant procurement decision, requiring accurate quantity calculations and thoughtful selection of sizes, styles, and finishes. Getting these choices right prevents the most disruptive and expensive problems.
Beam quantity calculations should account for both the linear footage required and any additional length needed for returns, where beams extend beyond visible ceiling planes into adjacent spaces. Adding ten to fifteen percent to calculated quantities accounts for cutting losses, damaged pieces, and future replacement needs. For projects with multiple beam lengths, separately calculating each length ensures adequate quantities of each size.
Profile selection should match both aesthetic goals and installation realities. Some beam profiles work better for specific mounting approaches or room configurations. Verify that chosen profiles accommodate the mounting methods planned for your specific application, particularly if working around obstacles or in challenging structural situations.
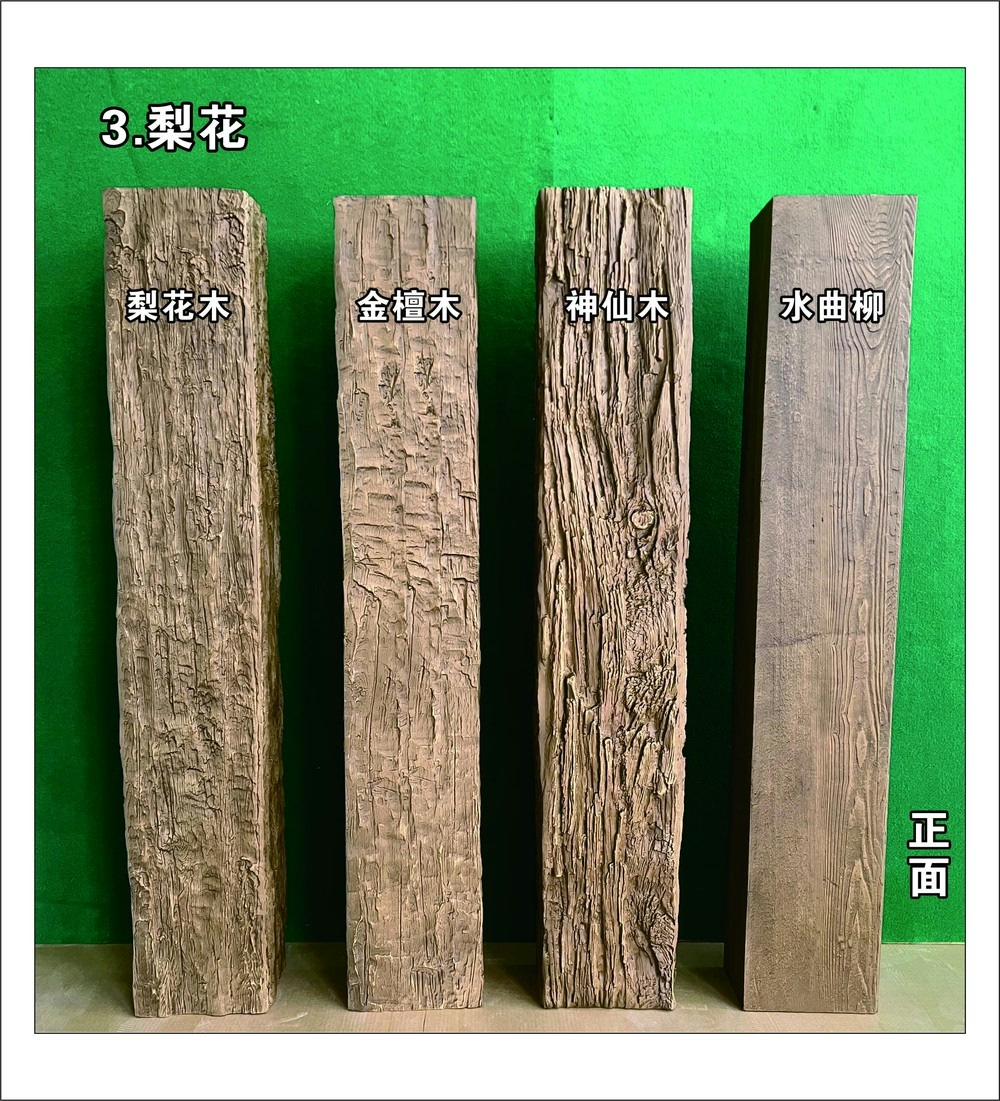
Finish selection affects long-term satisfaction significantly. Request samples when possible and evaluate how proposed finishes appear in your actual space under your lighting conditions. Consider how finishes coordinate with adjacent materials—walls, existing trim, and other architectural elements all influence which beam finishes will work best.
Mounting Hardware Requirements
Mounting hardware connects beams to structural elements and must be appropriate for both the beam construction and the ceiling substrate. Insufficient or inappropriate hardware compromises installation security and longevity.
Cleat systems designed for specific beam profiles provide the most reliable mounting approach. Most manufacturers offer matching cleat hardware optimized for their products. Order cleats sufficient for attachment points spaced according to manufacturer recommendations—typically every sixteen to twenty-four inches along beam length, with additional points at ends and joints.
Structural screws rated for appropriate loads secure cleats to ceiling substrates. The required screw type depends on substrate construction—wood joists require different fasteners than steel I-joists or concrete ceiling assemblies. Consult with building supply professionals if uncertain about appropriate fastener selection for your specific construction.
Heavy-duty construction adhesive approved for polyurethane applications supplements mechanical fastening while filling gaps between beams and substrates. Select adhesives compatible with both polyurethane and your ceiling material, and verify temperature range suitability for your installation environment. Apply adhesive in continuous beads along mounting surfaces, not in scattered spots that leave voids.
Support and Decorative Accessories
Beyond basic mounting hardware, many installations require additional accessories that complete the system and enhance visual authenticity.
Corbels and brackets add architectural interest where beams meet walls or where independent beam spans require visual support elements. Match these accessories to beam styles for coordinated appearance. Order sufficient quantities based on your installation layout, typically at each beam end that terminates at a wall.
Wall plates and transition strips address beam terminations at walls, creating finished appearances where beams end. These thin moldings hide gaps and substrate imperfections while providing clean edges that read as intentional detailing.
End caps and closure pieces finish exposed beam ends where they terminate at walls or other vertical surfaces. Some beam styles include integral end treatments; others require separate end cap components. Verify end treatment requirements for your specific beam selections.
Tools and Equipment
Having appropriate tools available before starting prevents time-consuming interruptions to locate borrowed equipment or make do with inadequate substitutes.
Measuring and layout tools include tape measures of adequate length, levels (both torpedo and longer carpenter's levels for checking alignment across spans), chalk lines for marking reference lines, and pencil or marking tools. A laser level provides advantages for larger installations, projecting level reference lines across entire rooms.
Cutting tools appropriate for polyurethane include fine-toothed saws that produce clean cuts without excessive tear-out. Circular saws, miter saws, or hand saws all work when equipped with appropriate blades. A jigsaw handles curved cuts if your project includes radius work. Verify that any specialized cutting requirements for your specific installation are accommodated by available equipment.
Fastening tools include drills with appropriate bits for pilot holes and driving screw heads, hammer or rubber mallet for gentle adjustments, and potentially a nail gun for trim elements. Cordless drills provide mobility, though checking battery charge before starting extended work prevents frustrating interruptions.
Safety equipment protects workers throughout the installation. Safety glasses prevent eye injury from dust and debris. Hearing protection proves valuable when cutting multiple beams. Dust masks or respirators address fine particle exposure, particularly important when cutting or sanding polyurethane materials. Knee pads make extended ceiling work more comfortable.

Finishing and Touch-Up Supplies
Even pre-finished beams may require touch-up work where cuts expose raw material or where minor damage occurs during handling and installation.
Touch-up markers and fillers in colors matching beam finishes address small imperfections. Manufacturers often offer touch-up kits designed for their specific products. Stock these supplies before beginning installation so they're immediately available when needed.
Fine sandpaper addresses minor surface imperfections and creates appropriate surfaces for touch-up materials to adhere. Have several grits available, typically in the 220 to 400 range for finishing work.
Paint or stain for larger repairs should match beam finishes precisely. Keep finish materials from the same production batch when possible, as color variations between batches can create visible differences in repaired areas. If matching products from different purchases, test on inconspicuous areas before applying to visible surfaces.
Caulk in appropriate colors fills gaps at beam-wall junctions and other transition points. Select caulk that accepts paint if painting will follow, or color-matched caulk for joints where painting isn't planned. Backer rod foam inserted into larger gaps before caulking creates proper joint configuration that resists future separation.
Contingency and Extras
Beyond minimum requirements, wise installers stock additional supplies that address unforeseen situations.
Replacement pieces beyond calculated requirements account for the occasional damaged piece or cutting error. Five to ten percent extra on beam quantities proves worthwhile on most projects. These extras also serve as replacement stock if future damage occurs.
Extra hardware prevents delays if pieces are dropped, lost, or found defective during installation. Include additional screws, cleat hardware, and adhesive beyond calculated minimums.
First aid supplies address minor injuries that inevitably occur during construction projects. Stock bandages, antiseptic, and basic wound care materials before beginning work.
Completing a thorough bill of materials checklist before purchasing ensures that installations proceed without unnecessary delays while enabling professional results that justify the investment in quality materials and thoughtful planning.
Technical References
ASTM standards cited in every specification
Test Data
Lab results from internal testing program
Updated 2026
Reviewed against current product specs


