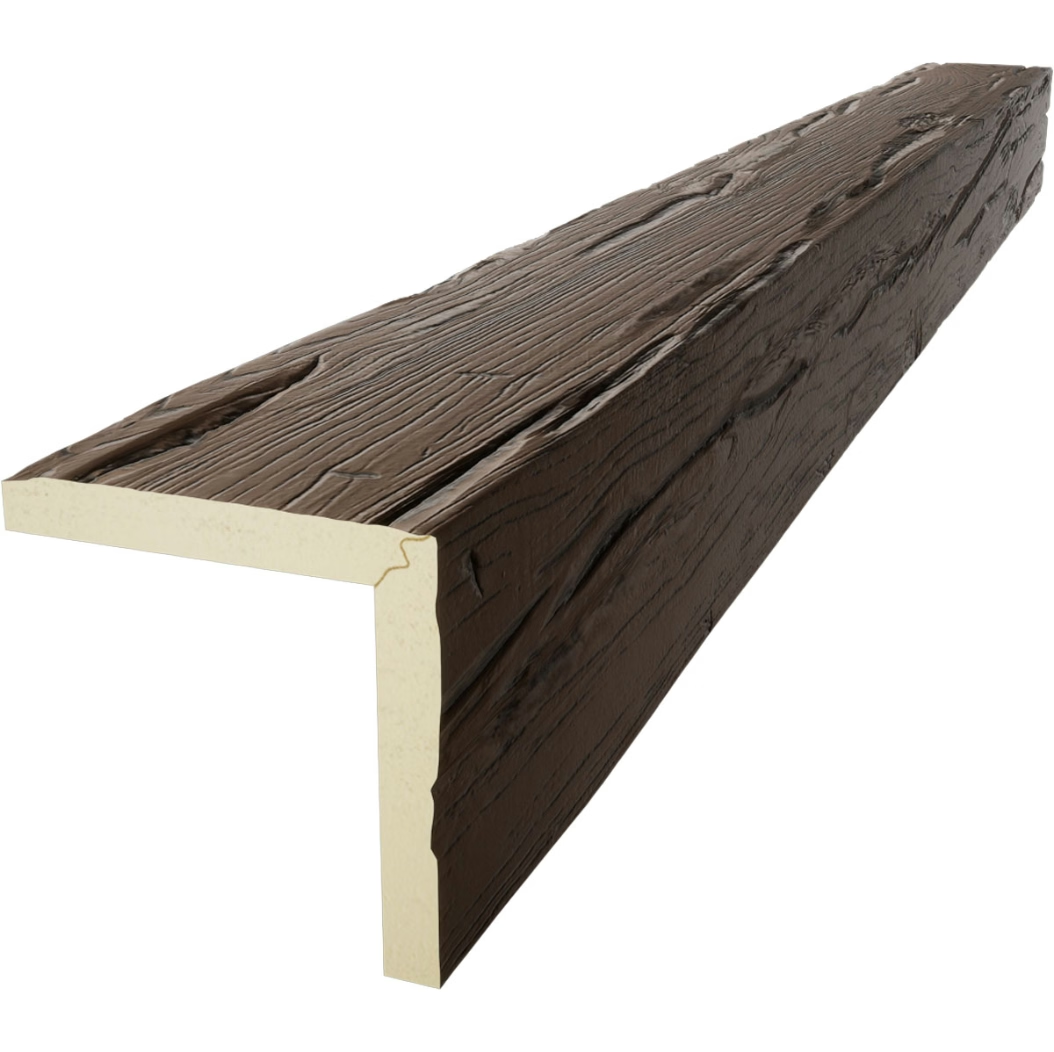
Every successful faux wood beam installation depends on having the right accessories on hand before the work begins. Whether you are a contractor working on a single residential project or an interior designer specifying materials for a commercial fit-out, understanding what components are available and how they function will save time and prevent callbacks. Polyurethane faux wood beams are lightweight, durable, and remarkably easy to work with compared to real timber, but they still require proper hardware and finishing touches to achieve a professional result that clients will appreciate for years to come.
Essential Mounting Hardware for Faux Wood Beams
The foundation of any beam installation lies in the mounting system. PU faux wood beams are significantly lighter than solid wood or even concrete faux beams, which means they do not require the same heavy-duty structural supports. However, they still need secure attachment points that will hold reliably over time, especially in ceiling applications where safety is paramount.
Structural mounting brackets form the primary load-bearing connection between the beam and the ceiling or wall substrate. These brackets are typically made from galvanized steel or stainless steel to resist corrosion, and they are designed to engage with the beam's hollow core or mounting channel. Most manufacturers offer brackets that are specifically engineered for their beam profiles, ensuring dimensional compatibility and the correct load rating.
For ceiling installations, the most common bracket style is the L-shaped hanger bracket, which slides into a slot cut into the top of the beam during manufacturing. The bracket then fastens to ceiling joists or a wooden backing board using wood screws or lag bolts, depending on the substrate material. In some cases, installers use a combination of brackets and construction adhesive to create a dual-strength bond that eliminates any possibility of movement or squeaking over time.
Wall-mounted beams, such as those used as mantels or accent features, require a different approach. Typically, a wooden ledger board is installed directly into the wall studs, and the beam is then slid over or attached to this ledger using a combination of screws driven through the beam's rear surface and adhesive applied between the ledger and the beam interior. This method distributes the beam's weight across multiple wall studs, providing a secure mounting that can support the weight of decorative items placed on a mantel beam.
Adhesives and Bonding Agents
Construction adhesive is an indispensable accessory for faux wood beam installations. Even when mechanical fasteners are used, adhesive serves as a critical secondary attachment method that fills gaps, dampens vibration, and prevents the subtle movement that can lead to squeaking or loosening over time. The most widely recommended type is a premium polyurethane construction adhesive, which offers excellent adhesion to both the beam material and common construction substrates including wood, drywall, concrete, and metal.
When applying adhesive, the key is surface preparation. Both the mounting surface and the beam's contact areas should be clean, dry, and free from dust, grease, or loose material. Adhesive should be applied in a continuous bead along the contact points and allowed to cure partially before the beam is placed into position. Many installers prefer to apply adhesive to the bracket surfaces and the interior channels of the beam, rather than relying solely on screw fasteners.
For beams that will be installed end-to-end to create longer runs, miter joints require special attention. A quality adhesive designed for wood-composite materials should be applied to both mitered faces, and the joint should be clamped or braced until the adhesive sets. Some installers also use splines—thin wooden strips inserted into matching grooves cut into the mitered faces—to reinforce the joint and prevent differential movement between beam sections.

Finishing Accessories: Plugs, Caps, and Trim
Once the structural installation is complete, finishing accessories transform a technically sound installation into one that looks polished and professional. These details are what separate a job well done from one that appears amateur, and they matter enormously to discerning clients.
Finishing plugs are perhaps the most commonly used accessory in faux wood beam work. These small, shaped pieces of material—color-matched to the beam's finish—fill the screw holes used during installation, creating the appearance that the beam is solid and uninterrupted. Plugs are typically pressed into holes by hand or with a rubber mallet, and they can be sanded flush with the surrounding surface if necessary. High-quality finishing plug sets are available in a range of wood-tone colors to match popular beam finishes like oak, walnut, and weathered gray.
End caps serve a similar purpose for beam terminations. When a beam ends at a wall or other surface, an end cap matching the beam's profile creates a clean, finished edge. End caps are usually attached with adhesive and small finishing nails or brad nails, then touched up with paint or stain as needed. Some installers prefer to miter the beam ends at 45 degrees for a more refined appearance, especially on exposed corners or feature walls.
Decorative corbels and knee braces are additional accessories that add architectural interest when beams meet walls or other structural elements. These ornaments are available in matching PU material and finishes, allowing them to integrate seamlessly with the beams themselves. Corbels attach using a combination of adhesive and hidden screws, and they can dramatically enhance the visual weight and authenticity of a beam installation in traditional or farmhouse-style interiors.
Inspection and Quality Accessories
Before declaring an installation complete, professional installers use a set of quality-checking tools and accessories to verify the work. A flashlight and inspection mirror help identify any gaps, loose fasteners, or adhesive voids in concealed areas. A level and measuring tape confirm that beams are properly aligned and evenly spaced. Touch-up markers or paint pens in matching colors address any minor surface abrasions that occurred during handling or installation.
Documentation accessories, including specification sheets and as-built drawings, ensure that future maintenance or modifications can be carried out without guesswork. Reputable suppliers often provide these materials as part of a comprehensive accessory package, making it easier for contractors to deliver a complete, professional installation package to their clients.
The accessory ecosystem surrounding PU faux wood beams is rich and well-developed, reflecting the maturity of the product category. By selecting and using the right components, installers at every skill level can achieve results that are structurally sound, visually impressive, and built to last.

Technical References
ASTM standards cited in every specification
Test Data
Lab results from internal testing program
Updated 2026
Reviewed against current product specs


