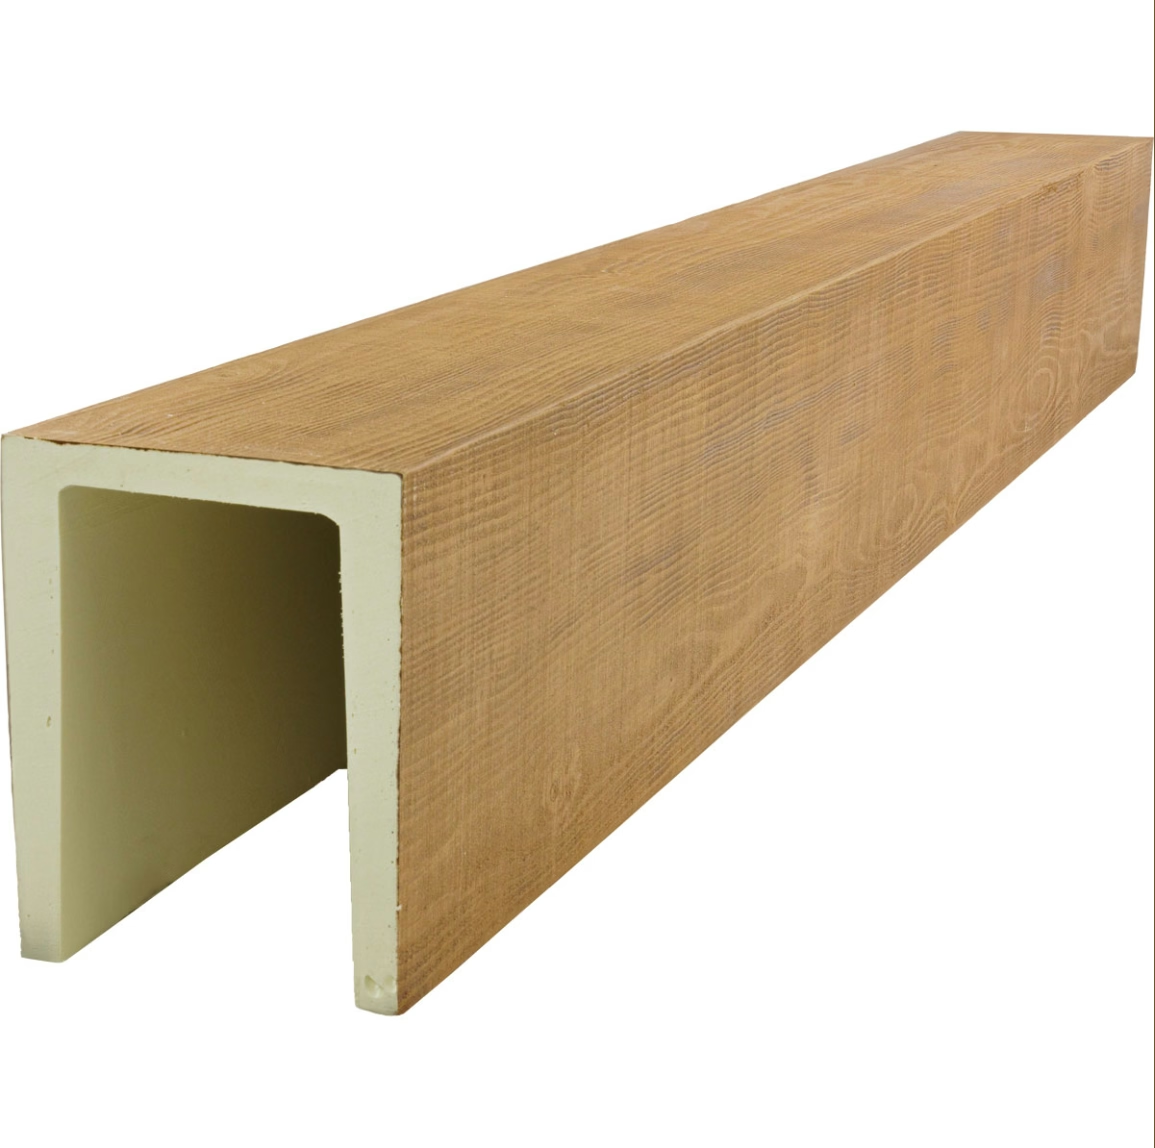
When you purchase polyurethane faux wood beams from a reputable supplier, the product itself is only one part of what you need for a successful installation. Understanding what hardware components are included in a standard purchase, and what additional items you may need to source separately, is essential for accurate project planning and budgeting. Nothing frustrates an installer more than arriving at the job site ready to work and discovering that a critical fastener was left out of the package.
Standard Components in a PU Beam Hardware Kit
The contents of a hardware kit can vary between manufacturers, but certain components appear consistently across most standard offerings. These kits are designed to provide everything needed for a typical ceiling or wall beam installation, assuming the installer has basic tools and a suitable mounting surface.
Mounting brackets are the centerpiece of any hardware kit. These galvanized or stainless steel pieces are shaped to engage with the mounting channel inside the beam and to attach securely to the ceiling or wall structure. Most kits include brackets in quantities proportional to the beam length—a standard guideline is one bracket for every 4 feet of beam length, though high-load applications or longer unsupported spans may require closer spacing. The brackets are designed with pre-drilled holes sized for the included fasteners, ensuring that the attachment to the structure is straightforward and secure.
Fasteners—screws, bolts, and anchors—make up the next largest category of kit contents. For ceiling installations, the kit typically includes wood screws or lag screws long enough to penetrate through the bracket into ceiling joists or structural backing. The screw diameter and length are chosen to provide adequate pull-out resistance for the anticipated load. For installations on plasterboard or drywall ceilings without exposed joists, the kit may include toggle bolts or hollow-wall anchors rated for the beam's weight.
Dowel pins or joining screws are included when beams will be joined end-to-end or when multiple beams must be connected to create longer continuous runs. These small components slide into pre-drilled holes at the beam ends and help align and reinforce the joint, preventing differential settling or movement between beam sections over time.
Finishing Hardware and Accessories
Beyond the structural mounting components, most comprehensive hardware kits include items dedicated to the visual finishing of the installation. These details are easy to overlook but they make a meaningful difference in the final appearance of the completed work.
Finishing plugs are small, shaped pieces that match the beam's finish and cover the screw holes left after mounting. They are pressed into the holes and, in most cases, are virtually invisible once installed. Kits typically include more plugs than there are screw holes, accounting for any damage during installation or for future replacement needs.
Construction adhesive is sometimes included in the kit, particularly for premium or contractor-grade packages. When present, it is usually a small cartridge of polyurethane construction adhesive formulated for use with polyurethane composite materials. If the kit does not include adhesive, this is one item that installers should plan to purchase separately, as it is an essential part of a professional-quality installation.
Metal corner plates or reinforcement brackets are included in some kits, particularly for beams that will form mitered corners or 90-degree intersections. These thin stainless steel plates are adhered or screwed to the interior surfaces of the joint to prevent the miter from opening or shifting over time, especially in locations where temperature fluctuations cause materials to expand and contract.
For beams with decorative end caps or corbel attachments, the kit may include small finishing nails or brad nails designed for use with polyurethane materials. These are thinner than standard nails to reduce the risk of cracking the material, and they are often pre-inserted into the components to prevent loss during shipping.

What Is Typically NOT Included
Understanding the boundaries of what comes in the kit is equally important as knowing what is included. Several items that installers commonly need are almost never part of a standard hardware package.
A power drill and appropriate drill bits are the installer's responsibility. While the kit provides the fasteners, the tool that drives them is not included. Most installations can be completed with a standard cordless drill, a set of driver bits, and perhaps a helper for positioning longer beams.
Wood backing or support framing is also outside the scope of the hardware kit. In many ceiling installations, particularly in modern homes with no exposed joists, the installer must first install wooden backing boards between ceiling joists to provide a solid mounting surface for the beam brackets. This preparatory work requires lumber, screws, and potentially a level, and it is always the installer's responsibility.
Measuring and marking tools—tape measures, levels, pencils, and chalk lines—are not included. These basic construction tools are assumed to be part of every installer's standard kit. Similarly, safety equipment including safety glasses, work gloves, and a stable ladder or scaffold is the installer's responsibility.
Touch-up materials such as paint, stain, or filler compounds are not typically included, even though minor surface repairs are occasionally needed during installation. Some manufacturers offer small bottles of matching finish as a courtesy item, but this should not be relied upon.
Verifying Kit Completeness Upon Receipt
Before beginning any installation, take the time to verify that the hardware kit is complete and undamaged. Open all packaging carefully and lay out the components in an organized manner. Compare the contents against the kit manifest or component list that most manufacturers include in the package or on their website.
Check that the quantity of brackets matches what you expect for the number and length of beams you ordered. Verify that all fasteners are present and that none are missing from their packets. Inspect the finishing plugs to ensure they match the beam finish you ordered—plug color mismatches are rare but do occur, and catching this before installation saves significant frustration.
If anything is missing or damaged, contact the supplier immediately. Most reputable manufacturers and distributors will send replacement components quickly, recognizing that an incomplete kit is essentially useless for the installer. Photographic documentation of missing or damaged items accelerates the replacement process considerably.
Taking the time to understand and verify your hardware kit before heading to the job site is a professional practice that separates experienced installers from amateurs. A complete, verified kit means the difference between a smooth, efficient installation and a day spent waiting for parts or making emergency hardware store runs.

Technical References
ASTM standards cited in every specification
Test Data
Lab results from internal testing program
Updated 2026
Reviewed against current product specs


