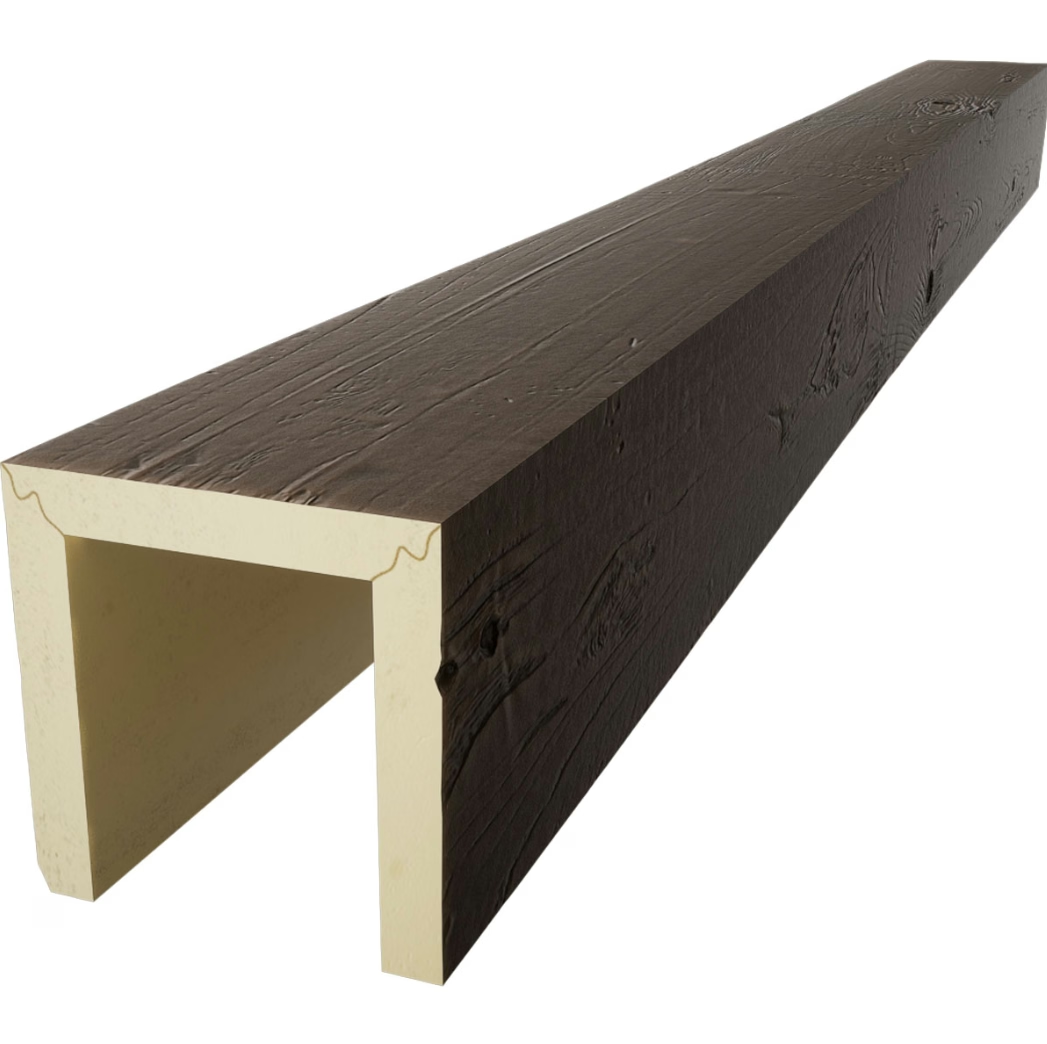
Curved polyurethane faux wood beams represent one of the most visually striking applications of this versatile material. From sweeping barrel-vault ceilings in grand entryways to gentle arcs over doorway openings, curved beams introduce a fluidity and sense of movement that straight beams simply cannot achieve. However, installing curved beams demands a different approach and a more specialized hardware kit than the standard straight-beam installation. Understanding what components are needed and how they work together is essential for contractors and installers who want to deliver flawless curved beam installations.
Understanding the Geometry of Curved Beam Installation
Before selecting hardware, the installer must understand the specific geometry of the curve being spanned. Curved beams are manufactured in standard radius categories—tight curves with small radii, medium-radius sweeps, and gentle long-radius arcs—each of which requires different handling and mounting approaches. Some curved beams are manufactured with a fixed radius as part of the casting process, while others use flexible beam profiles that can be formed to custom radii on site.
Fixed-radius curved beams arrive pre-formed to the exact curvature required for the project. These are the preferred option when the curve specifications are known precisely in advance, as they deliver the most consistent appearance and the most predictable installation. The hardware kit for fixed-radius beams is essentially an extension of the standard straight-beam kit, adapted for curved surfaces.
Flexible-profile curved beams are manufactured from a more pliable grade of polyurethane that can be gently bent to a range of radii during installation. These beams are particularly useful when the exact radius is not known until the site is measured, or when the curve involves compound radii or transitional curves between different arc types. Working with flexible beams requires additional care and specialized mounting techniques to ensure that the final curved line is smooth and consistent.
Flexible Mounting Tracks and Support Systems
The foundation of any curved beam installation is the flexible mounting track or mounting rail that follows the curve of the ceiling or wall. Unlike straight beams, which can be mounted using individual brackets positioned along a linear path, curved beams require a continuous or near-continuous support system that maintains the correct curvature throughout the installation.
Flexible steel mounting tracks are available in thin-gauge galvanized steel that can be bent by hand to match the required radius. These tracks are pre-drilled with elongated slots that allow for thermal expansion and contraction while maintaining a secure fastening point. The track is first attached to the ceiling or wall structure using appropriate fasteners spaced at regular intervals along its length, following the exact curve of the architectural surface. This track then serves as the continuous mounting point for the beam's internal bracket system.
For tighter radius curves, a different approach is sometimes needed. In these cases, installers may use a series of short curved mounting blocks or segmented brackets that are individually positioned and shimmed to follow the curve. These segmented systems require more careful setup time, but they can achieve tighter radii than a continuous flexible track and provide a more rigid final installation.
In both approaches, the key is consistency. The mounting system must follow the curve precisely, with no flat spots, kinks, or deviations that would cause the beam to sit unevenly or create gaps between the beam and the mounting surface. Professional installers typically mark the curve directly on the ceiling or wall surface using a series of measured points before installing the track or brackets, ensuring that the final beam alignment matches the architectural intent.

Bracket and Fastener Selection for Curved Installations
The brackets used in curved beam installations are similar in function to those used in straight installations, but their design must accommodate the curvature. Standard L-shaped brackets can be used for gentle curves where the deviation from straight is minimal, but for tighter radii, specialized curved brackets or articulating brackets are required. These brackets are designed with a slight bend or hinge that allows them to follow the curve while maintaining the correct engagement with the beam's mounting channel.
Articulating bracket systems are particularly useful for arched doorways and window openings, where the curve transitions from a vertical wall return to a horizontal ceiling span. These brackets are designed with a pivot point that allows one leg of the bracket to align with the wall surface while the other leg aligns with the ceiling surface, creating a smooth transition point that accommodates the architectural curve without gaps or awkward connections.
Fastener selection for curved installations follows the same principles as straight installations, but with additional consideration for the angle of approach. Because the mounting surface is curved, fasteners may need to be driven at angles that differ from perpendicular, requiring longer drill bits, right-angle drill adapters, or alternative fastening methods such as adhesive bonding in areas where mechanical fastening is impractical.
Adhesive Systems for Curved Beam Applications
Construction adhesive plays an especially important role in curved beam installations. The continuous contact between a curved beam and its curved mounting surface is difficult to achieve purely through mechanical fastening, and adhesive fills the gap—literally and figuratively. A flexible polyurethane construction adhesive that remains slightly elastic after curing is preferred for curved installations, as it can accommodate the minimal differential movement between the beam and the mounting surface without cracking or debonding.
The adhesive should be applied in a continuous bead along the full length of the beam's mounting surface, pressing firmly against the mounting track or substrate as the beam is positioned along the curve. Some installers use a combination of temporary bracing and weighted pressure to hold the beam in position while the adhesive cures, particularly for longer curved runs where gravity can cause the beam to sag or shift before the adhesive sets.
For beams that will be joined end-to-end along a curve, miter joints must be cut to match the curve geometry precisely. This requires careful measurement and, in most cases, the use of a custom cutting jig or router template that reproduces the exact curve of the installation. The joint adhesive should be reinforced with mechanical fasteners or splines where possible, and the finished joint should be invisible once the beam is in position.
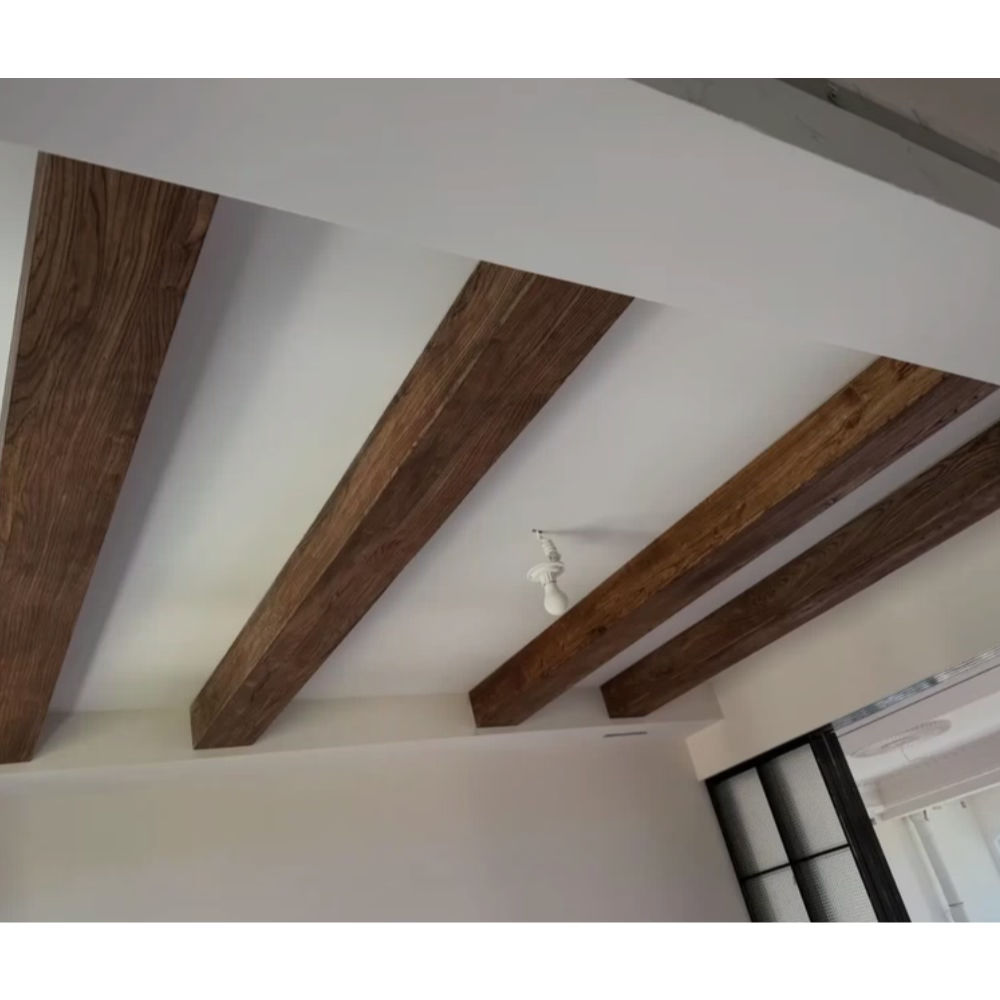
Finishing Curved Installations
The finishing phase for curved beams follows the same principles as straight beam finishing, with attention to the specific challenges that curves present. Finishing plugs are pressed into screw holes as with straight beams, but the curved surface means that plugs oriented perpendicular to the beam's surface may be more visually apparent than on flat surfaces. Some installers prefer to use color-matched silicone filler for curved surfaces, which can be smoothed to blend seamlessly with the surrounding finish.
Where curved beams meet walls, corners, or other architectural elements, the transition should be detailed with trim pieces, corner returns, or flexible moldings that follow the curve. These finishing elements are often custom-cut on site from matching polyurethane molding stock, and they contribute significantly to the professional appearance of the final installation.
A complete installation kit for curved polyurethane faux wood beams encompasses flexible mounting tracks, articulating or curved brackets, appropriate fasteners, flexible construction adhesive, and the finishing materials needed to detail the curved surfaces and transitions. When these components are assembled thoughtfully and installed with precision, the result is a curved beam installation that adds genuine architectural distinction to any space.
Technical References
ASTM standards cited in every specification
Test Data
Lab results from internal testing program
Updated 2026
Reviewed against current product specs


