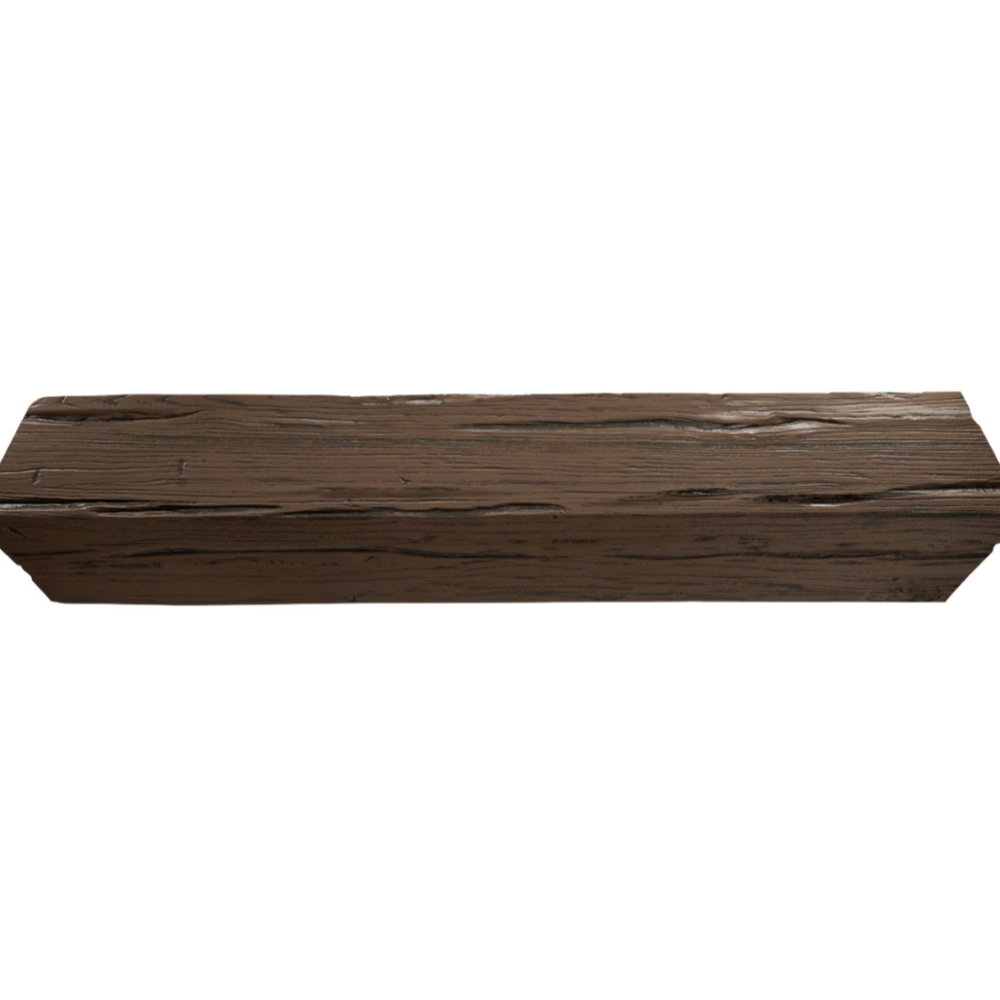
While polyurethane faux wood beams are available from manufacturers in a wide range of stock finishes, there are many situations where customizing the finish through painting is desirable or necessary. Designers may want to match a specific color palette, installers may need to repair damage to an installed beam, or a homeowner may wish to update the beam color to coordinate with a room renovation. Whatever the reason, painting PU faux wood beams is a straightforward process when approached with the right preparation, materials, and techniques.
Understanding the Base Material
Before beginning any painting project, it is important to understand what you are working with. Polyurethane faux wood beams have a factory-applied finish that may include stain, glaze, or painted color along with a clear protective topcoat. The specific formulation of this factory finish affects how it accepts new paint or stain, and the surface preparation required depends on whether the beam has been previously finished or is in its raw manufactured state.
Newly manufactured beams often arrive with a thin factory-applied primer or base coat that is designed to accept additional finishing. In these cases, light surface preparation may be sufficient before applying new paint. Older installed beams with established finishes may require more thorough preparation to ensure proper adhesion of new paint layers.
The polyurethane material itself is non-porous compared to real wood. This characteristic affects paint adhesion in important ways. Unlike real wood, which absorbs paint and stain into its fibers, polyurethane surfaces depend entirely on mechanical or chemical adhesion between the paint and the surface. This is why proper preparation and primer selection are especially critical for PU beam painting projects.
Surface Preparation for Painting
Proper surface preparation is the single most important factor in achieving a successful painted finish on polyurethane faux beams. Skipping or rushing this step almost always leads to adhesion problems, visible defects, or premature finish failure.
Cleaning is the first step. The beam surface must be free of dust, dirt, grease, and any other contaminants that could interfere with paint adhesion. A thorough wipe-down with a tack cloth or microfiber cloth removes most dust and loose debris. For beams with greasy or oily residues—particularly those in kitchen environments—a mild detergent solution followed by a clean water rinse and complete drying is appropriate.
Light sanding creates a mechanical profile that helps paint adhere to the otherwise smooth polyurethane surface. Using fine-grit sandpaper in the 220 to 320 grit range, the entire surface to be painted should be sanded lightly. The goal is not to remove the existing finish but to create microscopic scratches that give the new paint something to grip. After sanding, all dust must be removed with a tack cloth or damp cloth before proceeding.
For beams with glossy or heavily sealed factory finishes, scuff sanding is particularly important. The slick surface of a sealed finish can cause paint to bead up or fail to adhere properly, even with primer. A thorough scuff sanding creates the texture needed for reliable adhesion. Any areas where the existing finish has chipped or peeled should be sanded smooth and feathered into the surrounding finish.
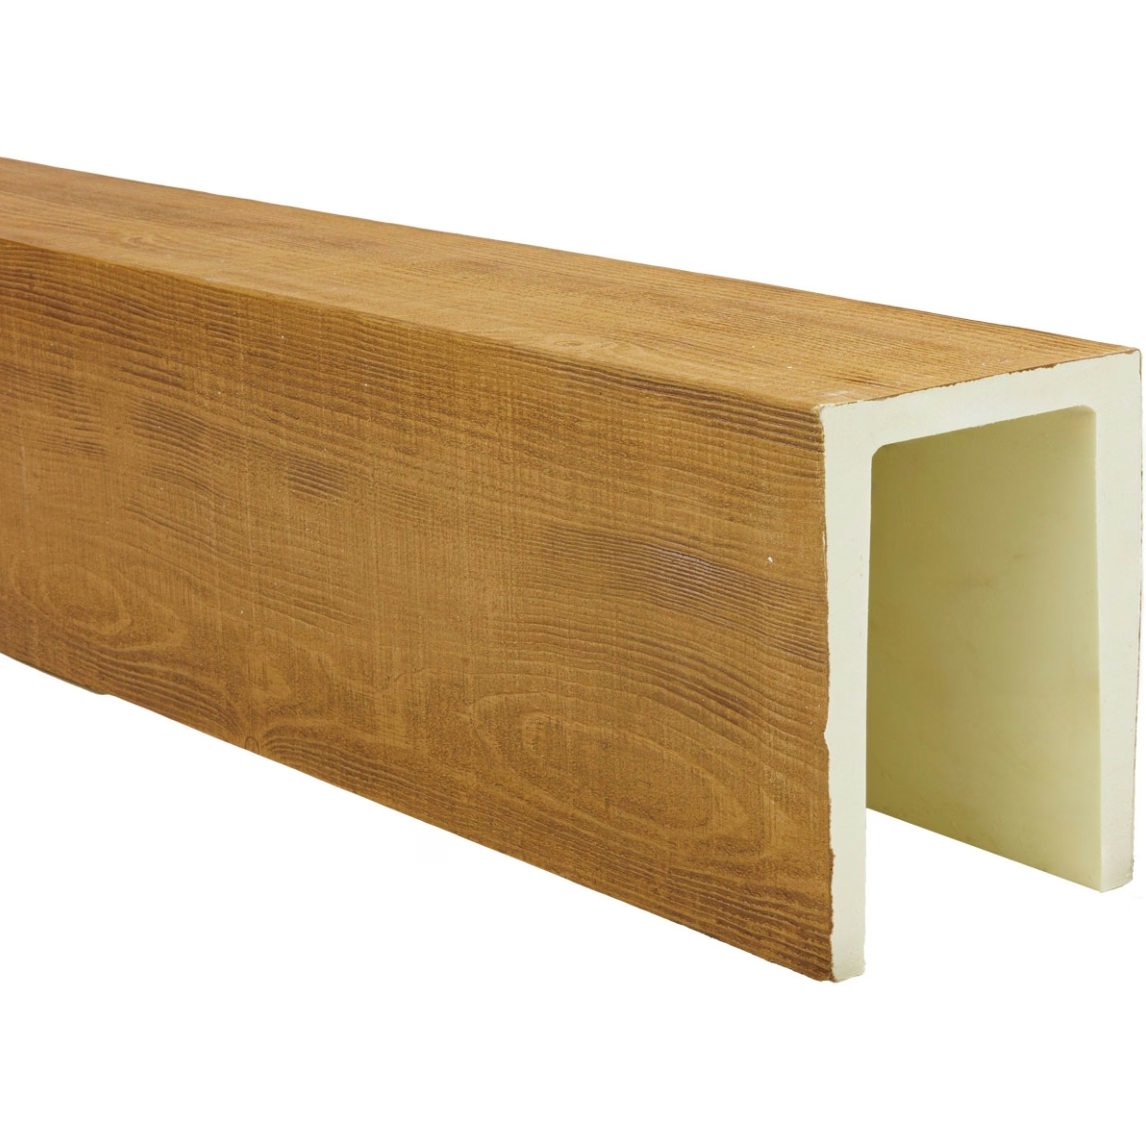
Primer Selection for Polyurethane
Choosing the right primer is essential for paint adhesion on polyurethane surfaces. Standard latex primers designed for drywall or wood are not appropriate for PU beams. Instead, primers specifically formulated for hard, slick, or previously finished surfaces should be used.
Bonding primers are the most widely recommended category for this application. These primers are formulated to adhere to difficult surfaces including glossy paint, laminate, plastic, and polyurethane. They contain adhesion-promoting additives that create a strong bond between the substrate and the topcoat. Bonding primers are available in both water-based and oil-based formulations, with the water-based versions offering easier cleanup and lower odor while the oil-based versions often providing slightly better adhesion on very difficult surfaces.
Shellac-based primers are another option for polyurethane surfaces. These primers dry very quickly and provide excellent adhesion to a wide range of surfaces. They are particularly useful for spot-priming repairs or small areas rather than coating entire beams. Shellac primers have a strong odor during application and require alcohol for cleanup, which limits their practicality for larger projects.
For the best results, primer should be applied in a thin, even coat and allowed to dry fully according to the manufacturer's instructions before topcoat paint is applied. Two thin coats of primer are sometimes preferable to one thick coat, as thick coats can obscure the beam's surface texture and may take longer to cure properly.
Paint Selection and Application
With the surface properly prepared and primed, the topcoat paint can be applied. The choice of paint depends on the desired appearance, the beam's installation location, and the level of durability required.
Acrylic latex paint is the most commonly used topcoat for PU faux beams. It offers good adhesion over bonding primers, low odor, easy cleanup, and a wide range of available colors and sheens. For interior beam applications, a satin or semi-gloss sheen typically provides the best balance of appearance and cleanability. Matte sheens may show surface imperfections and are harder to clean, while high-gloss sheens highlight every surface irregularity.
Spray application produces the smoothest and most uniform finish on PU beams, particularly when the beams are uninstalled. Spray equipment allows the paint to be applied in even coats without brush marks or roller texture, which is especially important for large, flat beam surfaces. For installed beams that cannot be easily sprayed, high-quality brushes and short-nap rollers designed for smooth surfaces provide good results with careful technique.
When applying paint, multiple thin coats are far superior to a single thick coat. Thin coats dry more evenly, adhere better, and produce a smoother final surface. Two to three coats of topcoat paint are typically needed to achieve full color depth and opacity, particularly when changing from a darker to a lighter color or vice versa. Adequate drying time between coats is essential, and rushing this step can result in a finish that remains soft, marks easily, or fails to cure properly.
Creating Custom Finishes and Effects
Beyond solid color applications, PU faux beams are excellent substrates for decorative painting techniques that create unique finishes impossible to achieve with stock color offerings.
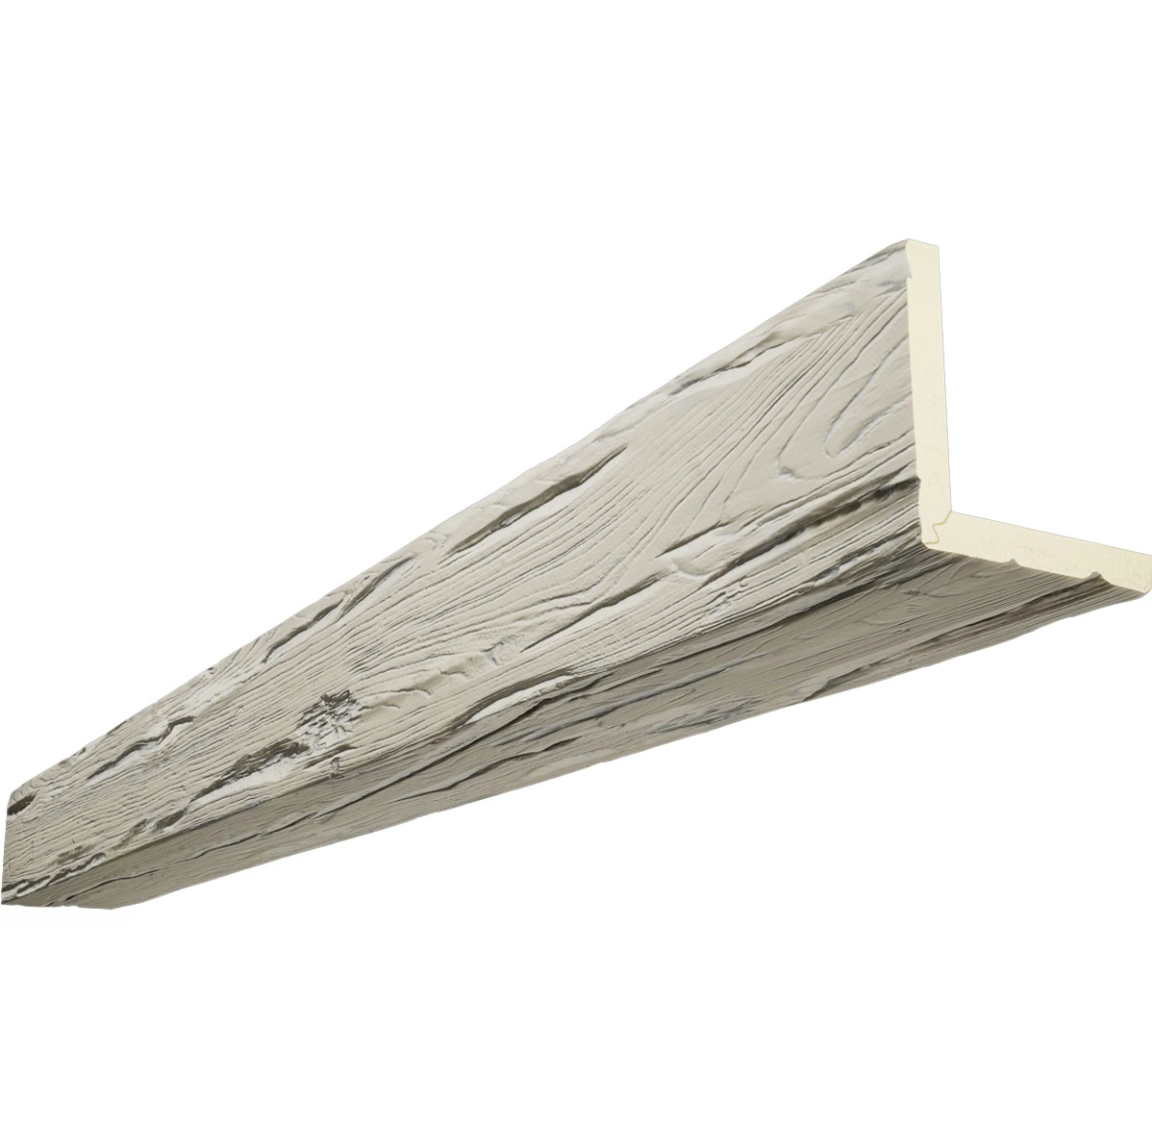
Distressing techniques simulate the worn, aged appearance of reclaimed timber. This typically involves applying a base color, then layering washes or glazes in contrasting tones, and finally selectively removing or lightening the surface to reveal the underlying tones. The textured surface of PU beams—particularly hand-hewn or rough-sawn profiles—accepts distressing techniques particularly well because the natural texture variations in the beam surface are enhanced rather than hidden by the painted finish.
Multi-tone or layered finishes combine several colors to create depth and visual interest. This technique is particularly popular in Tuscan, French country, or coastal design styles. The application typically involves base-coating the beam, then dry-brushing or rag-rolling secondary colors onto the raised areas of the beam texture, leaving the base color visible in the recesses. The result is a finish that suggests depth and natural variation rather than a single uniform color.
Glazing techniques add subtle color shifts and tonal richness to painted or stained finishes. Glazes are translucent coatings that are applied over a base finish and then partially removed or blended to create highlights, lowlights, or overall tonal variation. Glazes work well on PU beams because the textured surface provides natural areas of varied absorption that enhances the glazing effect.
For all custom finishes, sealing the completed paint work with a clear protective topcoat extends the durability of the finish and makes the beam easier to clean. Clear topcoats designed for use over painted surfaces are available in matte, satin, and gloss sheens, allowing the final appearance to be tuned to match the project's design intent.
Painting PU faux wood beams is a versatile and accessible customization technique. With proper preparation, the right materials, and a thoughtful approach to technique, the finished result can match any color, complement any design style, and provide years of beautiful service in any interior environment.
Technical References
ASTM standards cited in every specification
Test Data
Lab results from internal testing program
Updated 2026
Reviewed against current product specs


