
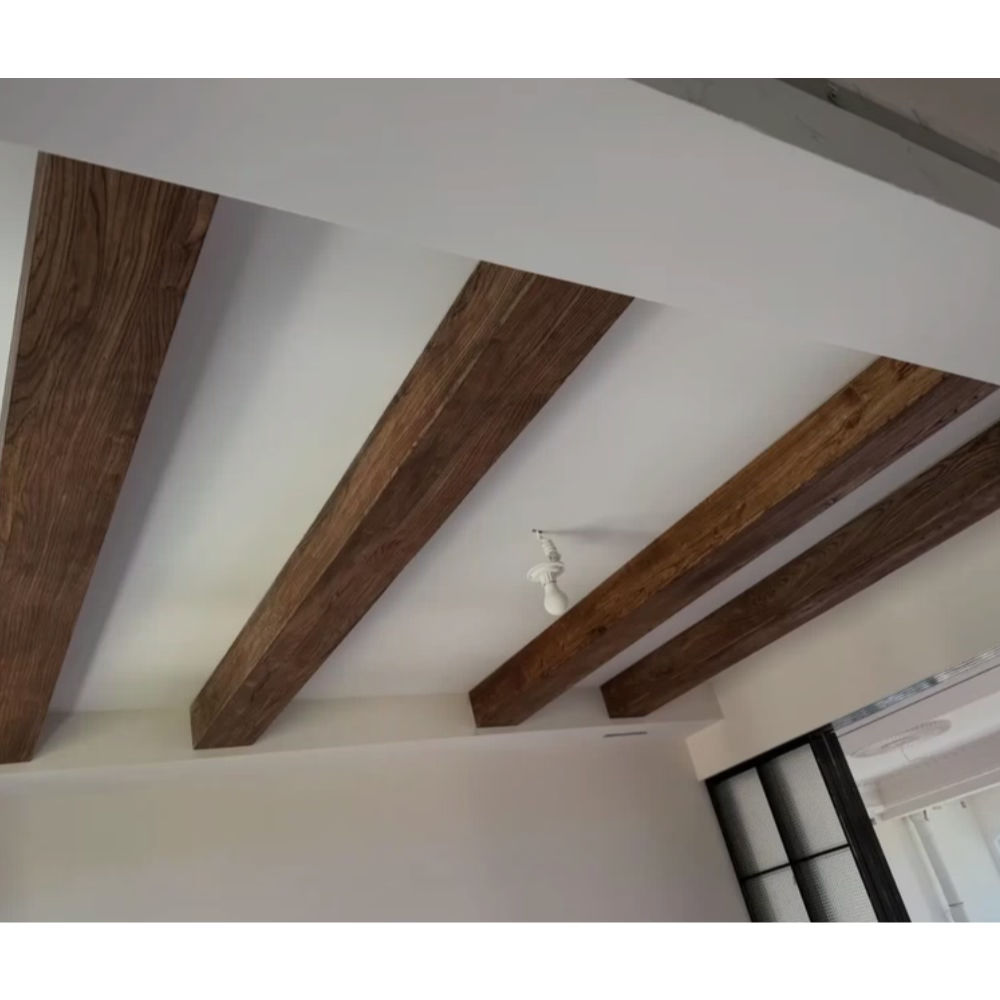
A forty-foot vaulted great room does not care about the standard eight-foot shipping limit on a single faux beam. The architect drew a continuous line across the ceiling. The homeowner expects that line to look continuous too. That is where connectable, jointable faux wood beams earn their keep.
The polyurethane beam sections that ship from our factory arrive in lengths up to roughly twenty feet, depending on profile. When the design calls for a longer unbroken run, the installer needs a way to mate them that does not telegraph the seam to the eye. The good news: the joinery on a quality faux beam is far simpler than the joinery on a real timber, and the results are predictable.
Why seams show up on real timber (and why faux is different)
Solid timber beams are organic. They twist, cup, check, and move with humidity. Even a perfectly milled scarf joint can open or peak as the seasons change. A polyurethane faux beam does not move. The internal density is stable, the molded grain is uniform, and the factory finish does not fade faster at one point than another. That stability is what makes a long span join invisible if you plan it correctly.
Three things control whether a joint disappears:
- Joint location — never mid-span of unsupported length, never directly under a downlight, never on a long sight line from the entry.
- Joint geometry — a 45-degree miter beats a butt joint every time for visual continuity of the grain.
- Color match at the seam — the touch-up must blend with the surrounding grain pattern, not just the average tone.
Connector systems that actually work in the field
There are three practical ways to join two faux beam sections on site.
Internal steel splice plates
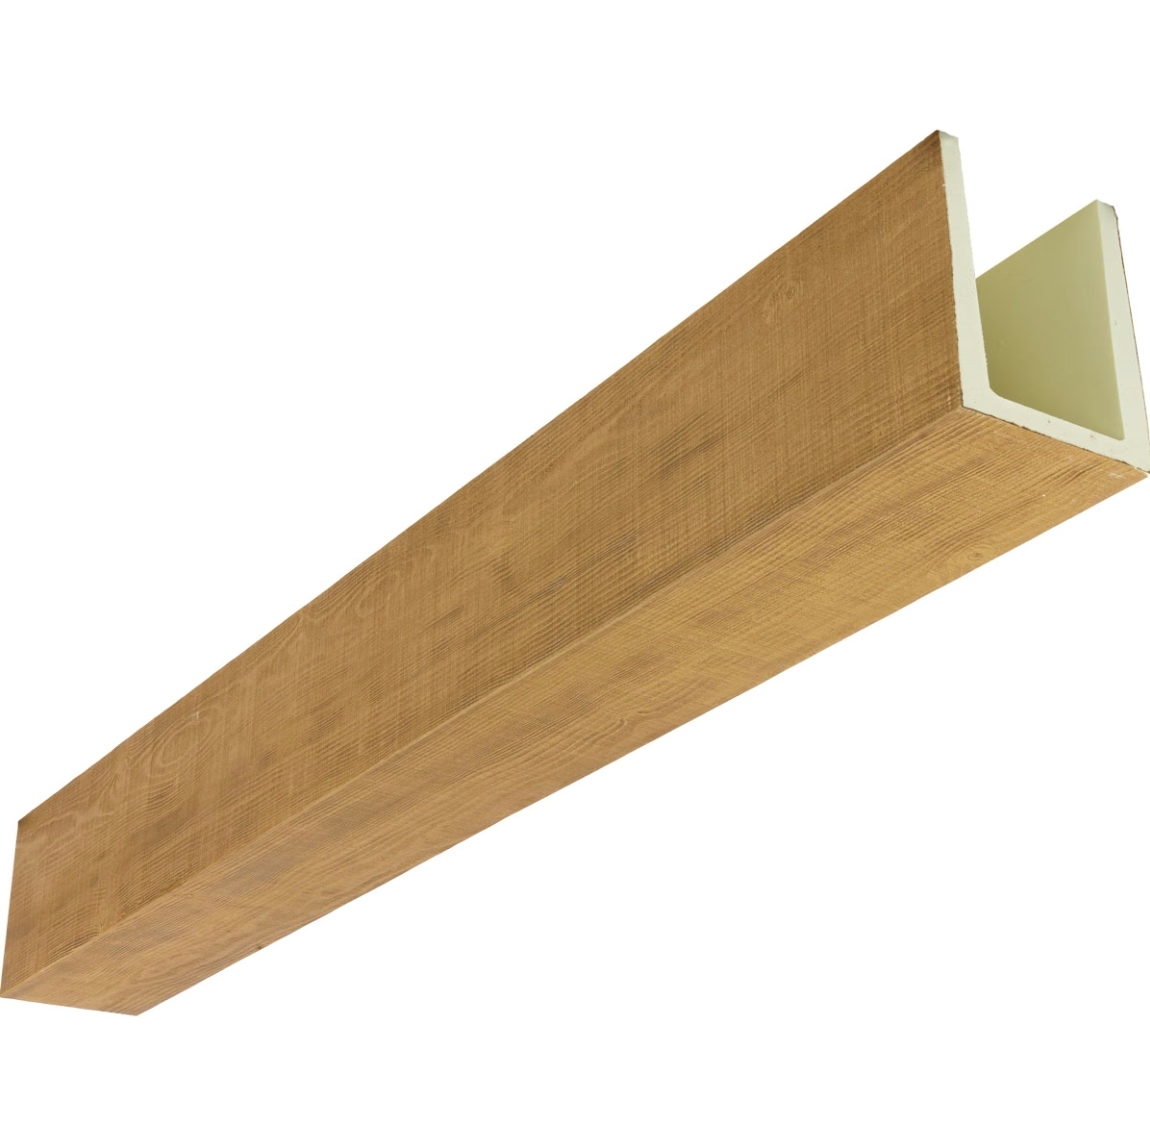
A flat steel plate slides into the routed channel on the underside of each beam half. The two halves butt together over the plate, and a couple of set screws lock them in place. This is the cleanest method for runs that need to be straight and true, particularly above kitchens, hallways, and any long ceiling where you cannot afford the seam creeping open over time.

Splice plates work best on beams that are screwed to blocking in the ceiling rather than hung on a cleat. The blocking carries the load, and the plate just keeps the sections aligned. For a 6-inch by 8-inch beam, a 1/4-inch steel plate spanning at least 12 inches into each side is typical.
Hidden cleat and biscuit
For vaulted ceilings where the beam is mounted at an angle, a hidden cleat can be screwed into the ridge blocking. Each beam section hooks over the cleat, and a biscuit or small dowel aligns the two halves at the joint. This system is forgiving in the field because the installer can adjust the angle slightly as each section is set.
Lock-miter joinery
If the project calls for a beam-to-beam corner or a continuous run that wraps an L-shape, a lock-miter joint is the strongest option. The two beam ends are cut with a matching miter profile and locked together with construction adhesive and a finish nail. Once sanded and touched up, the joint reads as a single corner.
Planning a long span run on paper first
Before anyone climbs a ladder, lay out the full run on the floor below where it will be installed. Mark each joint with a piece of tape, then photograph the layout. This simple step reveals problems that are hard to see when your head is tilted back on a scaffold.
Run a quick checklist before ordering material:
- Total linear footage of the run, plus 10 percent waste on cuts
- Number of joint locations, and which side of the room each falls on
- Blocking layout above, including any point loads from fixtures
- Direction of the dominant sight line from the main entry
If the dominant sight line lands directly on a planned joint, move the joint. Even a well-executed seam is visible if the eye is drawn straight to it.
Installation sequence for a typical 24-foot run
For a 24-foot vault where the beam will run the full length, the install usually goes like this.
Two 12-foot sections ship from the factory. Each gets a splice plate pre-routed from the underside. The crew lifts the first half into place, sets it on the cleat or blocking, and secures it with two screws at each blocking point. The second half is then brought over, tipped into alignment, and slid onto the exposed half of the splice plate until the two faces meet. Set screws are tightened, the seam is checked for flush, and a small amount of color-matched filler is worked into any grain mismatch.
The whole operation for two crew members is typically under 90 minutes for a 6-by-8 profile. Larger profiles take longer because of the weight, even though polyurethane is roughly one-tenth the weight of comparable solid oak.
Where connectable systems fall short
There are a few situations where even the best joinery will read on the finished ceiling. A gloss or semi-gloss paint finish on a faux beam will highlight a seam the way a gloss finish highlights a patched nail hole on a wall. Matte or low-sheen finishes hide joints far better, which is one reason most faux beam installations are specified in matte tones to begin with.
Extremely deep beams — anything 12 inches or deeper — also show joints more readily because the eye has more surface to scan. For these, consider ordering a custom one-piece length even if shipping costs rise. The freight premium is often cheaper than the call-back cost of a visible seam.
Finally, beams installed over a hot kitchen with a poorly vented range will see thermal cycling that no faux product can completely hide. Specify a heat-resistant finish in those locations and inform the homeowner about ventilation.
Trade pricing for joinable faux beam orders
For contractors running a job with two or more seams, most factories offer a small price break on the splice plate kits and a per-foot discount for ordering matched-grain sections from the same production run. Always order all sections of a single run at once. Sections pulled from different production batches can have subtle color variation that becomes obvious at the seam even when the joint itself is perfect.
A typical 24-foot run with two 12-foot sections, splice plates, touch-up kit, and matching end caps lands in the $38 to $52 per linear foot range for a standard 6-by-8 oak grain profile in matte finish. Custom profiles run higher.
For the installer, the value of a connectable jointable faux beam is not just the look on the ceiling — it is the predictable install, the lack of call-backs, and the freedom to take on vaulted runs your competitor might decline.
For the homeowner, the value is a continuous-looking ceiling that will not check, twist, or open up at the joint in five years.
Technical References
ASTM standards cited in every specification
Test Data
Lab results from internal testing program
Updated 2026
Reviewed against current product specs


