
Exposed ceiling beams carry a visual weight that flat drywall simply cannot match. They tell the eye the room has structure, history, and intent, even when the home is brand new. For decades, that visual weight came with real costs: heavy timbers, structural reinforcement, and specialized crews. Faux wood beams have rewritten the math, and exposed installations on tight budgets are now entirely practical. This article covers the choices that matter when specifying budget-friendly exposed faux beams.
Why exposed beams work in modern interiors
The exposed beam look has moved well beyond the rustic farmhouse category that originally popularized it. Contemporary designers use exposed beams to add warmth to minimalist spaces, to create rhythm across long ceilings, and to break up the flat plane of a drywall ceiling in a way that feels architectural rather than decorative.
In open-plan layouts, a run of parallel beams creates implied zoning without building walls. In tall great rooms, crossing beams at right angles create a coffered feel that lowers the perceived ceiling height and makes the space feel more intimate. In smaller rooms, a single beam can act as a focal point above a fireplace, kitchen island, or dining table.
The trick with faux beams is that they deliver all of these visual effects at a fraction of the structural and financial cost of solid timber. Because the beams are decorative, they can be added to almost any ceiling without altering the building's structure, which makes them a flexible tool for both new construction and renovation.
Profile and dimension choices on a budget
The first decision when specifying exposed faux beams is the cross-sectional profile. Standard PU beam profiles fall into three broad families.
Rough-sawn profiles
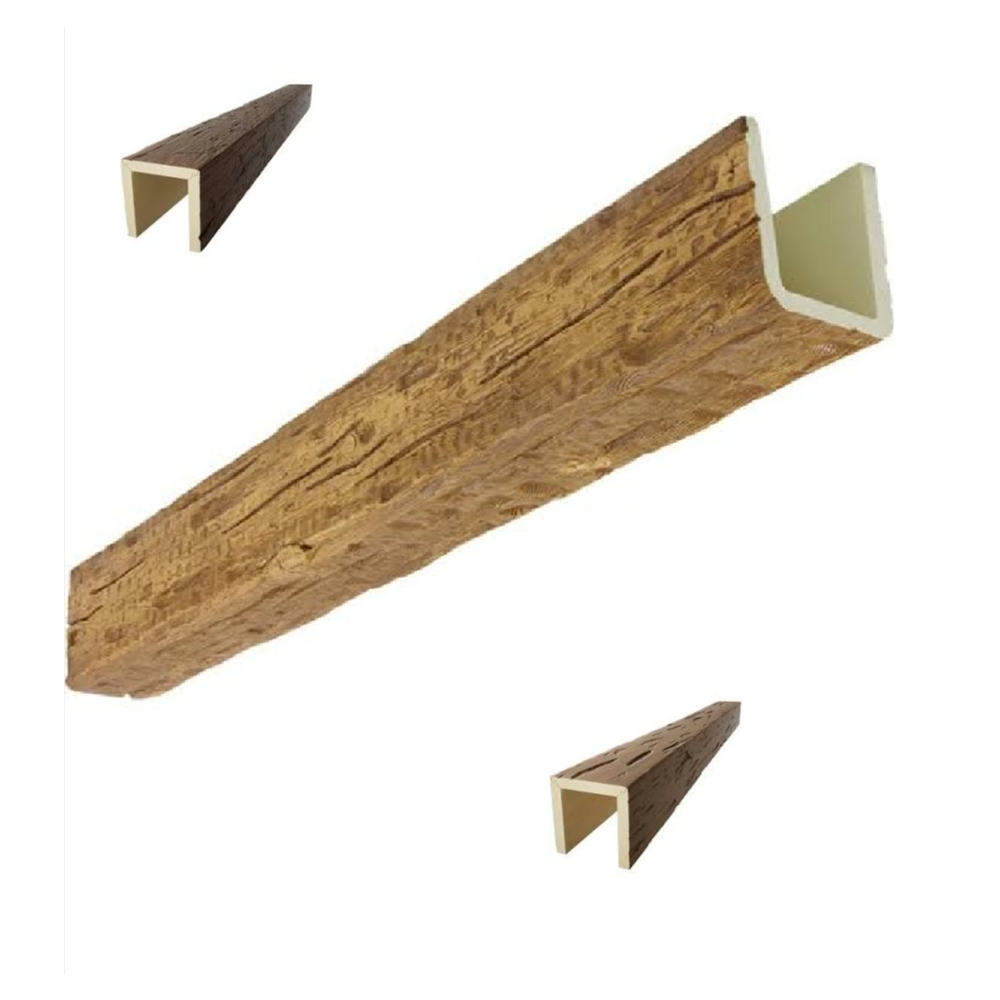
Rough-sawn beams show visible saw marks, irregular grain, and slight asymmetry that mimics freshly milled lumber. These profiles read as rustic, farmhouse, or industrial depending on the finish applied. They are the most forgiving profile for budget projects because minor installation imperfections disappear into the texture.
A common residential rough-sawn profile is 6 inches wide by 8 inches deep, or 8x10 for larger rooms. Going much larger than 8x12 in a standard residential ceiling starts to look theatrical unless the room volume genuinely supports it.
Hand-hewn profiles
Hand-hewn profiles replicate beams shaped with axes or adzes, showing the irregular facets and slightly varied surfaces of historical timber. These profiles work best in restorations, lodge-style homes, and projects that lean fully into the rustic aesthetic. On budget projects, hand-hewn profiles are most effective when used sparingly as accent beams rather than across an entire ceiling.
Smooth and wire-brushed profiles
Smooth faux beams carry a sanded or wire-brushed surface that reads as clean and contemporary. These profiles suit modern farmhouse, coastal, Scandinavian, and transitional interiors. Smooth profiles are also easier to touch up after install, since minor scratches can be blended with the manufacturer's touch-up kit.
For budget projects, smooth profiles often deliver the best visual return per dollar because the cleaner lines read as more contemporary and pair with a wider range of interior finishes.
Layout strategies that maximize visual impact
How beams are laid out across a ceiling matters as much as the beam itself. Several proven layouts work across most room types.
Parallel runs
The simplest and most cost-effective layout is a series of parallel beams running across the ceiling, typically perpendicular to the longest wall or to the roof ridge above. Spacing of 3 to 5 feet on center is standard, with closer spacing creating a more compressed, intimate feel and wider spacing reading as more modern and minimal.
Parallel runs work well in long rectangular rooms, hallways, and covered porches. They are also the easiest layout to budget because the linear meter count is straightforward to estimate.
Crossing patterns
Crossing patterns, where one set of beams runs perpendicular to another, create a coffered look that adds architectural weight to a ceiling. The pattern is more expensive in linear meters because it uses roughly twice the beam footage of a single-direction run, but the visual impact is significantly stronger.
For budget projects, partial crossing patterns can deliver much of the effect at lower cost. Running one major beam perpendicular to the primary direction, with shorter stubs at the ends, creates a T-shape composition that reads as coffered without the full beam count.
Accent or focal beams
In rooms where the goal is to highlight a specific area rather than fill the ceiling, a single beam run above a fireplace, kitchen island, dining table, or bed acts as a focal point. Accent beams are the most cost-effective exposed beam treatment because the linear meter count is low while the visual impact is concentrated.
This approach works especially well in renovations where the rest of the ceiling remains flat drywall. The beam becomes a deliberate architectural gesture rather than a comprehensive ceiling treatment.
Finish selection on a budget
Finish choice affects the perceived quality of a faux beam installation as much as the profile does. Several finishes are widely available at budget price points.
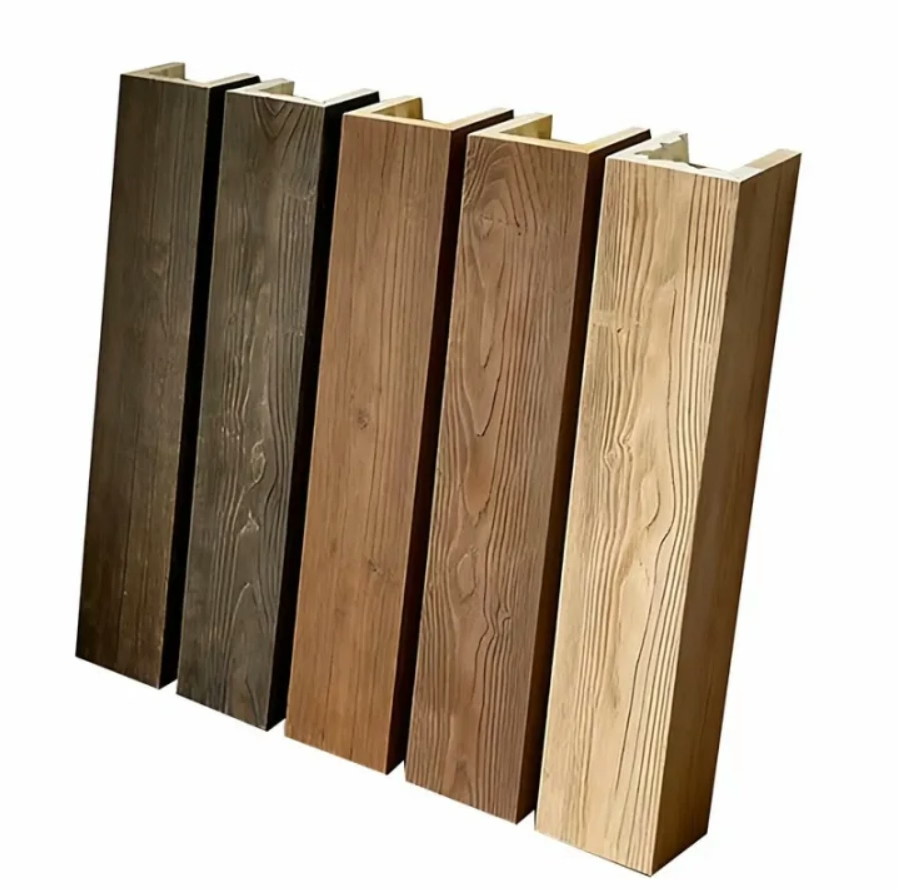
Walnut and medium-brown tones
Medium walnut tones are the safest choice for exposed beams in transitional interiors. They pair well with most wall colors, do not show dust as readily as darker espresso, and read as warm without being heavy. Stock walnut finishes are widely available from most PU beam manufacturers and usually sit at the lower end of the price spectrum.
Driftwood and weathered gray
Weathered gray and driftwood finishes have become the signature look of modern farmhouse and coastal interiors. They pair with shiplap walls, light oak floors, and matte black hardware. These finishes are slightly more expensive than walnut because the multi-tone application process requires more finishing time, but the visual impact justifies the modest premium.
Espresso and charcoal
Dark espresso and charcoal finishes create strong contrast against light walls and ceilings. They work well in commercial settings, on accent beams, and in homes where the goal is a dramatic focal point. Darker finishes show dust more readily and require occasional wiping, but they remain popular for the visual depth they add.
Whitewash and pale oak
Whitewash and pale oak finishes read as Scandinavian or coastal modern. They suit rooms with lots of natural light and work well where the goal is to add texture without visual weight. These finishes are typically mid-priced and are increasingly common in residential spec homes.
Installation basics for exposed faux beams
Installing exposed faux beams is straightforward but benefits from planning. The crew should lay out the ceiling grid with chalk lines before mounting anything, verifying spacing against the room's geometry. Beams often need to be notched around existing ceiling fixtures, light boxes, or HVAC vents, and pre-planning those cuts prevents ugly field modifications.
Mounting hardware varies by manufacturer. Common systems include U-brackets that slide into the beam cavity, L-brackets that mount to blocking on the ceiling, and cleat systems for installations where the beam needs to sit slightly below the ceiling plane. The mounting system should be specified at order time so the right hardware ships with the beams.
For tall ceilings, scaffolding or a scissor lift dramatically improves install speed and safety. A two-person crew on a lift can typically install 25-30 meters of exposed beam per day, while a crew working from ladders will move at half that pace.
Where exposed faux beams shine on a budget
Several project categories see outsized returns from exposed faux beams at modest cost. Living room renovations in tract homes benefit enormously from a parallel beam run, which transforms a builder-grade ceiling into something that reads as custom. Covered patios and outdoor kitchens use faux beams to add warmth without the moisture concerns of real timber. Restaurant and bar interiors use exposed beams to define seating zones and create atmosphere.
Multi-family developers also lean heavily on exposed faux beams in model homes and amenity spaces. A few well-placed beam runs can lift the perceived quality of a standard unit, helping properties lease or sell faster without raising the base construction cost meaningfully.
Common pitfalls to avoid
Several recurring mistakes show up in budget exposed beam installations. Beams that are too small for the room read as decorative trim rather than architecture, undermining the intended effect. Beams that are spaced too far apart lose the rhythm that makes the layout work. And beams installed with visible seams at the miters or splice points break the illusion that the beams are solid timber.
Specifying beams one size larger than feels comfortable usually produces better results than going smaller. And budgeting for factory-cut miters rather than field cuts ensures the joints land cleanly. Field-cut miters on textured profiles are notoriously difficult to align without visible gaps.
Sourcing exposed faux beams on a budget
Most major PU beam manufacturers offer exposed beam profiles in their standard catalogs, with the most popular profiles and finishes held in stock for fast shipment. Custom profiles and finishes are available but typically require longer lead times.
For wholesale buyers, ordering a small sample of two or three finishes before committing to a full run is worth the modest cost. Photos and digital renders cannot fully capture how a textured beam surface plays with light, and the right finish choice depends on the room's specific lighting conditions. A sample chain mounted temporarily on the actual ceiling for a day or two provides more reliable feedback than any number of product photos.
Technical References
ASTM standards cited in every specification
Test Data
Lab results from internal testing program
Updated 2026
Reviewed against current product specs


