
The gap between a faux beam and the wall is the first place a trained eye looks when evaluating a ceiling installation. A clean return, a flush miter, a consistent shadow line — these are the details that separate a high-end interior from something that reads as a weekend project. Perimeter trim molding is the unsung element that handles all of it, and on sophisticated beam installations it's as important as the beams themselves.
For contractors, interior designers, and trade importers working on residential projects, commercial fit-outs, and hospitality renovations, the perimeter piece is usually the last item specified. It shouldn't be. Trim selection early in the specification process prevents costly field modifications, eliminates awkward rip cuts, and gives the installer a predictable reveal at every wall junction. Getting the perimeter right also saves the project manager time during punch-out, because a clean perimeter needs far less remedial caulking and touch-up work.
This article walks through the profile families available, the installation sequence that produces the best result, the finishing considerations that matter most, and the export logistics that affect trade buyers ordering across borders.
Why perimeter molding matters on a faux beam ceiling
Polyurethane beams read as solid architectural mass when they run across a ceiling and terminate against a wall. But the ceiling-to-wall interface in most buildings is rarely a clean 90-degree plane. Plaster corners drift, drywall corners are rarely square, and in renovation work the existing geometry almost never cooperates with the design intent. A purpose-built perimeter trim absorbs those irregularities and gives the eye a continuous, intentional line to follow around the room.
Beyond the practical function, perimeter trim sets the visual tone of the installation. A flush trim that sits in the same plane as the beam face reads as modern and restrained. A stepped trim with a deep shadow gap reads as classical and weighty. A shadow-gap trim that lets the beam appear to float reads as contemporary and refined. The choice of trim profile is therefore a design decision, not just a finishing decision.
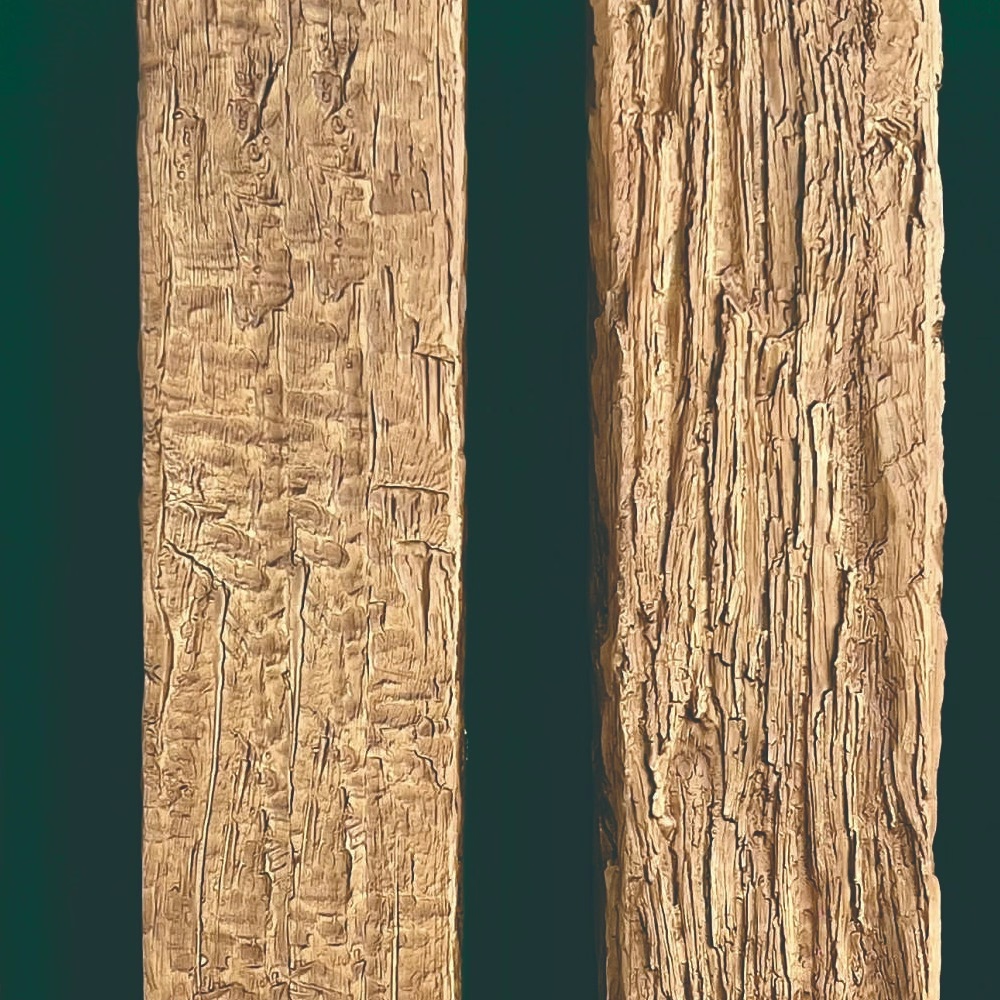
We supply perimeter profiles in matching PU resin so the grain, sheen, and stain tone align with the beam itself. Paintable versions are available for clients who want the trim to disappear into the ceiling plane and read as a continuation of the wall color. Stained and factory-finished versions let the trim carry the same character as the beam, which is the approach most designers prefer on rustic, timber-frame, and farmhouse projects.
Common perimeter problems and how custom profiles solve them
A standard off-the-shelf cove molding or chair rail rarely matches the beam depth. The result is an undersized trim that looks like an afterthought — visually under-scaled against the beam, and technically unable to cover the gap between the beam face and the wall. Custom profiles are molded to the exact height and projection of the beam, so the reveal is consistent from room to room and from project to project.
Out-of-square corners are another persistent headache. In older buildings, wall corners can deviate by 5 mm or more from 90 degrees over a 600 mm height. Field-mitered polyurethane sometimes chips at the edge of the mold under the stress of an awkward angle cut. Pre-formed inside and outside corner blocks eliminate that risk and speed installation dramatically. For renovation work where existing walls are wavy, a slightly taller profile with a flexible cove section can absorb up to 8 mm of variation without telegraphing the irregularity to the eye.
Another common issue is the beam that terminates mid-wall, leaving an awkward horizontal end-grain visible at the wall plane. The perimeter trim can be designed with a pocket that receives this end grain and conceals it completely. The pocket is molded into the trim piece, and the beam slides in from the end during installation. The result is a clean, continuous visual line.

Profile families we mold
Most projects fall into three families of perimeter profiles. Each has a distinct visual language and serves a different aesthetic direction.
Flush returns
The perimeter trim sits in the same plane as the beam face and runs back to the wall without a reveal. This is the most contemporary treatment and reads well in modern farmhouses, transitional interiors, Scandinavian projects, and anywhere a clean, uncluttered ceiling is desired. Flush trims are also the easiest to caulk and paint, which keeps finishing labor low and reduces punch-out time.
The flush profile is typically a simple rectangular section with a slight chamfer on the visible edge to prevent chipping. Heights range from 60 to 150 mm depending on the beam size. The trim is mounted flush against the wall surface with construction adhesive and finish nails.
Stepped reveals
A small step — typically 6 to 12 mm — creates a deliberate shadow line between the beam face and the perimeter trim. Stepped trims add visual weight to the perimeter and work well in Tuscan, Mediterranean, Old World, and farmhouse interiors where the ceiling is meant to feel substantial and architectural. Most stepped reveals are molded with a 3 mm chamfer on the leading edge to soften the transition and prevent chipping over time.
The step itself can be finished in a contrasting tone (darker than the beam, or painted black) to emphasize the shadow gap, or it can be finished in the same tone as the beam for a more subtle effect. The choice depends on the overall design palette and the amount of visual separation desired.
Shadow-gap trims
Shadow-gap profiles sit 3 to 5 mm back from the beam face, creating a crisp dark line where the beam appears to float against the wall. This is the vocabulary of high-end contemporary design and pairs well with fluted beams, ribbed ceilings, and integrated lighting channels. The shadow gap itself is filled with a black closed-cell backer rod before caulking, which creates a uniformly dark line regardless of the wall geometry.
Shadow-gap trims are slightly more complex to install because they require accurate spacer blocks behind the trim to maintain the consistent gap. However, the visual payoff is significant — the gap gives depth to the ceiling plane and makes the beams read as independent architectural elements rather than as part of a continuous ceiling surface.
Material choices for the trim substrate
The trim substrate needs to match the beam chemically and visually. Mixing materials — a PU beam with an MDF or plywood trim, for example — creates future maintenance headaches because each substrate expands and contracts at a different rate with changes in temperature and humidity. Over time, the different movement rates cause visible gaps at the joints and can crack the finish.
| Substrate | Best use | Finish compatibility |
|---|---|---|
| High-density PU resin | Standard interior trim, all profiles | Stain, paint, or factory finish |
| Fire-retardant PU | Commercial and public spaces | Paint or factory finish |
| UV-stable exterior PU | Outdoor loggia, soffit perimeters, pool enclosures | Stain or paint with UV topcoat |
| Flexible PU blend | Curved perimeters, barrel vault transitions | Paint only |
For coastal or high-humidity interior projects (bathrooms adjacent to the ceiling, pool house interiors, spa areas), we recommend the UV-stable exterior grade even on interior trim. The marginal cost increase pays back over years of service in steam and salt exposure. The flexible PU blend is used for curved perimeter treatments where the trim has to follow a non-linear wall plane.
Custom dimensions and manufacturing tolerances
Standard perimeter profiles come in heights of 80, 100, 120, 150, and 200 mm with depths that match our most popular beam sizes (4x6 through 10x12). Custom heights between 60 and 350 mm can be molded with a 15-day lead time for orders above 200 linear meters. For smaller runs, we offer machine-cut customization from stock blanks, which maintains the profile shape but cuts to exact length on a CNC saw.
Tolerances on factory-finished trim are held to ±1.5 mm on length and ±0.5 mm on profile geometry. That level of consistency is what allows installers to run long miters without visible step transitions at the joints. For very long runs (over 6 m on a single wall), we recommend a pre-mitered splice block behind the joint to keep the reveal tight even after seasonal movement.
The pre-mitered splice block is a short section of matching profile with a factory-cut miter at each end. It slots behind the joint and is screwed to the wall blocking before the trim pieces are mounted. The joint between the two trim pieces lands on the splice, which keeps both pieces aligned. Without the splice, the joint migrates over time as the trim expands and contracts.
Installation sequence and best practices
The trim should be installed after the beams are mounted but before any field finishing. This sequence allows the installer to confirm the reveal is consistent around the room before committing to the final finish, and it gives the finisher a clean, uninterrupted plane to spray or hand-brush.
The recommended installation sequence is:
- Dry-fit every perimeter piece on the floor and number them in installation order. Mark the wall and the piece.
- Pre-paint or pre-stain the back faces that will be invisible after installation. This step is often skipped but saves significant time during finishing.
- Apply construction adhesive to the back of the trim and to the wall surface. Use a adhesive compatible with both PU and the wall substrate.
- Mount with 18-gauge brad nails into studs or structural blocking. Countersink the nails slightly below the surface.
- Caulk the beam-to-trim joint with a paintable urethane sealant — never silicone, which can't be painted and fails adhesively over time.
- Fill nail holes with a tinted filler matched to the factory finish. For stained beams, use a tinted wood filler. For painted beams, use a paintable spackle.
For shadow-gap trims, leave a 4 to 6 mm gap between the trim back and the wall before mounting. This gap is later filled with a black closed-cell backer rod to create a uniform shadow line. The backer rod also acts as a bond breaker, preventing the caulk from adhering to the back of the gap and ensuring that any future movement is absorbed by the caulk bead rather than cracking the trim.
Finishing coordination between beams and trim
If the beams are factory finished, the trim must ship finished to match. Field finishing a trim piece to match a factory beam is one of the most common sources of call-backs on these projects. The issue is that field finishing depends on environmental conditions, application technique, and batch consistency of the finishing materials — all variables that a factory can't control on the client's job site.
We strongly recommend ordering trim in the same production batch as the beam for tone continuity. The finishing lab uses the same formula, the same application process, and the same cure conditions for both components. When they arrive on site, they're visually identical.
For paint-grade projects, both the beam and the trim should be primed in the factory and finished on-site in a single topcoat pass. Two coats of topcoat applied at different times, in different conditions, or with different batch numbers of paint almost always produce a visible difference. A single, continuous pass eliminates lap marks and gives the whole ceiling a uniform color reading.
Export, packing, and lead times
Custom perimeter trim typically requires 18 to 25 days from approved shop drawing to ship-ready. For projects in the Middle East or Africa, we pack trim in export-grade wooden crating with foam separators between every piece to prevent transit damage on stacked layers. Individual pieces are wrapped in felt or foam to protect the profile edges.
Standard 20-foot containers hold between 1,800 and 3,200 linear meters of perimeter trim depending on profile depth and packing density. We calculate the container utilization before production and share the loading plan with the freight forwarder to optimize the shipment.
Send your ceiling plan with perimeter call-outs, beam profiles, and the color reference, and we'll return a quote, a shop drawing, and a physical sample chip within five business days. Sample chips are 150 x 100 mm and include both the stained and painted versions of the requested profile so you can evaluate the finish in your project's lighting.

Technical References
ASTM standards cited in every specification
Test Data
Lab results from internal testing program
Updated 2026
Reviewed against current product specs


