
Existing structural beams in renovation projects don't always match the design vision. A steel I-beam in a farmhouse living room, a mismatched timber from a previous renovation, an oversized LVL header that dominates the ceiling — each of these breaks the visual coherence that designers work so hard to achieve. U-wrap beams solve the problem cleanly and affordably, wrapping around the existing member and transforming it into something that looks like it belongs.
The key to a convincing U-wrap installation isn't just getting the color right — it's treating the wrap as a single, continuous piece of timber even though it's made from three separate molded sections. Custom color finishing is what makes the seams invisible.
What a U-wrap actually is
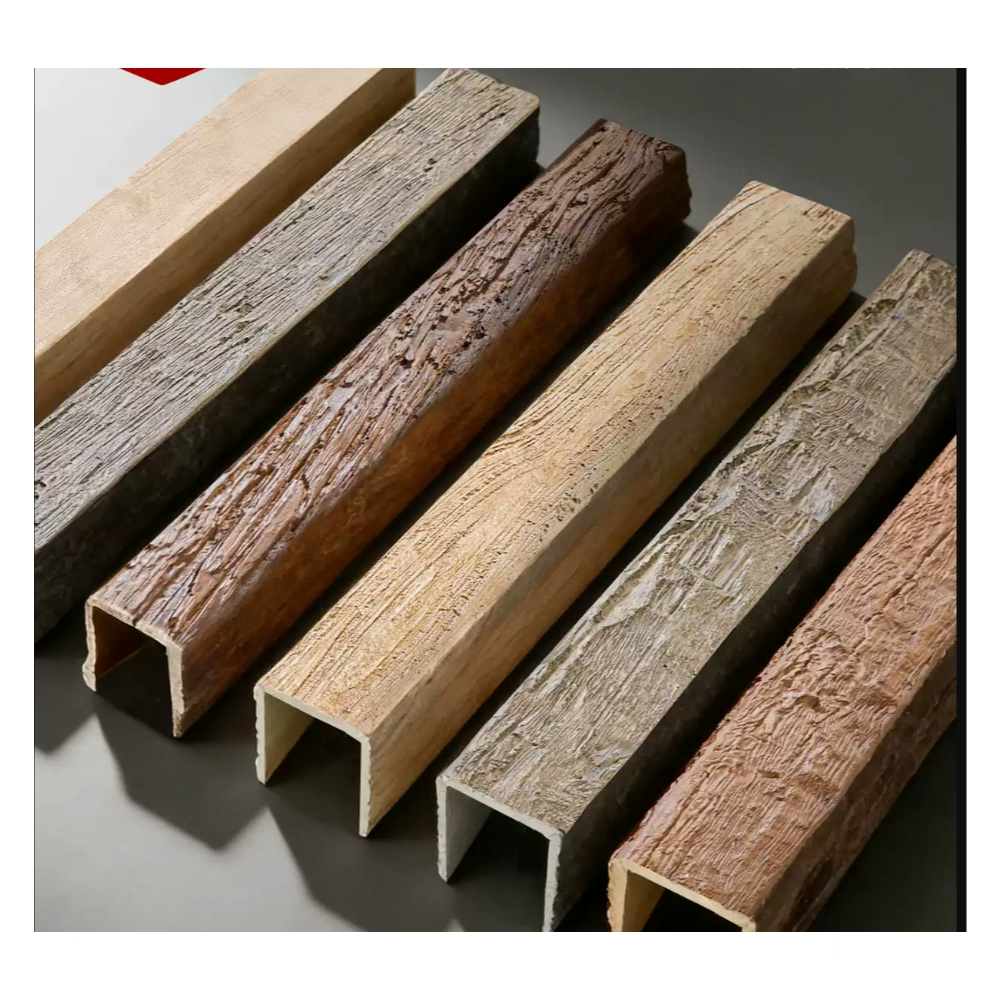
A U-wrap beam is a three-sided polyurethane channel — two vertical sides and a horizontal bottom — that slides over an existing structural beam from below. The open top is closed by a separate cap piece that sits between the wrap and the existing deck or ceiling above. Wraps are molded with the same wood-grain texture as solid faux beams, so when finished correctly, the wrap reads as one continuous piece of timber.
U-wraps are most popular in three renovation scenarios. The first is covering old timber that doesn't match the new design direction — perhaps the original beams were a different species, or they've been painted a color that no longer works. The second is hiding steel or LVL members in residential conversions where the structural engineer specified steel but the designer wants timber. The third is adding visual depth to thin drywall soffits where the real ceiling plane is too flat to create interest.
Sizing a U-wrap to the existing beam
The wrap has to clear the existing member on all three faces with enough room for adhesive and shimming but without so much clearance that the wrap feels loose or hollow-sounding when tapped. We typically add 6 to 10 mm of working clearance on the sides and 10 to 15 mm on the bottom.
To specify a wrap, we need the exact dimensions of the existing beam (height, width, and length), the material it's made of (timber, steel, LVL, glulam), and any irregular features like nail plates, bolt heads, hangers, or splices. We also need to know the ceiling height and the desired finished height of the wrap.
| Existing beam type | Recommended wrap dimensions | Notes |
|---|---|---|
| 4x6 timber | 5x8 wrap, 6 mm side clearance | Lightest standard wrap |
| 4x8 LVL | 5x10 wrap, shim space 8 mm | Check for crowning |
| W6x15 steel I-beam | 8x10 wrap covering bottom flange | Measure flange width carefully |
| W8x18 steel I-beam | 10x12 wrap with deeper profile | Consider web coverage |
| Existing drywall soffit | Custom wrap with mounting flange | Requires full structural review |
For steel members, we strongly recommend a wrap that fully covers the bottom flange and continues past the lower flange edge by at least 60 mm. This creates a solid visual block and ensures the structural steel is completely hidden from every viewing angle. Steel flanges are often wider than they appear from below, and an undersized wrap leaves visible steel edges.
For timber and LVL members, check whether the existing beam is crowned (curved slightly upward along its length). A severely crowned beam may need shimming inside the wrap to prevent the wrap from rocking after installation.
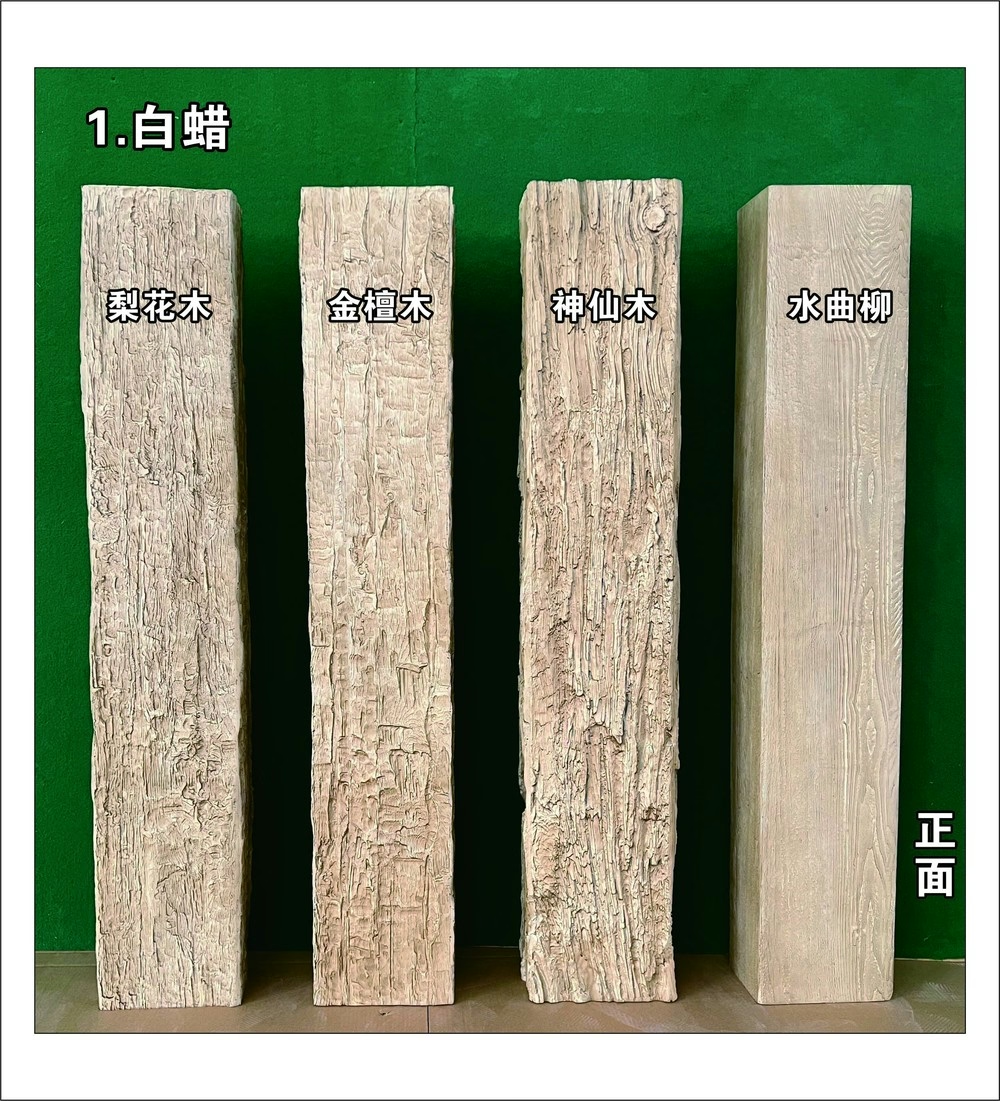
Why custom color finishing is essential for wraps
A wrap beam is assembled from three pieces: two sides and a bottom. Even with the tightest joinery, the seams between the three pieces are visible if the color doesn't match perfectly across the joints. Factory finishing solves this because the entire wrap is finished in one continuous process before assembly, then touched up at the seams after assembly.
For projects where the wrap needs to look like aged timber, the multi-tone finish has to wrap continuously across all three seams. Our standard process disassembles each wrap, finishes each piece individually with the same formula and in the same finishing session, then assembles the pieces and touches up the joints. The result is a wrap that looks like one solid piece of timber from every normal viewing angle.
For paint-grade wraps, the seams are filled with a color-matched filler, sanded flush, and the entire wrap receives one final topcoat pass. This eliminates any visible joint line.
Common installation methods
U-wraps install in two basic ways: friction-fit with construction adhesive, or with a hidden cleat system. The right method depends on the weight of the wrap and the substrate.
Friction-fit with adhesive works well for wraps up to approximately 8 kg per linear meter, which covers most standard residential profiles. Construction adhesive is applied to all contact faces (the inside of both wrap sides and the inside of the bottom), the wrap slides up over the existing beam, and a few 18-gauge brad nails hold it in place while the adhesive cures. Within 24 hours, the adhesive has reached sufficient bond strength and the nails can be removed and the holes filled.
The cleat system is recommended for heavier wraps, for steel beams where adhesive alone doesn't bond well to the galvanized or painted steel surface, and for applications where the wrap may need to be removed later for access to the structural member. We supply pre-finished cleat blocks in matching PU resin that lock into channels molded into the inside of the wrap sides.
Dealing with splices and connections
Existing beams often have splices, hangars, bolt plates, or knots that protrude slightly from the surface. The wrap can absorb up to 8 mm of irregularity without telegraphing, but anything larger should be addressed before the wrap goes on.
We supply field shims made from the same PU resin for small adjustments. For timber beams with protruding nail plates, we recommend covering the plate with a thin sheet of aluminum (painted to match) before installing the wrap. For steel beam connections, a thin plywood or cement board pack-out over the worst spots gives the wrap a clean contact surface.
Length, weight, and shipping
U-wraps are significantly lighter than solid timber — typically 3 to 5 kg per linear meter depending on profile — but the larger cross-sections can still be bulky. For ceiling heights over 5 m or for wraps longer than 6 m, we ship the wrap in two halves with a hidden internal splice block at the center.
The splice block is one of the most critical details in a wrap installation. We machine it from the same PU resin, apply the matching color finish in the same session as the wrap, and supply it with detailed installation instructions. A correctly executed splice is completely invisible from below and from any normal viewing angle. The installer drills two small access holes in the inside of the wrap, inserts the splice block, secures it with screws, and fills the access holes with color-matched plugs.
Where U-wraps don't work
Wraps add depth, and some ceilings simply don't have it. In a standard 2.4 m residential ceiling with minimal soffit depth, adding 150 to 200 mm of wrap can visually crowd the room. We help designers evaluate whether a wrap is the right solution or whether a different product — a flat-mount beam, a thin decorative rib, or a simple perimeter trim — makes more sense.
Wraps also don't work where the existing beam needs to remain accessible for inspections, fire system maintenance, or future structural modifications. In those cases, we recommend a fully removable cleat system that allows the wrap to come off in sections without damaging either the wrap or the substrate.
Send the dimensions of the existing beam, a photograph, the material type, and the color reference, and we'll return a wrap specification, a finish sample chip, and a quotation within four business days.
For U-wrap beams, we also offer a full-service specification service where our technical team reviews the existing structural conditions, the ceiling height, and the design intent and recommends the optimal wrap profile and mounting method. This service is particularly useful for complex renovation projects where the existing beam conditions are unclear from a visual inspection alone.

Technical References
ASTM standards cited in every specification
Test Data
Lab results from internal testing program
Updated 2026
Reviewed against current product specs


