
A cove ceiling is one of the most quietly elegant interior details in the history of architecture. The soft curved transition from wall to ceiling hides the hard junction that most rooms have, allows indirect lighting to wash the upper wall with a gentle glow, and gives a room a calm, finished quality that flat ceilings simply can't achieve. Adding faux timber beams to a cove ceiling might sound contradictory at first — heavy timber against a soft, floating curve — but when the design is resolved properly, the combination is compelling. The beams provide the visual anchor and the architectural substance; the cove softens the transition and makes the ceiling feel taller and more generous.
For designers working on transitional, modern farmhouse, coastal, and Scandinavian interiors, the cove-and-beam combination is a recurring motif for good reason. The challenge is in the details: how the beam terminates at the cove, how the cove is finished relative to the beam, and how the lighting integrates with both.
How the cove curve works
A cove is essentially a quarter-round section — a 90-degree arc — that creates a curved transition between the wall and the ceiling plane. The arc can be tight (a small radius of 100–150 mm, creating a sharper, more contemporary transition) or gentle (a larger radius of 200–350 mm, creating a softer, more traditional feel). The cove is usually continuous around the entire perimeter of the room.
In construction terms, a cove is either a pre-molded continuous strip of flexible material or a built-up plaster detail. Pre-molded coves are faster to install and more dimensionally consistent; built-up plaster coves can be customized to any radius but require skilled tradespeople and more finishing work.
PU resin coves are pre-molded in standard lengths (typically 2.4 m) and joined on site with concealed adhesive joints. The joints are filled and sanded to disappear into the curve. For curved walls, flexible PU cove strips can be ordered in rolls and bent to follow the wall radius without breaking.
The visible surface of the cove is typically finished in the same color as the ceiling — not the wall. This is a deliberate design choice. When the cove reads as the same color as the ceiling, it creates the visual illusion that the ceiling plane extends down into the wall, making the room feel taller and the wall-to-ceiling junction feel less abrupt. The wall color and the ceiling color remain visually distinct, but the transition is softened by the cove curve.
Indirect LED lighting strips are frequently installed in the cove, running the full length of the ceiling perimeter. The LED strip sits in a shallow channel behind the cove curve and washes the upper wall with light. The effect is a soft gradient of light that illuminates the wall without any visible fixture.
Where beams meet the cove: the critical detail
The beam-to-cove intersection is the detail that determines whether a cove-and-beam ceiling looks intentional or improvised. There are three standard approaches, each with different visual weight and installation complexity.
The first and cleanest approach is where the beam stops a few millimeters short of the cove curve and is capped with a return that lands cleanly against the wall. The gap between the beam end and the cove is filled with a paintable urethane caulk in the ceiling color. From below, the eye reads the beam as terminating cleanly at the curve. This approach is most common in contemporary interiors.
The second approach is more traditional and more visually complex. The beam continues into the cove and the cove is notched to accept the beam profile. The beam runs to the wall plane and the cove wraps around it. The notch is filled and finished to read as a continuous piece of construction. This approach looks heavier and more architectural, and it's common in Old World, Tuscan, and Mediterranean interiors.
The third approach is a hybrid: a transition block — a small piece of molded PU that bridges the beam profile and the cove curve — fills the awkward gap between them. The block is finished in the beam color and reads as a small architectural detail, almost like a miniature corbel. This approach is popular in transitional interiors where the designer wants the warmth of the beam to extend into the cove without the complexity of a full notch.
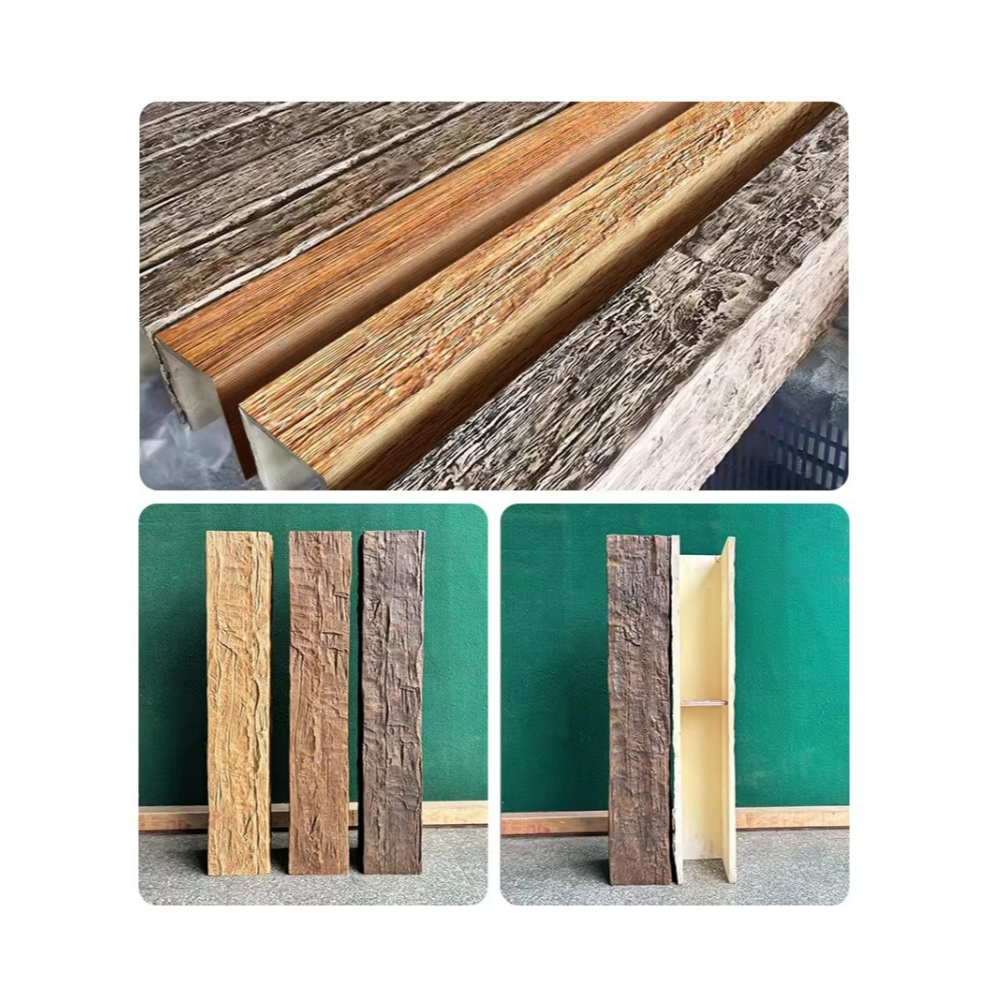
Flexible beam ends for tight cove radii
For cove intersections, the last 100–200 mm of the beam can be molded in a flexible PU version that bends slightly to follow the cove curve. The flexible section eliminates the need for a hard transition block or a notched cove, creating a continuous visual flow from the straight beam into the curved cove.
Flexible ends are slightly more expensive than rigid ends but they save significant finishing labor on site. The transition becomes a one-piece detail rather than a multi-piece assembly, and there's no joint to fill, sand, and touch up.
For tight cove radii (under 150 mm), flexible ends are the most practical solution. Rigid PU can't bend enough to follow the curve without developing stress fractures that telegraph through the finish. Flexible ends solve this problem cleanly.
Integrating indirect lighting with cove and beam
Most cove ceilings include indirect LED lighting. The beam can be coordinated with this lighting in three ways:
The first and most common approach is where the beam stops short of the cove and the LED strip continues behind the beam terminus, washing the upper wall and creating a soft shadow from the beam edge. The beam casts a natural shadow onto the cove and the wall, which is a desirable and intentional design feature. This approach works in almost any room and requires no special coordination between the beam and the lighting.
The second approach integrates the lighting into the beam itself. The beam is specified with a recessed channel on the underside (or on one face) that accepts a low-profile LED strip. The LED strip is installed in the channel before the beam is mounted, and the light escapes downward to illuminate the wall below. This approach is more complex to specify and install but it produces a striking effect where the beam itself becomes a source of ambient light.
The third approach positions the LED strip at the beam-to-cove junction. The beam terminates with a small reveal that houses the LED strip, creating a line of light that follows the beam run and creates a luminous edge where the beam meets the ceiling. This is a more dramatic effect, best suited to hospitality and commercial interiors.
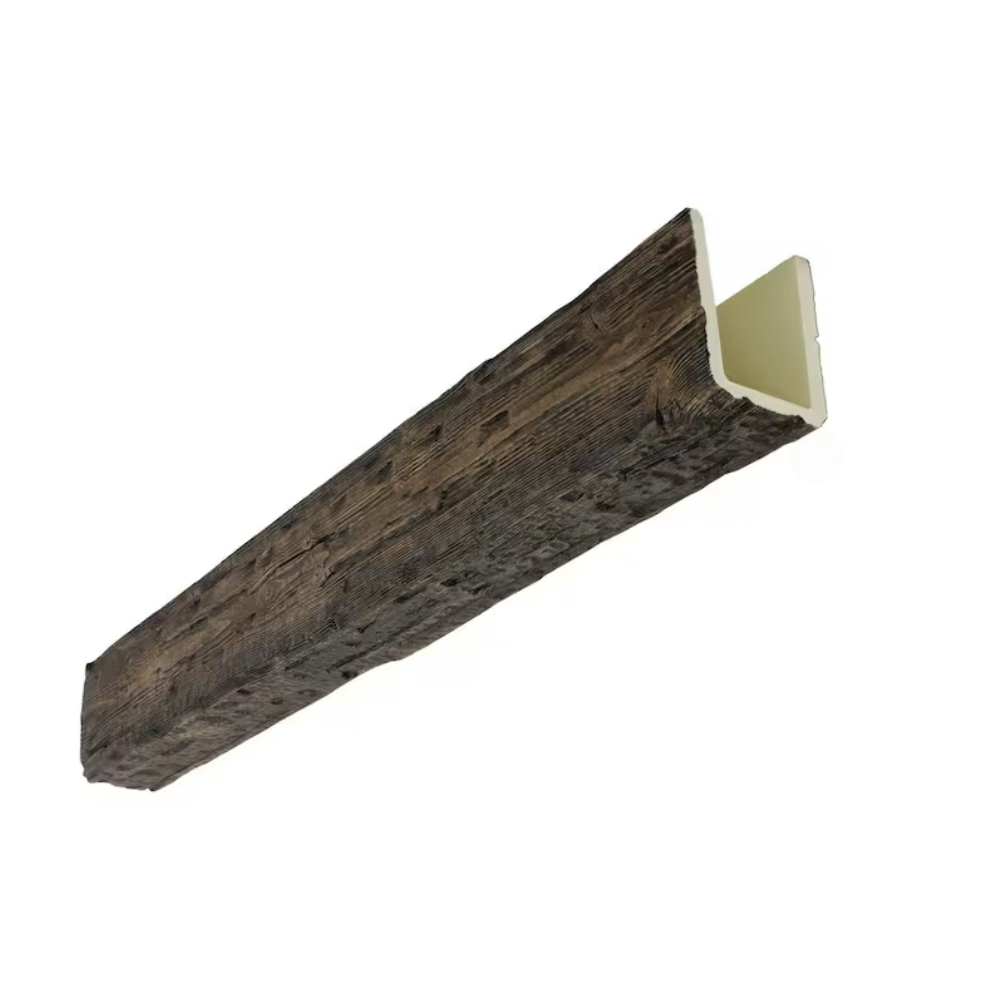
Beam profile selection for cove ceilings
Cove ceilings pair best with medium-scale beam profiles. A 6x8 or 8x8 beam has enough visual presence to read clearly as timber without overwhelming the soft cove curve. The proportions are important: a beam that's too thin reads as a strip rather than as a structural member, and the cove curve dominates the design; a beam that's too thick for the room's ceiling height makes the space feel compressed.
Larger beams (10x10 and above) work in rooms with very high ceilings — crown heights over 4 m — where the beam proportions can match the generous scale of the space. In a standard 2.4–2.7 m residential ceiling, a 10x12 beam in a cove system starts to crowd the visual space.
Smaller beams (4x6 and below) can work in contemporary minimalist interiors where the beams are meant to be a subtle textural element rather than a dominant architectural feature. With smaller beams, the spacing becomes critical — beams spaced too far apart look random, while beams spaced too close together create visual clutter.
For modern interiors, smooth-profile beams — without a heavy hand-hewn or distressed texture — work best with coves. The clean lines of the profile echo the smooth curve of the cove. For rustic interiors, hand-hewn or rough-sawn textured beams add character that contrasts intentionally with the smooth cove surface, creating a layered textural dialogue.
Finishing for cove-and-beam applications
The cove is typically painted in the ceiling color, so the beam should be finished in a tone that relates to the cove color but contrasts enough to read as a separate element. The most common approach is a warm timber tone for the beam against a white or cream cove and ceiling. This creates a clear visual hierarchy: the beams are the architectural feature, the cove is the transition, the ceiling is the background.
Stained beams in warm oak, golden oak, or rustic pine pair well with white or off-white coves for a transitional look. Painted beams in a contrasting tone — charcoal beams against white coves, for example — work for modern interiors where the beam is a deliberate geometric element rather than a natural material reference.
For multi-tone beams, the cove is almost always a solid paint color to avoid visual competition. The eye reads the beam as the primary element and the cove as the supporting transition. If the cove and the beam both have complex multi-tone finishes, the ceiling becomes visually noisy.
Practical considerations for installation
Cove ceilings add perceived height to a room. The curved transition visually extends the ceiling plane down the wall by 50–100 mm, which makes even a standard 2.4 m ceiling feel slightly taller and more generous. This is one of the reasons coves have been used in architecture for centuries — they're a reliable spatial trick.
For new construction, the cove is easier to install before the beams. The beams then mount into the finished cove curve and the beam-to-cove junction is resolved from a clean starting point. For renovations, the cove can be retrofitted with a flexible PU strip that adheres to the existing ceiling and wall with construction adhesive. The existing ceiling doesn't need to be perfect — the cove covers minor irregularities — but the wall surface should be reasonably flat.
Send the room dimensions, the cove radius if known, the beam profile and length, the beam layout (how many beams and in what direction), and the color reference, and we'll return a sample chip, a beam-to-cove transition detail drawing, a lighting integration recommendation, and a quotation within five business days.

Technical References
ASTM standards cited in every specification
Test Data
Lab results from internal testing program
Updated 2026
Reviewed against current product specs


