
The end of a beam is the last thing the eye encounters before it disappears into the wall. A sloppy termination — a square-cut end that doesn't follow the beam's curve, a plug filler that doesn't quite fill the profile, a visible fastener head — undermines the entire run and makes the whole installation feel unfinished. A properly designed end cap makes the termination feel intentional, architectural, and resolved.
For curved beams, the end cap has to do something that a straight beam end cap doesn't: it has to transition from a curved profile to a flat termination plane. The geometry is straightforward in concept but requires careful mold design to execute well.
What makes a curved end cap different from a straight one
A straight beam end cap is a flat face. You cut the beam to length at the desired angle, finish the end-grain, and the job is done. The cap (if any) is optional and usually just a flat return that covers the end-grain.
A curved beam end cap has to follow the radius of the beam's curve as it transitions to the wall plane. The cap is wider at the outer edge of the curve (where the beam face is furthest from the wall) and narrower at the inner edge (where the beam face is closer to the wall). The transition surface between the beam's curved profile and the flat termination plane is itself curved.
This transition surface — the "cap" in the engineering sense — can be handled in two ways. A gentle transition has a long, gradual curve that blends the beam's profile into the wall plane over 50–80 mm of length. A sharp transition follows the beam's curve closely and lands on the wall plane over a shorter distance. The choice affects the visual weight of the cap and the ease of installation.
Gentle transitions are easier to mount because they have more surface area for adhesive contact and the adhesive spreads more evenly. Sharp transitions look lighter and more refined, but they require more precise positioning during installation because the contact area is smaller.
Common termination scenarios
Wall termination
The most common termination is a curved beam running into a flat wall. The cap lands on the wall surface, and the joint between the cap face and the wall is sealed with a paintable urethane caulk in the wall color (or in the beam color, depending on the design intent).
The complication is that walls aren't perfectly flat. In older buildings, walls often bow inward or outward near corners — sometimes by 3–5 mm over a 300 mm height, which is enough to create a visible gap at the cap joint. The standard solution is to order the cap 3–5 mm oversized on the wall-facing edge and have the installer scribe the edge during fitting. Scribing a curved surface to an uneven wall is a skilled task, but it takes only a few minutes with a profile gauge and a sharp utility knife.
Column and pilaster termination
A curved beam terminating against a column or pilaster is handled with a wrap cap. The cap extends past the column face by 40–80 mm on each side, creating a small shadow gap that visually anchors the beam to the column. The shadow gap is filled with a black closed-cell backer rod before caulking, creating a uniformly dark line regardless of the column's surface condition.
A wrap cap is more complex than a simple wall cap because it has to follow two planes simultaneously: the front face of the column and the two side faces. We build wrap caps from the column dimensions and the beam geometry. The mold is custom for each project because column sizes and beam radii vary.
For square columns, the wrap cap is straightforward. For round columns or fluted pilasters, the cap has to follow the curved or fluted surface, which adds mold complexity and installation time. For very complex column profiles, we sometimes recommend a simpler approach: a flat wall cap that stops at the column face with a clean butt joint, and a separate trim piece that wraps the column and meets the beam cap.
Ceiling-to-beam transitions
Curved beams can also terminate against a flat ceiling beam, a soffit, or a structural member at the ceiling plane. The termination cap follows the beam's curve to the ceiling plane, and the joint is typically covered by a small trim piece that bridges the gap between the curved beam end and the flat ceiling surface.
For ceiling terminations, we recommend ordering the ceiling trim and the end cap together so both pieces can be engineered to work as a system. The trim and the cap are finished in the same color in the same session, and the joint between them is pre-finished in the factory.

The termination plane: choosing the right angle
The angle of the termination plane relative to the beam axis determines how the cap reads against the wall. There are three common approaches.
The first and most forgiving is perpendicular to the wall. The cap face sits flat against the wall, creating a clean vertical line. This is the easiest to caulk and the most common in contemporary interiors.
The second is perpendicular to the beam axis — a standard miter. This is a traditional approach that reads as a natural end to the beam run. The miter angle depends on the beam's curve radius and the wall angle.
The third is a custom angle for off-square wall junctions or intentional design angles. If the wall is significantly out of square (more than 3 degrees from perpendicular), a custom angle cap that matches the actual wall angle produces a cleaner result than a standard perpendicular cap.
Material, production, and finish
Curved end caps are cast in high-density polyurethane to match the main beam. The curve profile is molded to continue the beam's curvature through the cap, so the joint between the cap and the main beam is seamless.
The cap is finished in the same color and sheen as the main beam in the same production session. Because the cap is a separate piece, we finish it together with the beam to ensure the formula is identical and the cure is simultaneous. After installation, the joint between cap and beam is touched up with the same materials used in the original finishing.
For multi-tone finishes, the cap is finished with the same layering sequence as the beam: base stain, grain wash, and glaze. The grain pattern continues across the joint, but the cap edge may need a final touch-up during installation to ensure the pattern aligns visually with the main beam.
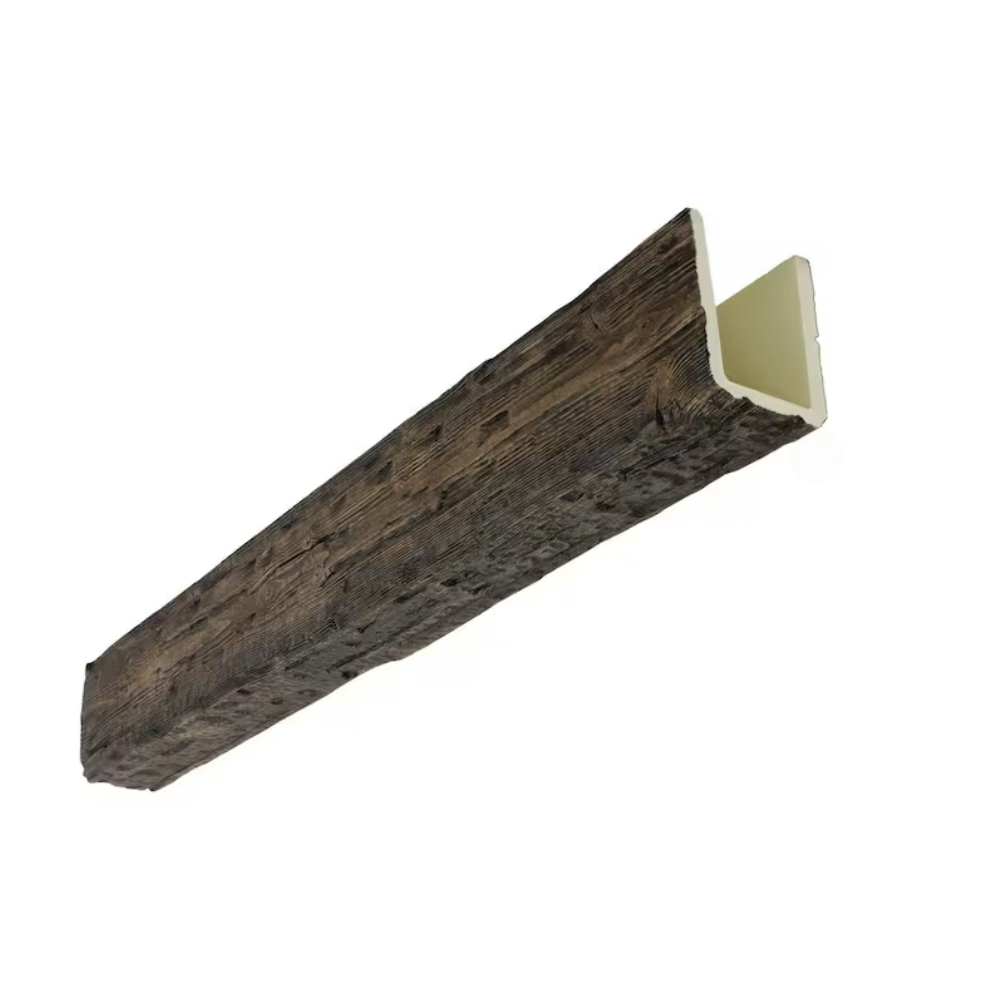
Mounting and finishing sequence
Curved end caps mount with construction adhesive and a hidden mechanical fastener. The adhesive is applied to all contact surfaces between the cap and the beam. The fastener is a small stainless steel angle bracket that sits inside the beam and is pre-painted in the beam color so it's invisible even if a small gap appears.
The mounting sequence is:
- Test-fit the cap against the beam end and the wall. Confirm the fit and the scribe line if needed.
- Mark the position on the beam and on the wall.
- Scribe and trim the wall edge of the cap if the wall is uneven.
- Apply construction adhesive to the contact surfaces between cap and beam.
- Slide the cap into position and press firmly against the wall.
- Hold for 30 seconds while the adhesive begins to grab.
- Insert the hidden fastener through a small access hole in the back of the beam.
- Secure the fastener and fill the access hole with a color-matched plug.
- Caulk the wall joint with paintable urethane caulk.
- Touch up any visible filler at the beam-to-cap joint.
The access hole for the hidden fastener is typically 8–10 mm in diameter, which is easy to conceal with a color-matched plug. For premium projects, the plug is hand-finished to blend perfectly with the surrounding surface.
Lead times and ordering
Custom curved end caps for standard beam profiles ship within 10 business days. For non-standard profiles or complex wrap geometries, lead time is 20–30 days from approved shop drawing. When ordering, send the beam profile, the curve radius, the termination type (wall, column, or ceiling), and the wall angle if not perpendicular. We'll return a shop drawing, a sample cap, and a quotation within five business days.

Technical References
ASTM standards cited in every specification
Test Data
Lab results from internal testing program
Updated 2026
Reviewed against current product specs


