
Curved beams on walls are having a significant moment in contemporary interior design. Designers are moving beyond flat panel wainscoting and shiplap to dimensional treatments that cast dynamic shadows and add genuine texture to vertical surfaces. A curved beam on a wall creates a ribbed surface that catches light differently as you move through the room, and the shadow line along each curve adds a depth that flat panels simply cannot achieve.
Polyurethane is particularly well-suited for wall applications because it's lightweight. A curved wall beam doesn't need the heavy-duty structural mounting that solid timber would require, which makes PU practical for installation directly onto drywall, plaster, brick, or concrete without embedded blocking in most cases.
For residential designers, commercial interior architects, and hospitality designers, curved wall beams open up a vocabulary of detailing that wasn't previously practical at scale.
Types of curved wall treatments
There are four main categories of curved wall treatments that we supply. Each has its own visual character, its own mounting requirements, and its own integration considerations with the room's furniture and lighting.
Full-height curved beams run from the floor to the ceiling, creating a column-like rhythm along the wall. They're typically spaced 600–900 mm apart and read as a series of vertical architectural elements. The curves can be convex (curving outward from the wall, creating a strong column effect with soft shadow on the sides) or concave (curving inward toward the wall, creating a shadow recess). Convex beams cast soft shadows toward the viewer; concave beams cast shadow away from the viewer and read as deeper, more dramatic recesses.
Partial-height curved beams act as wainscoting or panel inserts. A dado-height curved beam runs horizontally along the wall at roughly 900–1,100 mm from the floor — the height of a traditional wainscoting rail — and adds texture without dominating the room. Horizontal dado beams mount with adhesive and finish nails and are easier to integrate with existing door frames and window sills than full-height beams.
Horizontal curved beams at higher wall positions — picture rail height, for example — create a different effect: a band of curved texture that frames the upper wall or runs behind a sofa. These are less common but highly effective in the right context.
Clusters of small curved ribs — typically 50–80 mm wide and 10–20 mm deep — mounted in a regular grid or diamond pattern create a textured wall panel that reads almost like a textile. This treatment is particularly popular in hotel lobbies, upscale restaurant feature walls, and luxury residential interiors.
Profile and curve choices
The curve profile determines the visual weight of the treatment and the intensity of the shadow. A shallow curve — large radius of 2,000+ mm — creates a gentle undulation; a tight curve — small radius of 300–600 mm — creates a sharp rib with a strong, dramatic shadow.
For wall applications, we recommend medium-radius curves (600–1,200 mm) because they balance visual interest with mounting practicality. Very tight curves are more expensive to mold and more challenging to mount flush against an uneven wall. Very shallow curves read as nearly flat and don't add the shadow depth that makes the treatment distinctive.
The beam profile cross-section matters. A wide, flat curved profile creates a different shadow pattern from a narrow, deep profile. A wide shallow curve catches broad, soft shadows; a narrow deep curve catches narrow, high-contrast shadows. We help designers evaluate the shadow study for their chosen profile and spacing.
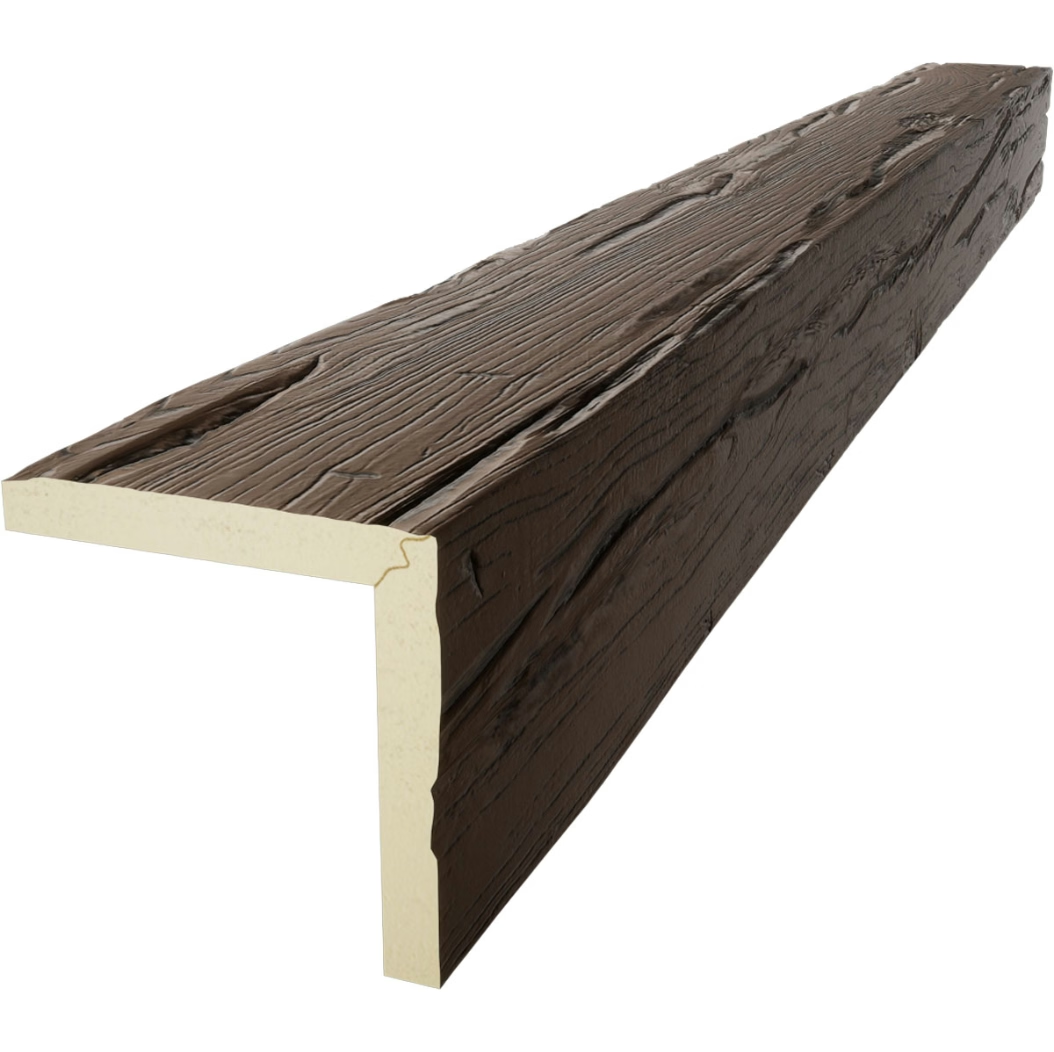
For contemporary interiors, smooth-profile beams — without a heavy hand-hewn or distressed texture — work best. The clean lines of the profile echo the clean geometry of the curve. For rustic interiors, hand-hewn or rough-sawn textured beams add character and make the wall treatment feel more organic.
Mounting systems for different substrates
Wall beams mount to most common substrates with the right approach:
On drywall, we use construction adhesive plus 18-gauge finish nails into studs. If no studs are available at the mounting points, we use toggle bolts or hollow-wall anchors. The adhesive carries the load; the fasteners provide initial holding strength while the adhesive cures.
On plaster, we use adhesive plus screws into lath or modern plaster anchors. Plaster is more brittle than drywall and requires more care to avoid cracking, so we recommend starting with adhesive only and adding fasteners only if needed for additional holding power.
On brick and masonry, we use construction adhesive plus sleeve anchors into mortar joints. The adhesive bonds to the rough masonry surface; the anchors provide mechanical security. We don't recommend using nails or small screws into brick because the holding power is poor and the brick can crack.
On concrete, we use adhesive plus concrete screws or anchor bolts. The adhesive bonds to the concrete; the fasteners provide the primary mechanical connection.
On wood paneling, adhesive plus finish nails into studs works well. The wood substrate provides good adhesive bonding and solid backing for nails.
The adhesive is the most critical element. We recommend a moisture-cure urethane construction adhesive formulated for polyurethane substrates. Standard latex construction adhesive works for most interior applications in dry environments. For humid environments (bathrooms, kitchens, pool houses), moisture-cure urethane is essential.
Finishing for wall applications
Wall beams are typically finished in tones that complement the wall color. The most common approach is to use the same color family as the wall but in a different sheen — a satin beam on a matte wall creates enough contrast to read clearly without competing with the wall color.
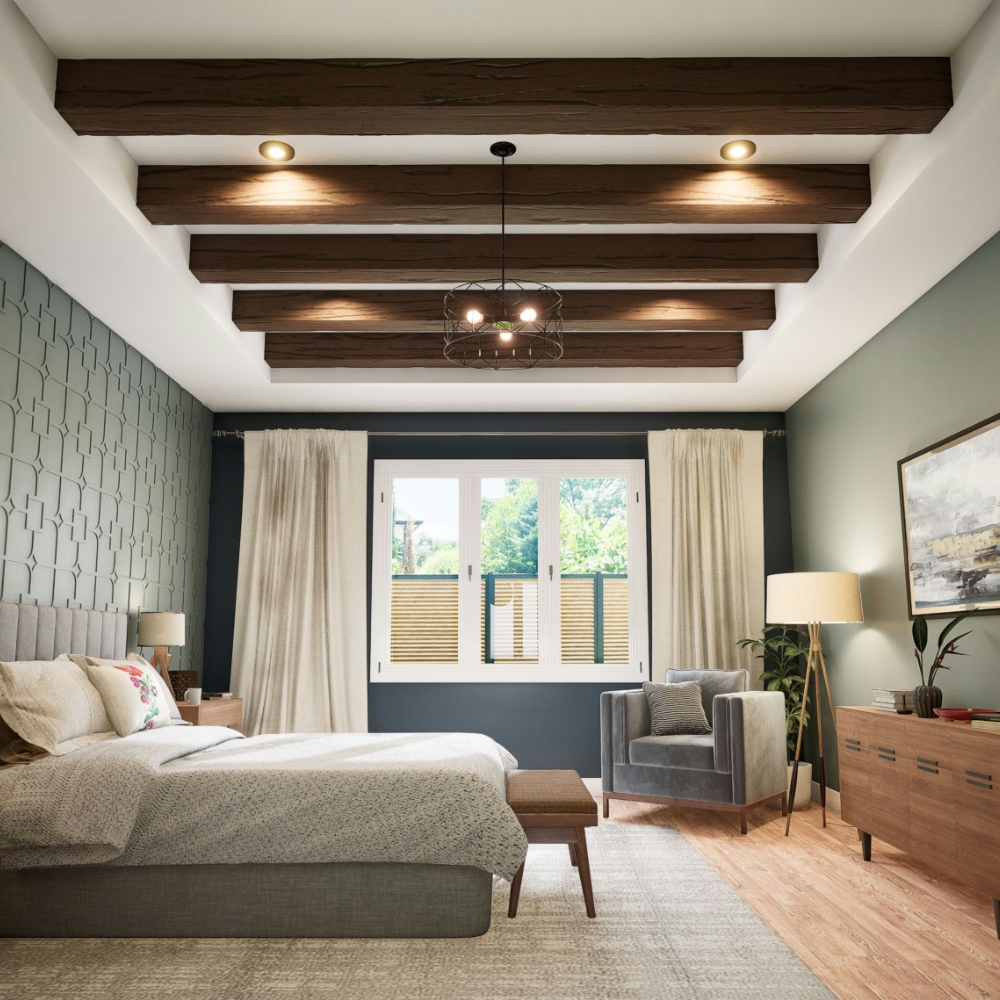
For dramatic wall treatments, designers often use a high-contrast approach: dark beams on a white or light grey wall, or white beams on a dark charcoal or navy wall. The contrast makes the beams read as architectural sculpture rather than as trim. This approach works best in rooms with good natural light where the shadow play is visible.
Multi-tone finishes work particularly well on wall beams because the grain texture catches light differently as you walk past. A wall beam with a multi-tone finish animates the space throughout the day as the natural light shifts angle and intensity. This is one of the most compelling reasons to specify multi-tone on wall applications rather than solid stain.
For painted beams on accent walls, the beam color can either match the wall color (for a subtle, monolithic effect) or contrast with it (for a bold, graphic effect). Matching works in contemporary spaces where the wall treatment is meant to be a quiet background element. Contrasting works in spaces where the wall is the focal point — a hotel lobby, a restaurant feature wall, a residential living room.
Layout planning for wall beam installations
For large wall panels (more than 3 m wide), we supply a layout drawing that shows the exact spacing and positioning of each beam. The drawing ensures the panel is centered, balanced, and properly proportioned for the wall. It also identifies the beam splice locations for long runs and the mounting point locations for each beam.
The layout drawing is based on the wall dimensions, the chosen beam profile, the curve radius, and the desired spacing. We can work from a room drawing, a photograph with dimensions, or a CAD file.
For walls with windows, doors, or other penetrations, the layout drawing shows how the beams terminate at these openings. The options are: beams stop short of the opening and return cleanly, beams run past the opening and are notched around it, or beams are omitted from the opening area entirely. Each approach has a different visual effect.
Send the wall dimensions, the treatment type (full-height, dado, or panel), the curve radius, the beam profile, and the color reference, and we'll return a layout drawing, a sample chip, and a quotation within five business days.
For commercial interior projects with large accent walls — hotel lobbies, corporate headquarters, retail environments — we offer a full design development service that includes a shadow study, a material specification, a full shop drawing package, and a sample approval process. The service is handled by our architectural support team and is included in the quotation for projects above a minimum order value.
For projects with tight timelines, we offer an express sample service that delivers swatches within 3 business days for stock colors and 5 business days for custom matches. Express samples are shipped by air freight to meet critical deadlines.

Technical References
ASTM standards cited in every specification
Test Data
Lab results from internal testing program
Updated 2026
Reviewed against current product specs


