
Most ceilings follow predictable rules. Beams run in straight lines or gentle, consistent curves. Corners are 90 degrees. The geometry resolves cleanly with standard details. And then there are the projects where the architect decided that the rules weren't appropriate.
A ceiling with a changing radius — tighter near one end, wider near the other. A beam that twists as it crosses the room, following a roof that isn't quite a barrel vault and isn't quite a dome. Two curved beams that intersect at a compound angle and create a node that has never existed before. These are the projects that require custom PU fabrication from the ground up: new molds, new geometry, new everything.
We've built beams for all of these scenarios. The process is more complex than standard production, and the cost is higher, but the result is a ceiling that no one else has and that performs as well as it looks.
When standard products reach their limits
Standard curved beams are produced from established molds with consistent radii. The molds are economical because many projects share them. But when a project needs a radius that doesn't match an existing mold, or a beam that changes radius along its length, or two beams that intersect at a complex angle, a new mold has to be built.
The threshold for custom fabrication is usually the geometry, not the size. If the beam can be made from an existing mold — even if the installation is complex — it's a standard product. If it needs a new mold, it's custom. The mold cost is the primary cost driver for curved beam fabrication.
Custom molds are built from CNC-routed master patterns. The pattern is machined from high-density urethane foam to tolerances of ±0.5 mm, then used to cast the production mold in silicone rubber. The mold is used to produce the beams, and the master pattern is kept on file for future orders. If the same geometry is needed again, a new mold can be cast from the pattern without re-machining.
Compound geometry: beyond simple curves
Changing radius beams
A beam that tightens or widens along its length is the simplest compound geometry. The radius at one end might be 1,200 mm; at the other end, 800 mm. The transition between the two radii is smooth and continuous.
These beams require a variable-radius mold, which is more complex to produce than a constant-radius mold. We machine the master pattern on a 5-axis CNC router, which can produce the complex geometry required. The pattern is then used to cast the silicone mold. The resulting beam has the correct profile at every cross-section along its length.
Changing radius beams are used in wave-form ceilings, fan-pattern layouts, and roof structures where the structural geometry drives the beam geometry. They create a sense of movement and dynamism that constant-radius curves can't achieve.
Intersecting curved beams
Two curved beams crossing each other create a compound node — a three-dimensional junction where both beams meet and must be resolved visually and structurally. The node has to handle the geometry of both beams: their profiles, their curves, and their angles of intersection.
In most cases, the node is a custom-molded fitting that wraps the intersection and ties both beams together visually. The fitting is pre-molded with sockets that receive the beam ends at the correct angles. The beam ends are cut to the correct angle in the factory, and the fitting is pre-finished in the same session as the beams. On site, the fitting is installed first, and the beams are slipped into it and secured.
Intersecting curved beams are visually dramatic. They create a grid-like structure that reads as both structural and decorative. The visual weight of the intersection depends on the relative sizes of the two beams. Matching-sized beams create a more balanced, regular grid. Different-sized beams create a hierarchy — a primary direction with a secondary direction — which is usually more legible.
Helical and spiral beams
A helical beam winds around a space like a corkscrew — following a spiral path, with the profile twisting to remain perpendicular to the spiral's radius at every point. This is the most complex geometry we fabricate.
Helical beams require a multi-axis CNC master pattern and a more involved molding process. The lead time is longer — 45–60 days from drawing approval — and the cost is higher. But the result is a genuinely unique architectural element that no other material could produce as elegantly.
Helical beams are rare — we produce them for perhaps three or four projects per year. They're most commonly used in grand hotel lobby ceilings, high-end residential entryways, and signature restaurant ceilings where the beam is the defining architectural gesture of the space.

The custom design process
For unique ceiling projects, the design process begins with geometry. We need a digital model of the ceiling in a format we can read: DWG, DXF, RVT, SKP, or a 3D PDF. From the model, we extract the beam geometry, define the profile cross-sections at key points, and calculate the mold requirements.
We then prepare a parametric model of the beams in our engineering system and return a comprehensive set of shop drawings that show every beam in plan, elevation, and cross-section. The drawings include the radius at every point along the beam's length, the beam profile dimensions, the connection details, the splice locations, and the fitting requirements.
The shop drawing review is iterative. We identify geometry conflicts — beams that collide, joints that don't land on structural members, clearances that are too tight — and propose solutions. Most unique ceiling projects require two to three rounds of drawing revision before they're ready to approve.
We strongly recommend engaging us early in the design process. We can advise on what's practical to fabricate at a reasonable cost, what's achievable with more investment, and what the finishing options are for complex geometries. Early engagement prevents costly redesigns later when the drawings are already approved and production has begun.
Finishing considerations for complex geometry
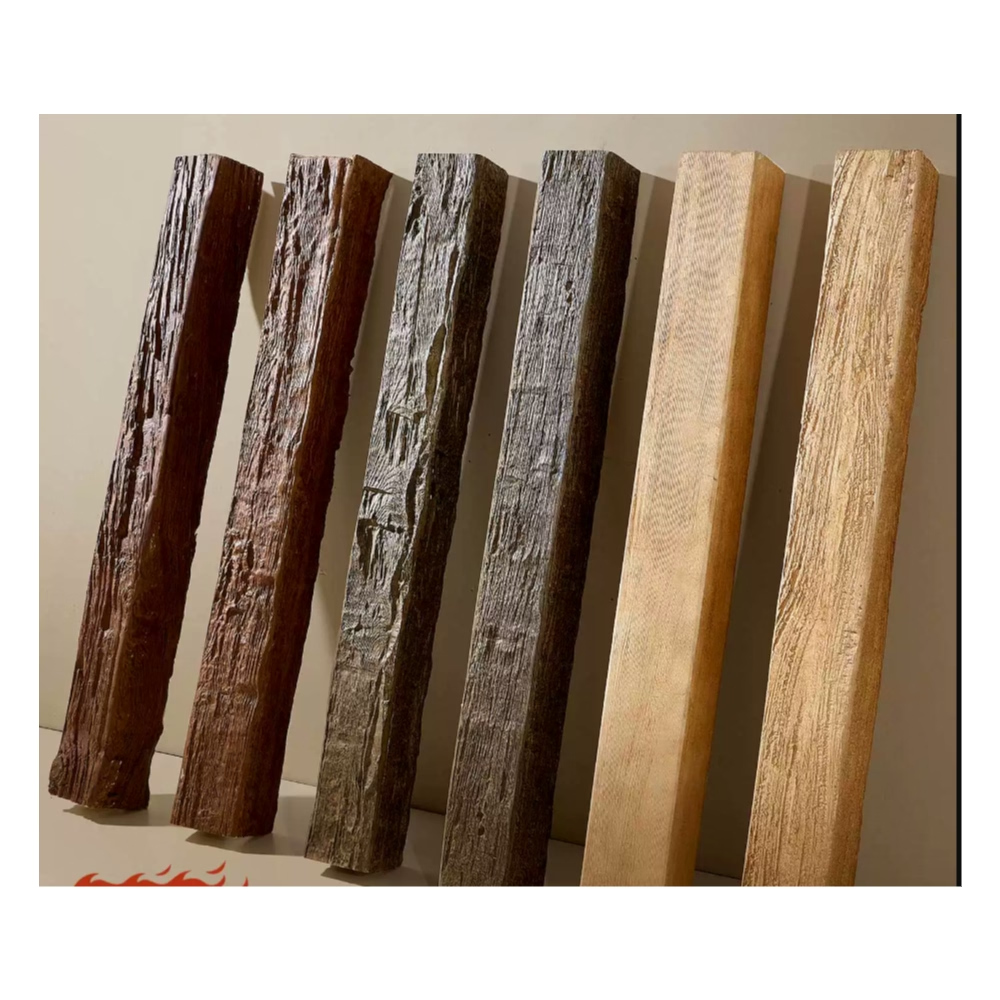
Complex geometry presents finishing challenges that straight or gently curved beams don't have. The finish has to wrap continuously around compound curves, through intersections, and across changing radius sections without pooling, sagging, or creating a visible lap.
We handle this by finishing the beams before they're assembled. Each beam is finished individually while it's still held in the production mold, which maintains its shape and allows the finish to be applied evenly across the curved surface. After finishing, the beams are removed from the mold and assembled. The joints between beams are touched up after assembly.
For helical and complex compound beams, we sometimes finish the full assembly after installation. This is slower and requires more skilled finishers on site, but it produces the most consistent result because the finish wraps continuously across the entire assembly without any joints interrupting the surface.
Lead times and cost drivers
The cost of custom curved beams is driven by three factors, listed in order of impact:
Mold complexity is the primary cost driver. A constant-radius mold for a simple curved beam is relatively inexpensive. A variable-radius mold costs more. A compound-geometry mold — with changing radius, intersecting surfaces, or helical geometry — costs the most.
Beam quantity determines how the mold cost is amortized. Higher quantities reduce the per-beam cost significantly. For a single unique ceiling, the mold cost is a significant portion of the total. For a hotel chain ordering the same unique ceiling for 20 properties, the per-unit cost becomes very reasonable.
Finish complexity affects the finishing cost. Multi-tone and weathered finishes add time and skill to the finishing process. Solid stains and paints are standard.
A typical custom curved beam order — 20–50 pieces, single-radius or simple compound geometry — requires 35–45 days from approved drawing to delivery. Complex compound geometry adds 15–20 days. Helical beams add 20–30 days.
For unique ceiling projects, we recommend budgeting for a pre-production mockup — a small section of the most complex geometry, built and finished as a prototype. The mockup is installed on site or in our showroom for the designer's approval before the full production run begins. The mockup cost is credited against the production order.
Send the project concept, the ceiling model or drawings, the design intent, and the project timeline, and we'll return a feasibility assessment, a preliminary layout, a budget estimate, and a preliminary production schedule within ten business days.

Technical References
ASTM standards cited in every specification
Test Data
Lab results from internal testing program
Updated 2026
Reviewed against current product specs


