
A pitched ceiling should feel intentional, not improvised. The slope, the ridge, the hip break — every transition in an angled roof is a place where the wrong beam turns into a visual problem you live with for decades. Custom curved polyurethane resin faux beams are the cleanest answer for sloped ceiling layouts where stock profiles fail.
What Makes Sloped Ceilings Hard
A flat ceiling gives a beam a single, predictable relationship with the wall. A sloped ceiling forces the beam to do more work. It has to follow the rake, meet the wall plate cleanly, and — in most residential designs — turn a corner at the ridge or transition into a hip. Each of these junctions is a place where a straight, off-the-shelf beam looks like it was tacked on after the architecture.
In modern farmhouse, alpine chalet, and contemporary coastal builds, sloped ceilings are paired with exposed structural members that the designer wants to echo. The decorative curved beam runs along the underside of the slope, sometimes parallel to a structural ridge beam, sometimes perpendicular to it as a cross-tie. Either way, the geometry is non-trivial.
Real timber crews can build curved beams, but the cost is steep. Each piece becomes a glue-laminated assembly with multiple laminations bent over a form. The lead time stretches. The shipping cost goes up because the piece is now a structural assembly, not a hollow decorative shell. And the field installation often requires a carpenter with specialized bent-lam experience, which not every region has available.
PU resin sidesteps the whole problem. The mold is the geometry. The piece arrives shaped.
Common Sloped Layouts
The four most common angled layouts that come through a faux beam factory are straightforward enough to describe in advance, and each has its own curve characteristics.
Single-slope shed ceiling. One continuous plane running from a tall wall to a short wall. The decorative beam typically runs perpendicular to the slope, with each beam at the same length but different cuts at each end. A slight curve along the bottom edge softens the long horizontal line and prevents the ceiling from feeling like a warehouse.
Gable or cathedral ceiling. Two sloped planes meeting at a ridge. The decorative beams can run parallel to the ridge (as purlins) or perpendicular (as false rafters). Parallel installations are easier — every beam is the same profile, the curves all match. Perpendicular installations need each beam to have a different length and a compound cut where it meets the ridge.
Hip roof. Slopes on four sides instead of two. The decorative beam layout is more complex because each beam runs from the wall plate to a hip rafter, and the angles change as you move around the perimeter. Custom curves here are essentially mandatory.
Butterfly or inverted pitch. Two slopes meeting at a low valley in the middle. Less common, but the same PU process handles it cleanly. The beam profile needs to taper or curve to follow the inverted geometry.
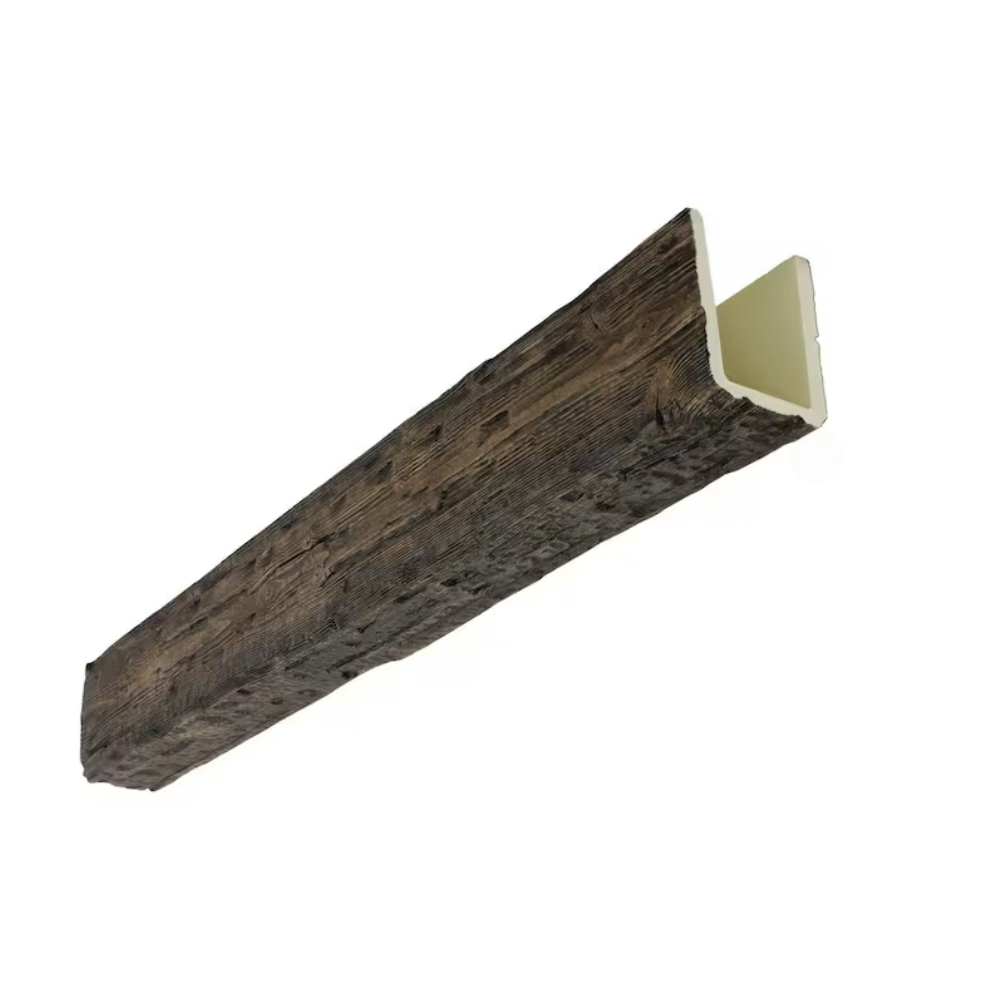
Reading the Drawing Correctly
For a sloped ceiling, the factory needs more than a radius. The brief should include the slope angle, the ridge height, the eave height, the run length, and any transitions where two slopes meet. A typical residential brief looks like:
- Roof slope: 8:12 (33.7 degrees)
- Eave height: 2.4 m
- Ridge height: 4.8 m
- Run: 5.0 m
- Ridge length: 8.0 m
- Decorative beam layout: perpendicular to ridge, every 600 mm
From those numbers, the factory can derive the length of each decorative beam, the compound cut at the top end, and any curve geometry along the bottom edge. The piece that runs from the wall plate to the ridge will not look like the one in the next bay because the slope changes its effective length.
Most factories ask for a reflected ceiling plan and at least one section drawing. A photograph of the empty ceiling is helpful, but it does not communicate the angles. Specifiers who send both drawings and photos get more accurate quotes on the first round.
Polyurethane Behavior on a Slope
The PU resin used for architectural millwork is dimensionally stable across the temperature and humidity ranges typical of a heated residential interior. It does not expand or contract along the slope in a way that would telegraph through the stain or the joints between pieces. That is not true of solid timber, which moves seasonally along its length and can open visible gaps at the joints between decorative beams over the first two or three years.
On a sloped ceiling, gravity works against the beam differently than on a flat ceiling. The fastener schedule changes — installers usually add one extra screw per beam, placed near the high end where any creep would show. The curved profile helps here because the curve stiffens the beam against deflection along its length, distributing the load more evenly across the fasteners.
For ceilings above kitchens, bathrooms, and other high-humidity spaces, the same PU resin handles the moisture exposure without swelling or delaminating. A closed-cell formulation will not absorb water, which matters on a sloped ceiling where condensation can run down the underside of the roof deck and collect along the top edge of the beam.
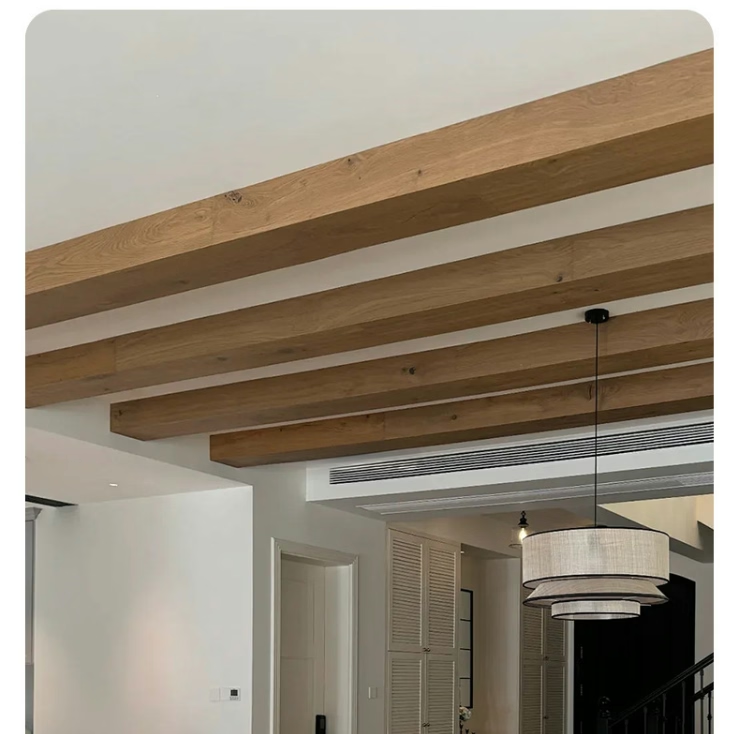
Compound Curves at the Ridge
The most demanding part of a sloped ceiling layout is the junction where two slopes meet. A straight beam that runs perpendicular to the ridge has to terminate cleanly against the angled rafter or ridge beam. With a curved beam, the termination can be designed to wrap the junction, eliminating the visible end grain and creating a continuous line that runs from one slope to the other.
This kind of compound curve — curving along the bottom of the beam while also tapering or angling at the ends — is one of the places custom PU work earns its keep. The factory builds a single mold that captures the geometry, and every piece in the run comes out identical. On site, the carpenter fits the pieces into pre-drilled mounting blocks and the line reads as a single, flowing architectural element.
For chalet, alpine, and ski-resort projects where the ceiling geometry is a key selling point, compound-curved ridge beams are often the first item on the millwork schedule. The cost is justified by the visual impact and the labor savings during installation.

Sequencing a Sloped Ceiling Order
The order sequence for a sloped ceiling installation usually runs:
- Site measure after framing and sheathing are complete but before drywall.
- Confirm slopes, ridge lines, and transitions against the architectural drawings.
- Factory produces a small sample piece in the requested finish.
- Designer approves sample.
- Full production run with each piece tagged for its specific location.
- Site delivery tagged by bay number or zone.
- Installation along a continuous curved track.
The site measure step is the one contractors most often skip, and it is the cause of most field-fitting problems. A wall that is 50 millimeters out of plumb from one end to the other will throw off the geometry of every beam that meets it. Measuring on site and adjusting the mold form for the as-built condition is what turns a "good enough" install into a clean one.
Where This Pays Off
For loft conversions, attic renovations, ADUs, and any project where the sloped ceiling is a defining feature, custom curved faux beams turn a tricky geometry into a repeatable, factory-controlled element. The architect gets the line they drew. The installer gets pieces that fit on the first try. The homeowner gets a ceiling that looks like the rendering.
Budget Realities for Sloped Ceiling Projects
Custom curved beams for sloped ceilings cost more than straight beams, but they often cost less than the alternative: field-fabricated timber. A glue-laminated curved beam produced by a specialty timber shop might run two to three times the cost of a custom PU beam of the same dimensions. The timber beam also requires structural engineering review, specialized installation labor, and longer lead times.
For a typical residential project with five to ten curved beams in a sloped ceiling, the PU option typically saves 30 to 40 percent on the beam cost. The installation labor savings add to that advantage. The field time for a PU curved beam installation is usually one to two days for a crew that would spend a week or more on timber.
Commercial projects scale this advantage. A hotel corridor with a barrel-vaulted ceiling and thirty repeating curved beams benefits from the same unit economics as a residential project, but the total dollar value is higher and the schedule impact is more significant.
Importers and contractors evaluating the cost should request a comparison quote from the factory: custom PU curved beams versus field-fabricated timber alternatives. The comparison should include the beam cost, the installation labor, and the schedule impact. In most cases, the PU option wins on total installed cost even before the schedule advantage is considered.
Coordinating With Roofers and Framers
The sloped ceiling beam installation happens after the roof is framed and sheathed but before the interior finish is applied. The framer's work defines the geometry that the decorative beams will follow. If the framer's work is off — a truss that sits 20 millimeters higher than specified, a wall that is out of plumb — the decorative beam factory needs to know before the mold is cut.
The most common coordination failure is a late framer change that the millwork supplier does not learn about until the beam arrives on site. By then, the mold is cut and the beam is finished. The options are field modification or a replacement order.
A simple coordination protocol prevents this. The general contractor notifies the millwork supplier when framing is complete and before the interior rough-in begins. The millwork supplier visits or receives photographs of the as-built condition. Any discrepancy between the drawings and the as-built condition is identified and resolved before production begins.
For projects with aggressive schedules, this coordination step is the most important thing the project manager can do to protect the installation date.
Finish Selection for Sloped Ceilings
The finish on a sloped ceiling beam faces additional environmental challenges compared to a flat ceiling. The sloped surface is more exposed to solar gain through the roof, particularly in the summer months. The UV exposure can shift the appearance of the stain over time, especially in south-facing roof planes.
For sloped ceiling installations, a slightly darker stain base is often recommended. The UV exposure will lighten the surface slightly over the first one to two years, bringing the final tone closer to the intended appearance. A beam specified at the correct tone with no adjustment for UV exposure will look too dark after the initial lightening stabilizes.
The sealer on a sloped ceiling beam should be applied at the factory with extra attention to film thickness. The sloped surface is harder to clean than a flat surface, and a heavier sealer coat provides better protection against dust, fingerprints, and the occasional water leak from above. The factory can specify an extended cure time before shipping to ensure the sealer has reached its full hardness before the beam is handled and installed.
Technical References
ASTM standards cited in every specification
Test Data
Lab results from internal testing program
Updated 2026
Reviewed against current product specs


