
A beam that is 3 meters long instead of 3.05 meters does not fit. It hangs 50 millimeters short, and the installer has to decide whether to patch the gap with caulk, order a replacement, or cut another beam. Custom cut-to-length polyurethane faux wood beams for exact sizing eliminate this problem. Every beam is cut to the dimension specified on the drawing, within a tolerance of 1 millimeter, and factory-finished at the ends.
The Tolerance Question
Every beam has a tolerance — the range within which the actual dimension is considered acceptable. A stock length beam might have a tolerance of plus or minus 10 millimeters on a 3-meter length. That is not a problem for a field-cut beam, where the installer trims to fit anyway. But for a beam that is supposed to fit between two walls with no trimming, a 10-millimeter tolerance can mean the difference between a beam that fits and one that does not.
Custom cut-to-length beams are different. The factory's CNC saw holds length tolerance to within 1 millimeter over a 6-meter beam. The measurement comes from the drawing, not from a tape measure held up to a rough opening. The cut is controlled by the machine, not by the skill of the person holding the saw.
For projects where the beam terminates against an adjacent surface with a tight reveal — say, a 5-millimeter reveal between the beam end and the wall — the tolerance matters. A beam that is 1 millimeter long will sit 1 millimeter off the wall, which might be acceptable. A beam that is 10 millimeters long will sit 10 millimeters off, which is not acceptable.
How the Take-Off Works
The take-off is the document that communicates the exact length of every beam in the project. It is the foundation of a custom cut-to-length order, and it is where most specification errors originate.
A proper take-off includes, for each beam:
- A unique identifier (beam number, position on the reflected ceiling plan, or location tag).
- The exact length from point A to point B.
- The end condition at each end (square, mitered, returned, or decorative).
- Any reveal dimension if the beam does not butt directly against the adjacent surface.
- The profile and finish specification.
The take-off can be provided as a spreadsheet, as annotations on the reflected ceiling plan, or as a combination of both. The more detailed the take-off, the fewer questions the factory has to ask.
For projects where the reflected ceiling plan is not yet finalized, the factory can work from a preliminary take-off and update the lengths once the drawings are finalized. The factory typically holds the production until the take-off is confirmed, which prevents wasted material.

Sequencing for Large Projects
A large project with 50 or more beams requires a different approach than a small project. The factory typically runs the production in a sequence that matches the installation sequence on site.
The first batch of beams to go out are the ones that install first — typically the beams along the primary axis of the ceiling, or the beams in the most prominent room. These are the beams that establish the installation and set the standard for quality.
The subsequent batches go out as the installation progresses. The factory staggers the shipments to match the site schedule, so the beams arrive when the installer is ready for them rather than sitting on the floor waiting to be hung.
For very large projects, the factory can pre-stage the beams in numbered bundles that correspond to installation zones on the reflected ceiling plan. Bundle 1 goes to zone A, bundle 2 to zone B, and so on. The installer pulls from the bundles in order, without having to sort through the entire delivery.
Tagging and Documentation
Each beam in a custom cut-to-length order is tagged with its identifier. The tag is typically a paper label adhered to the beam, or a printed label tucked into the packaging. The tag matches the beam to its position on the take-off and the reflected ceiling plan.
The tagging system is simple but critical. An installer working from the take-off should be able to locate the correct beam in the delivery, carry it to the correct position on the ceiling, and install it without measuring or cutting.
The documentation package that accompanies the delivery typically includes:
- The packing list, matching each beam tag to its position.
- A copy of the take-off with the actual cut lengths recorded.
- A finishing data sheet for the stain and sealer used, for touch-up reference on site.
- Installation notes if the project has special requirements (for example, a track system that needs to be installed before the beams, or a fastener schedule that differs from the standard).
Finish at the Cut Ends
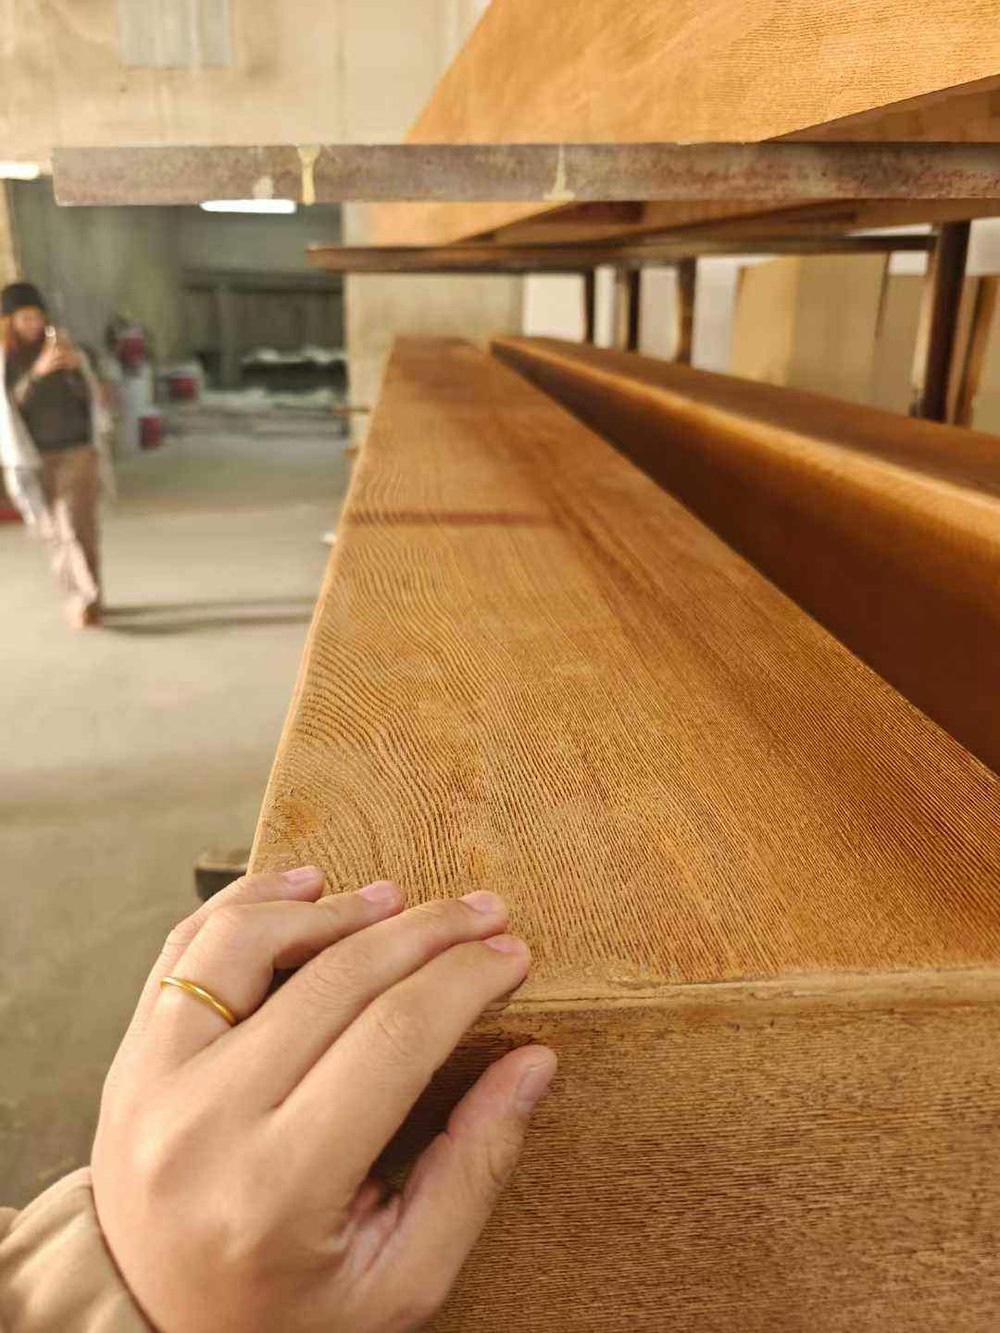
The cut end of a factory-finished beam is finished to the same quality as the beam face. This is the main advantage over field-cut beams, where the cut end is finished by hand on site.
The finishing process for a cut end involves applying the base stain to the raw cut surface, then the glaze if the finish includes glaze, then the sealer. The stain is applied by brush or by spray, depending on the factory's process and the profile of the beam. The sealer is applied in two coats, with light sanding between coats.
The finished cut end should read as the same piece of wood as the beam face, with the grain color and depth matching. A slight difference in tone is acceptable, because the end grain of wood absorbs stain differently than the face grain. A significant difference is a sign that the finishing process needs adjustment.
For projects where the beam end is visible — for example, a beam that runs perpendicular to a glass wall with no adjacent surface — the factory may apply an additional coat of sealer or a different sealer chemistry to the end grain, ensuring that the end does not look lighter or more porous than the face.
Lead Times and Reorder Handling
Custom cut-to-length orders typically run 4 to 6 weeks from confirmed take-off to on-site delivery, for orders of 20 to 50 beams. Larger orders take longer; smaller orders can be faster.
Reorder handling for custom cut-to-length beams is straightforward if the factory has retained the original take-off and the finish reference. A reorder can typically be produced in 3 to 4 weeks, because the sample approval phase is eliminated and the production schedule is known.
For projects with multiple phases or multiple buildings — a hotel with identical rooms on multiple floors, a residential development with the same plan type across several units — the factory can produce all the beams for all the phases from the same take-off, with the finish reference held constant across the production. This approach ensures consistency across the project and reduces the total lead time.
When Exact Sizing Matters
Exact sizing is most valuable in three situations.
First, in tight reveals — situations where the beam ends a fixed distance from an adjacent surface and any variation in length is visible.
Second, in long runs — situations where multiple beams are installed end-to-end, and any length error in one beam compounds across the run, pushing the last beam off its target position.
Third, in high-end finishes — situations where the quality standard is such that a field touch-up on a cut end is not acceptable, and the beam has to arrive with its ends finished to factory quality.
For projects in any of these situations, custom cut-to-length polyurethane faux wood beams are the right specification. The precision, the finish quality, and the installation efficiency are worth the slightly higher per-piece cost.
Measurement Standards and Field Verification
The accuracy of a custom cut-to-length beam depends entirely on the accuracy of the take-off. A beam that is cut to the wrong length because the take-off was wrong is not a manufacturing defect; it is a specification error. The factory cuts what the take-off says to cut.
For projects where the dimensions are taken from drawings rather than field measurements, there is always a risk that the as-built condition differs from the drawings. Walls that are out of plumb, framing that is off from the plan, and finishes that change the effective dimension of an opening — these are all sources of discrepancy between the drawing dimension and the actual dimension.
The best practice is a field measure after the rough framing is complete and before the finish framing or blocking is installed. The field measure captures the as-built dimensions, which are then used for the take-off. This approach adds a site visit to the project schedule but eliminates the most common source of custom cut-to-length errors.
For projects where a field measure is not practical — for example, a long-distance project where the factory and the site are in different countries — a detailed photograph with a dimension reference is the next best option. A photograph showing the opening with a known dimension reference (a tape measure, a framing member of known size) allows the factory to verify the proportions and flag any apparent discrepancies before production.
Working With Architects on the Take-Off
Architects and interior designers who specify custom cut-to-length beams typically provide the dimensions in one of three formats.
The most common is a dimensioned reflected ceiling plan. The plan shows the ceiling with the beam layout, and each beam is annotated with its length. This format is efficient for simple layouts but can be ambiguous for complex layouts with many beams at different lengths.
The second format is a beam schedule. The schedule lists every beam by identifier, with its length, profile, finish, and quantity. This format is clearer for complex layouts and is the preferred format for large projects with many beam types.
The third format is a combination: a reflected ceiling plan showing the layout and a separate schedule providing the detailed specifications. This combination is the most robust, because the plan shows the spatial relationships and the schedule provides the precise dimensions.
The factory's take-off review process checks both the plan and the schedule for consistency. A length that appears on the schedule but not on the plan, or a beam on the plan that is not listed on the schedule, is flagged for clarification. This review catches errors before they become production errors.
Installation Efficiency in Practice
The efficiency gain from custom cut-to-length beams is most visible on the installation. A crew that has installed hundreds of standard-length beams, cutting each one to fit, adjusts its expectations when the first custom cut beam arrives and fits without cutting.
The installation sequence for custom cut-to-length beams is straightforward. The crew receives the delivery, checks the packing list against the order, and sorts the beams by location. The first beam is lifted into position, aligned with the track or blocking, and fastened. The second beam follows. The crew works from one end of the ceiling to the other, trusting that each beam fits.
For a typical residential ceiling with 10 to 15 beams, the installation takes half a day to a full day for a two-person crew. For a commercial ceiling with 30 to 50 beams, the installation takes two to three days.
The time that is saved is not just the cutting time. It is also the measuring time, the fitting time, the touch-up time, and the cleanup time that goes with field cutting. A clean installation — no sawdust, no cut ends to touch up, no caulk lines where a gap was filled — finishes faster and looks better.
Cost Comparison: Custom Cut vs Field Cut
The per-piece cost for custom cut-to-length beams is typically 10 to 20 percent higher than the same beam in a stock length. For a 4-meter beam, that might mean $80 instead of $70 per piece.
The total installed cost comparison is more nuanced. A field-cut beam requires the carpenter to measure, cut, and touch up the end. The labor for this work — at a typical commercial rate of $75 to $100 per hour — adds $25 to $50 per beam. The touch-up materials add another $5 to $10 per beam. The waste from the off-cut — which cannot be used on another project — is material cost that is effectively written off.
For a project with 30 beams, the custom cut option might cost $600 more on materials but save $1,200 in labor and waste. The net savings is $600, plus the quality improvement from a factory-finished end.
The math is even more favorable for complex beam geometries — curved beams, beams with compound cuts, beams with special end conditions. The field labor for these cuts is higher, and the risk of a poor-quality result is greater.
Technical References
ASTM standards cited in every specification
Test Data
Lab results from internal testing program
Updated 2026
Reviewed against current product specs

