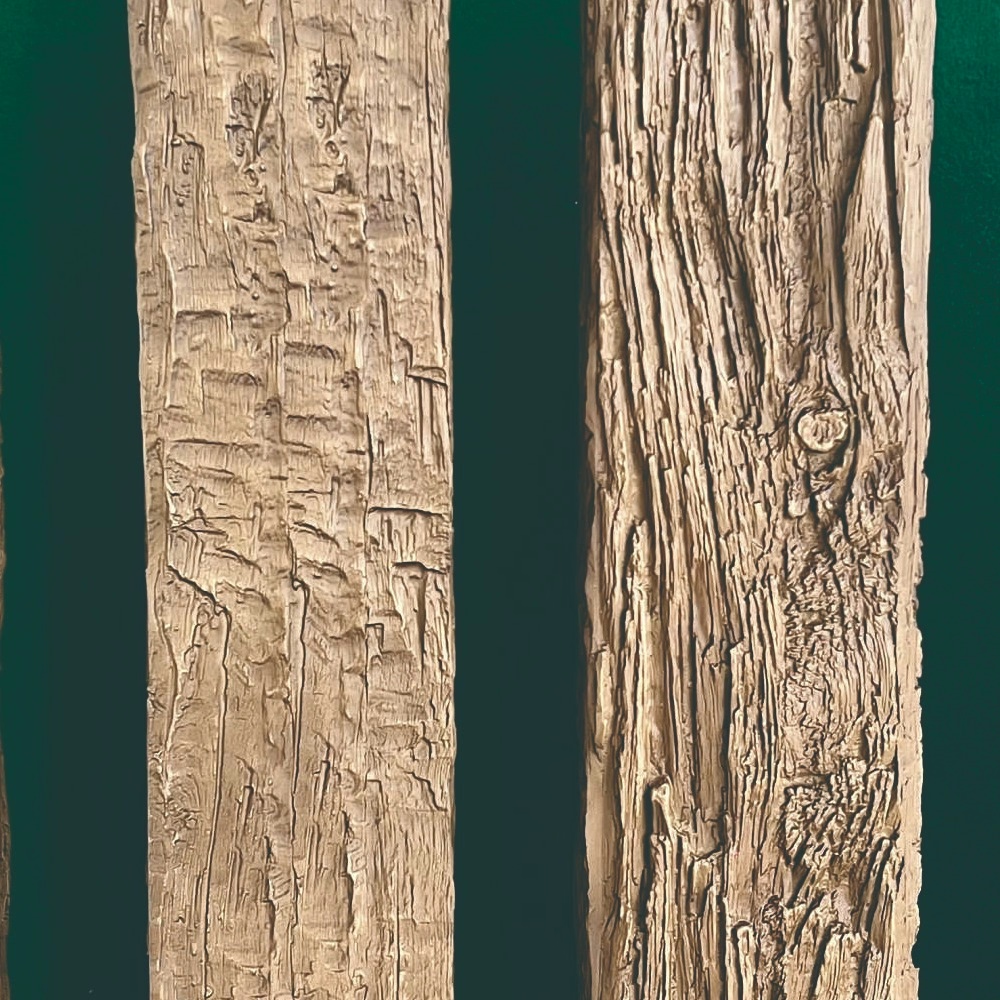
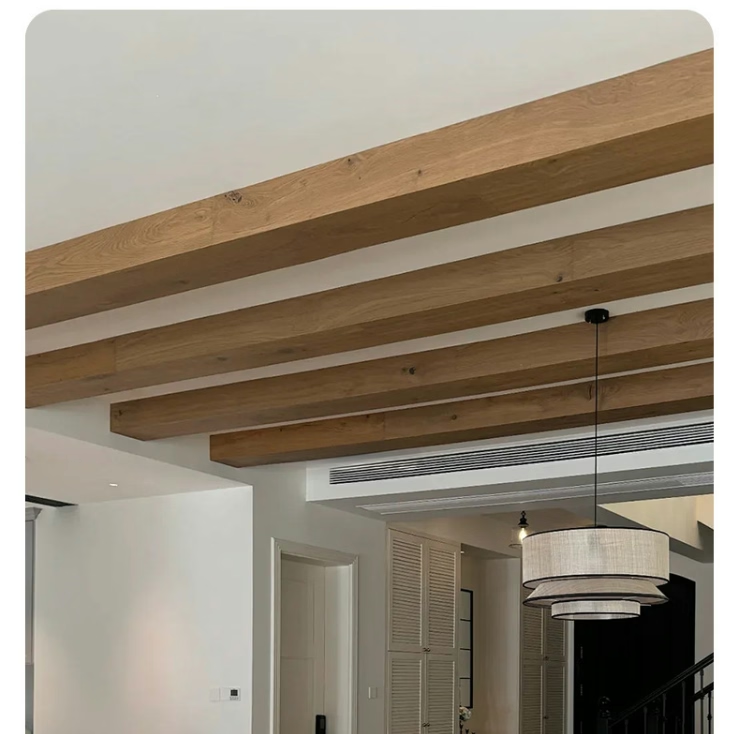
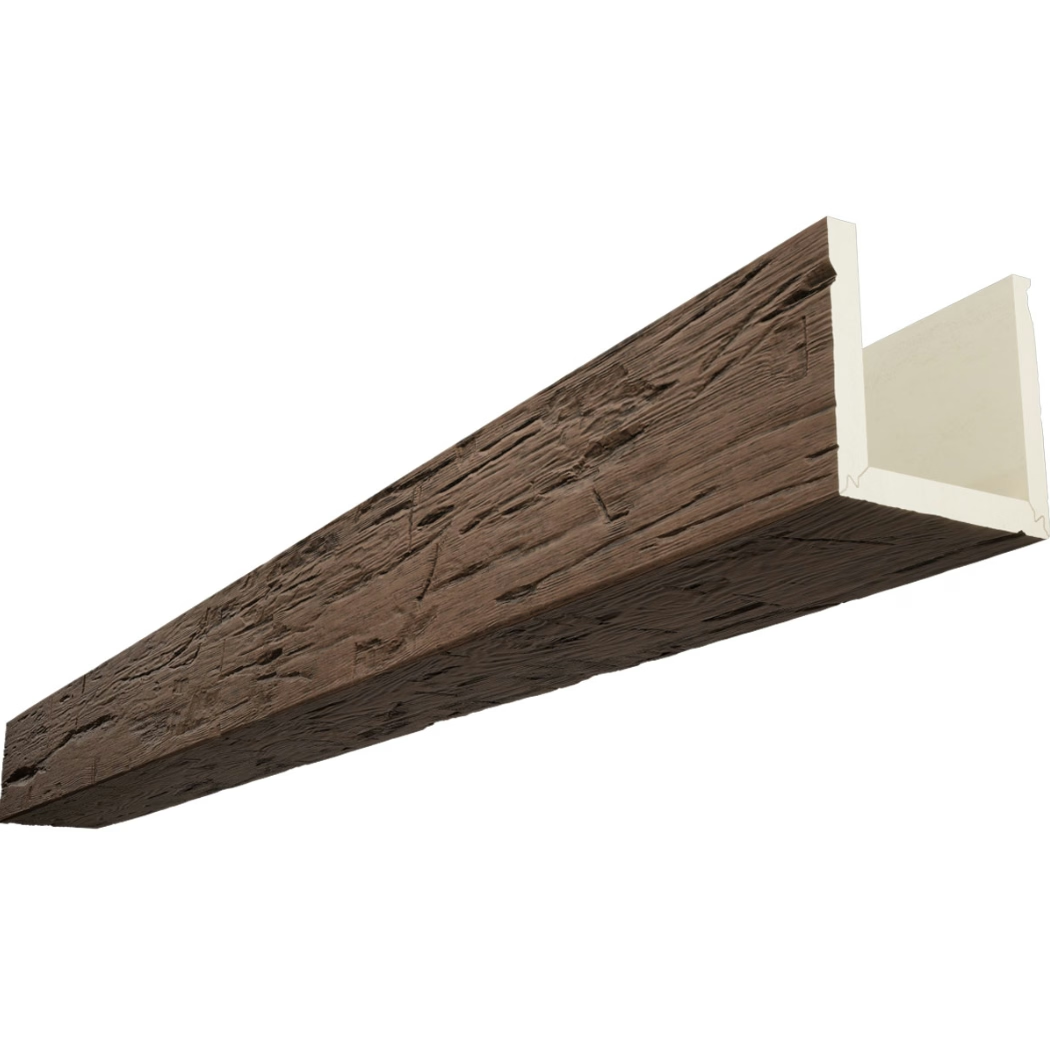
Walk around the exterior of any architect-designed home with polyurethane trim, and your eyes will stop at the corners. That's where the illusion either holds or collapses. A beam that looks perfect on a flat fascia plane can look transparently fake the moment it wraps a corner — because the joint fails to read as timber, or the color shifts at the miter, or the expansion gap shows as a crack. Getting the corner right is less about artistry and more about understanding how polyurethane behaves under seasonal temperature cycling, UV exposure, and rain.
Why exterior corners are structurally and visually different
An interior corner on a ceiling beam sits in conditioned air. It never gets wet. Temperature swings are moderate. The joint, even if imperfect, is 2.4 meters overhead and viewed at an angle that forgives small inconsistencies.
An exterior corner — on a fascia beam, a beam that runs along a porch eave, or a beam wrapping an architectural feature — faces the full force of the local climate. Direct sun bakes one face while rain-wetted surfaces cool rapidly. The joint expands and contracts with the substrate. Wind-driven rain can reach surfaces that are nominally "overhead." In freeze-thaw climates, water trapped in a joint becomes ice and physically forces the assembly apart.
These physics mean that an exterior corner is not just an aesthetic decision. It is a structural detailing decision. The material has to move with the building without cracking. The finish has to stay coherent through thermal cycling. The joint has to shed water rather than trap it.
Material selection for outdoor polyurethane
Not all polyurethane formulations are suitable for exterior use. When specifying corner pieces for outdoor applications, confirm with your supplier that the resin compound is:
- UV-stabilized. Standard PU formulations yellow and chalk under long-term UV exposure. UV-stabilized grades include a UV inhibitor package that maintains color integrity over a 10-to-15-year exterior service life. If the supplier can't confirm UV stabilization, assume standard grade and add a UV-protective topcoat.
- Hydrolysis-resistant. In humid climates — coastal areas, tropical zones, or anywhere with sustained high humidity — standard polyurethane can absorb moisture over time and delaminate internally. Look for hydrolysis-resistant or "marine-grade" formulations. These cost roughly 15 to 25 percent more but eliminate the risk of internal blistering after two or three rainy seasons.
- Temperature-rated for the installation site. Most PU trim is rated to -20°C to +80°C. If your project is in a region that regularly exceeds these extremes — Phoenix summers, Scandinavian winters — confirm the specific grade before ordering. Extreme-temperature formulations exist but need to be specifically requested.
Corner joint types and when to use each
There are four practical approaches to exterior corner joints in polyurethane beam assemblies. Each has a strength and a limitation.
Mitered corner with adhesive. The two beam ends are cut at 45 degrees and bonded with polyurethane construction adhesive or epoxy. The joint is seamless if done correctly, and the texture and grain pattern continue uninterrupted across the corner. Limitation: any seasonal movement in the substrate can crack the adhesive joint over time. Best for: climates with mild temperature swings, or interior-facing eaves that are covered by a roof overhang.
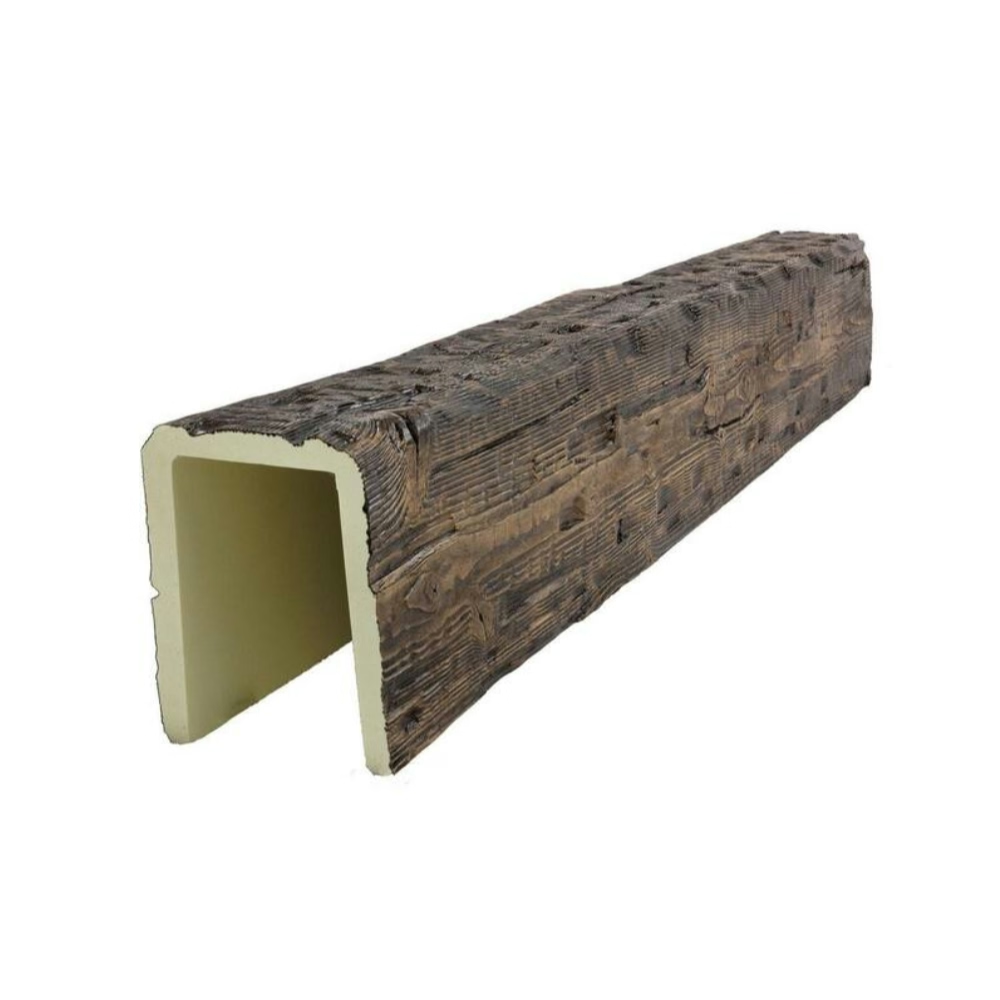
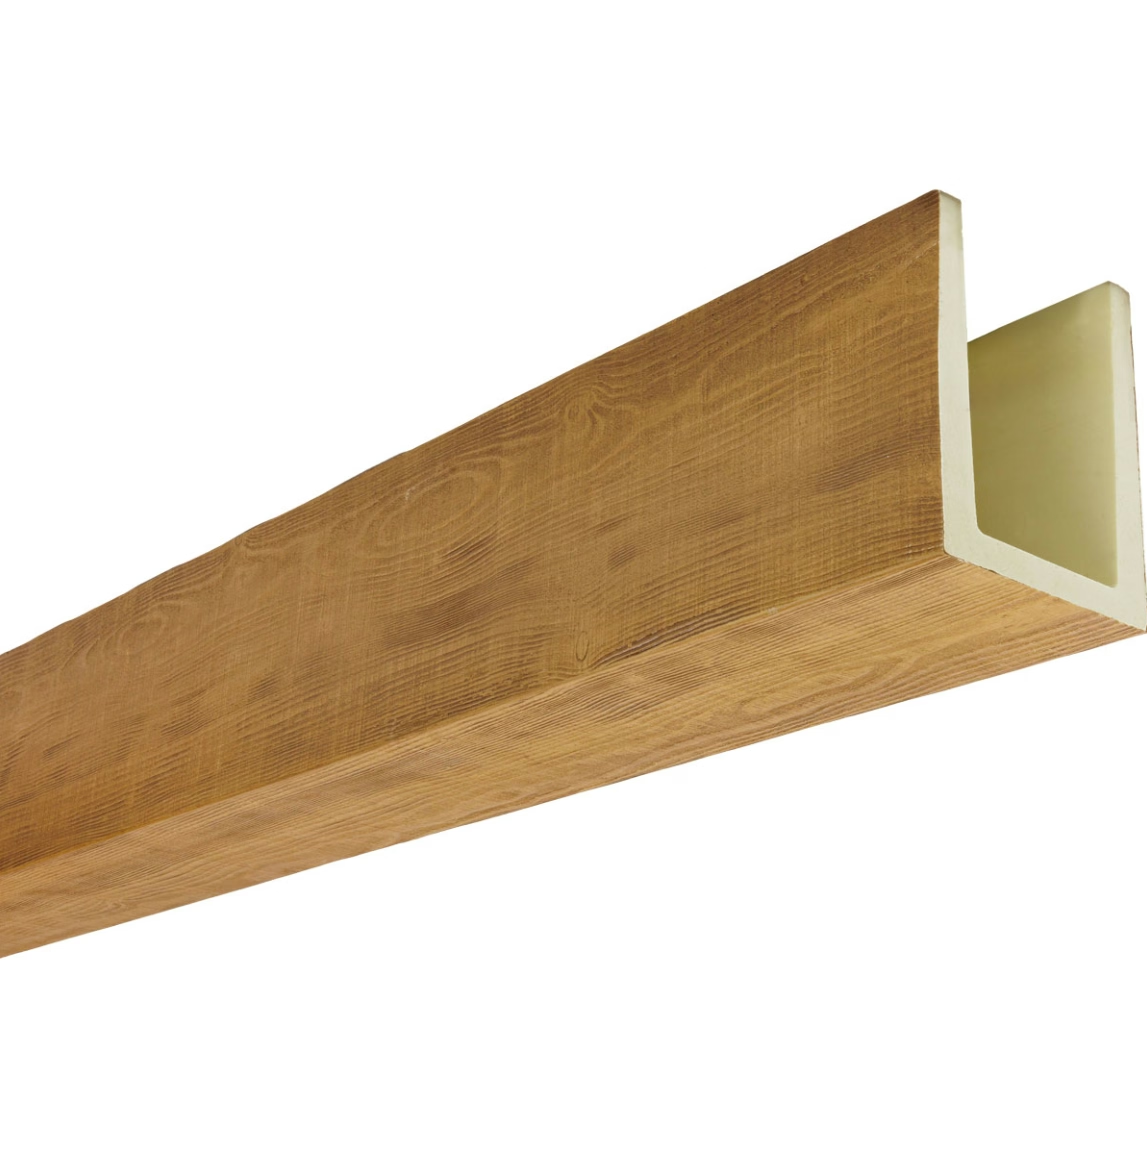
Overlapping wrap corner. The corner is covered by a separate U-shaped or L-shaped polyurethane piece that wraps the outside corner and laps onto both faces of the beam run. This is the most weather-resistant approach because the joint is hidden under the wrap, and water cannot penetrate to the substrate. Limitation: the wrap piece has a visible seam at the lap line, which must be carefully painted or finished to disappear. Best for: fully exposed exterior fascia and eave beams.
Mechanical corner bracket. A stainless steel or powder-coated aluminum bracket is hidden inside the joint, mechanically fastening the two beams to each other and to the substrate. The bracket is invisible from the exterior; only the beams are visible. Limitation: the bracket must be sized for the beam dimensions and the expected wind load. Best for: large-span beams or areas with high wind exposure.
Split corner post. A third piece — a corner post or post sleeve — covers the joint like a collar. The post is glued and screwed to the substrate behind the beam ends. The beam ends butt against the post from either side. This approach is common in trim-heavy architectural styles where corner posts are already a design element. Best for: Spanish Colonial, Mediterranean, and Craftsman-style eaves where corner posts are part of the design vocabulary.
Weather-sealing the joint
Even with a proper joint design, exterior corners need active water management. Polyurethane expands and contracts at roughly three times the rate of wood and twice the rate of aluminum per degree of temperature change. A gap of 1 mm at installation can become 3 mm by midsummer in a hot climate. That gap is an invitation for water ingress.
Apply a high-quality polyurethane sealant in the joint before assembly. The sealant should be paintable, UV-resistant, and flexible enough to accommodate the expected seasonal movement. Tool the sealant to a slight concave profile so that it sheds water rather than pooling it.
Silicone sealant is generally not recommended for this application because it is difficult to paint over and can stain adjacent stucco or masonry. Use a paintable exterior sealant rated for 25+ years of service.
Recommended sealing sequence
- Cut and dry-fit both beam ends. Confirm dimensional accuracy and joint fit.
- Apply primer to the cut ends if the manufacturer recommends it for the finish system.
- Apply polyurethane construction adhesive to both miter faces.
- Install the joint, using temporary bracing if needed to hold alignment while adhesive sets.
- Apply exterior-grade sealant to the exterior face of the joint. Tool concave.
- Allow adhesive and sealant to cure fully before applying topcoat finish.
- Apply two coats of UV-protective finish over the joint and the adjacent beam faces.
Finish considerations for exterior corners
The finish on an exterior corner must be more robust than the finish on an interior beam. At minimum, use:
- Exterior-grade primer on all surfaces before topcoat application.
- Acrylic latex or elastomeric topcoat rated for exterior trim use. Elastomeric coatings are preferable in climates with large temperature swings because they flex with the substrate without cracking.
- UV-protective clear coat over pigmented finishes in high-UV environments. This extends color life significantly and reduces chalking.
Match the finish on both faces of the corner — not just the visible face. Polyurethane absorbs moisture differently on sealed and unsealed surfaces, which can lead to differential expansion and finish failure at the corner.
Coordinating with the building envelope team
Exterior beam assemblies are almost always installed after the roof is complete but before the final exterior cladding — stucco, siding, or stone — is applied. This sequencing matters because the beam ends will need to be integrated with the cladding at the corners.
On stucco buildings, the corner bead and the beam corner should be coordinated so that the stucco terminates cleanly at the beam without trapping water behind it. On masonry or stone facades, the beam should be installed before the stone cladding so that the cladding can be cut to fit around the beam rather than the beam having to chase the masonry line.
If your project has a building envelope consultant or a waterproofing consultant, loop them into the beam specification early. The consultant will have opinions about the rainscreen gap behind the beam, the flashing requirements at the eave, and the sealant specifications at penetrations. These details are easy to resolve on paper and expensive to fix on site.
What to provide when ordering exterior corner assemblies
When requesting a quote for exterior corner faux beam parts, include:
- Elevation drawings showing all four building faces with beam locations marked
- Detail drawings at each corner intersection
- Beam cross-section dimensions
- Corner joint type (miter, wrap, bracket, or post)
- Material specification confirming UV-stabilized, hydrolysis-resistant formulation
- Finish specification including color reference and topcoat requirements
- Site climate data (extreme temperatures, UV exposure rating, freeze-thaw zones)
- Flashing or trim coordination details if the beam integrates with a metal roof or gutter system
- Required quantity of corner assemblies, end caps, and any custom profiled pieces
- Lead time and phased delivery requirements if the project is sequenced
Ordering exterior corner parts from a supplier who understands the physics of outdoor exposure means fewer callbacks, fewer crack repairs, and fewer sealant failures in the first three years of service. The additional cost of specifying the right material grade and the right joint type is always less than the cost of a scaffolding repair visit on a two-story home.
Technical References
ASTM standards cited in every specification
Test Data
Lab results from internal testing program
Updated 2026
Reviewed against current product specs