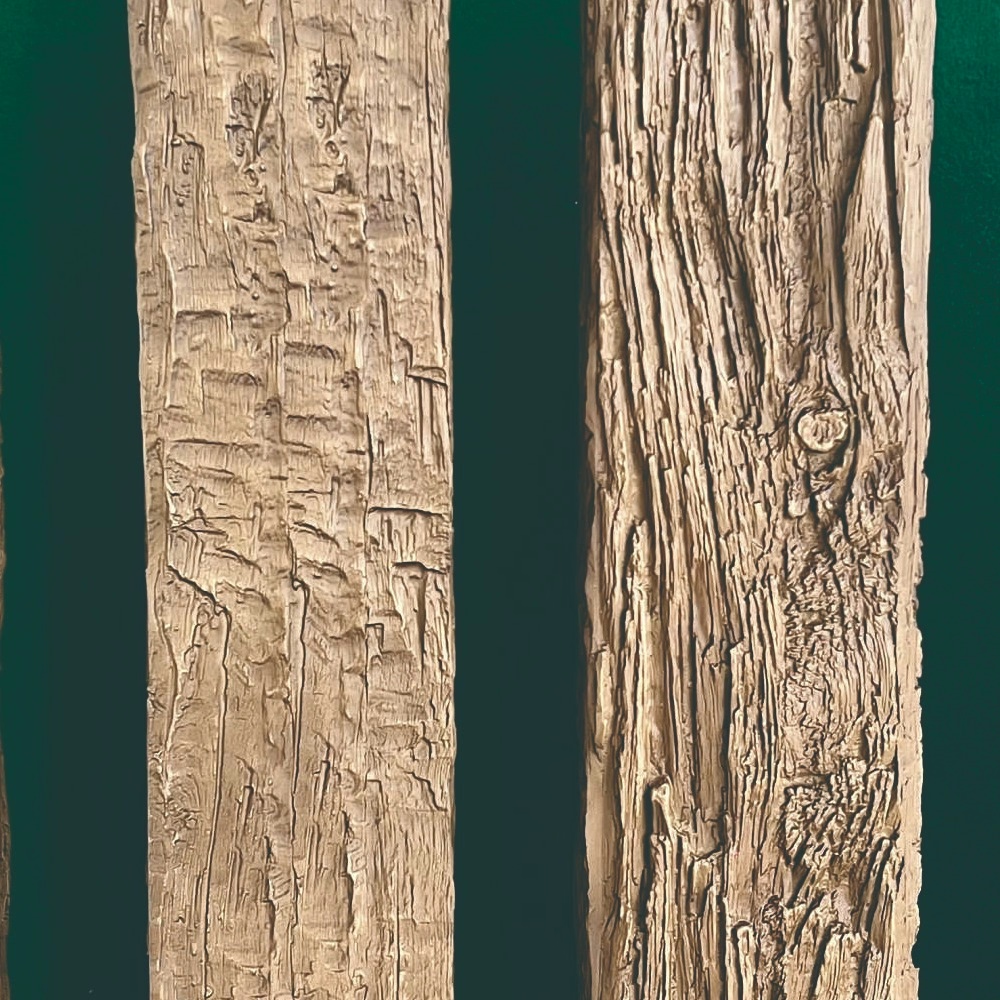
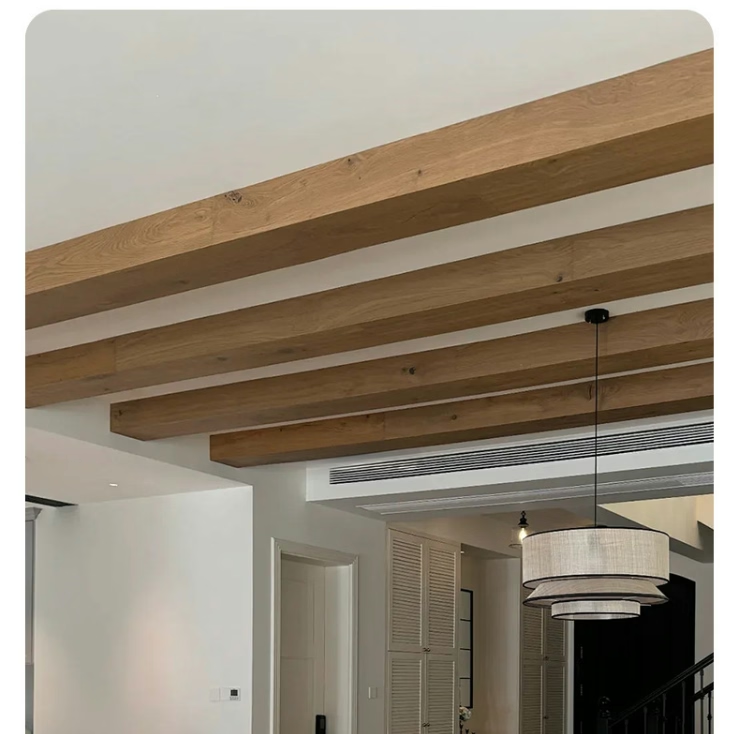
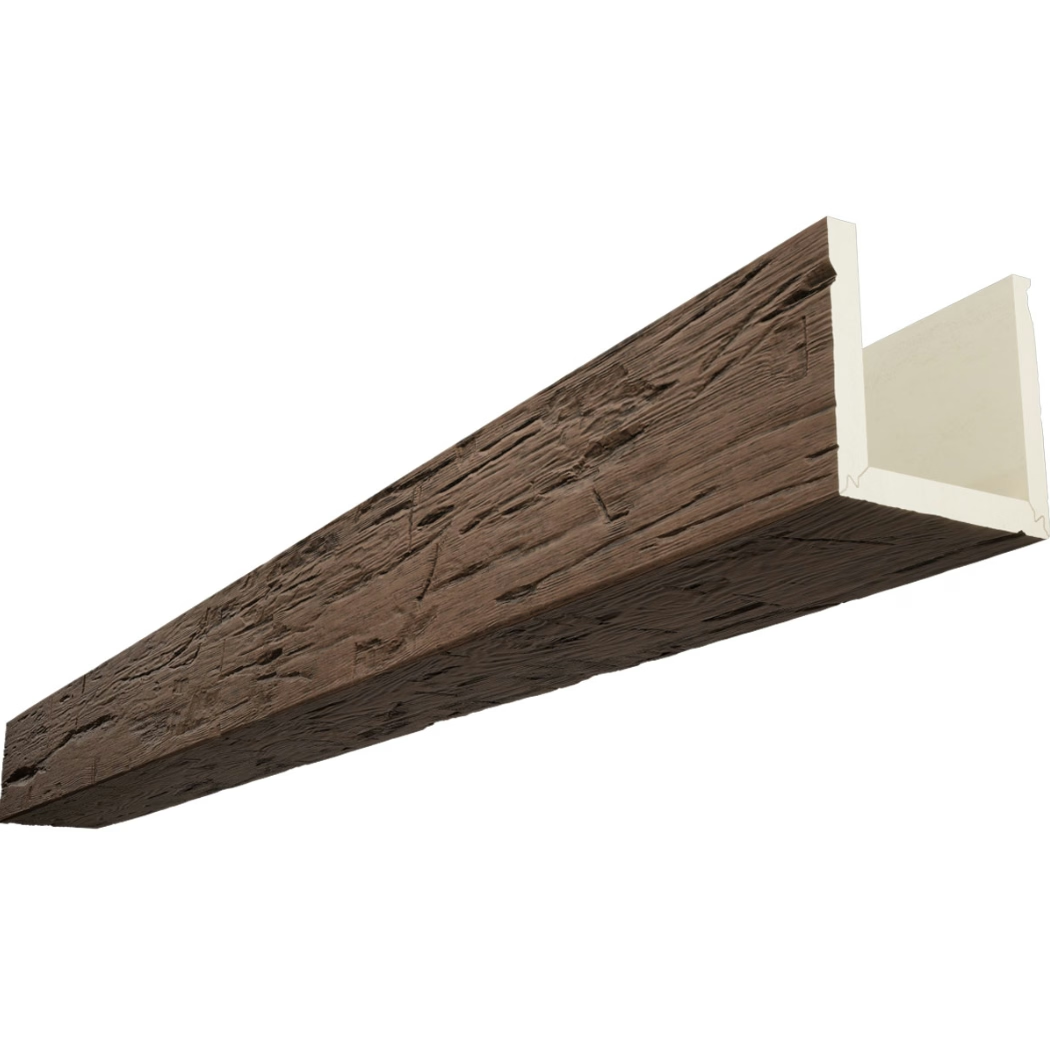
A roof without rafter tails is like a handshake without the grip. The tail is the part of the rafter that overhangs the wall, and its silhouette is one of the most recognizable elements of traditional building. In Craftsman bungalows, the exposed rafter ends are a defining character. In Spanish Colonial Revival, the curved rafter tail is the signature flourish. In Mid-Century Modern tract homes, the clipped rafter tail is a period-correct detail that has been specified so many times it has become wallpaper.
The problem is that real timber rafter tails are expensive, inconsistent, and vulnerable. Each tail cut from a dimensional lumber pack is slightly different. They absorb moisture, split at the end grain, and require repainting every three to five years in wet climates. In a custom home with 80 visible rafter tails, that maintenance load is substantial.
Polyurethane resin rafter tails solve this by producing a single profiled shape repeatedly, to tolerances of 1 mm, from a master mold. The same profile at every tail. Perfect consistency. Zero rot. The material looks identical to painted timber from the street, and it holds paint without the absorbency issues that cause premature finish failure.
Understanding rafter tail profiles
Rafter tails are not a single standard shape. They vary by architectural style, by climate region, and by the amount of overhang the roof design requires. When specifying polyurethane rafter tails, you need to match the profile to the architectural intent — not just pick a generic "rafter tail" from a catalog.
Classic rectangular rafter tail. The most common profile in North American residential construction. The rafter is cut square or slightly notched at the end, with a minimal overhang of 100 to 200 mm. This profile reads as utilitarian and works in Craftsman, Bungalow, and contemporary designs where the detail is meant to be present but not dominant.
ogee rafter tail. A decorative profile with a concave curve at the bottom edge. This is the default profile for Colonial Revival, Victorian, and Traditional-style homes. The ogee curve has a deep shadow line that catches light and reads as hand-crafted, even though it was cast from a mold.
Scalloped rafter tail. Multiple circular arcs cut at the underside of the rafter end. Common in Spanish Colonial and Moorish-influenced architecture. The scalloped profile casts complex shadows that photograph well and give the roofline a distinctive character visible from the sidewalk.
Curved rafter tail. A sweeping S-curve or compound curve cut at the rafter end. Found in California Spanish Colonial Revival, Monterey Colonial, and certain Shingle Style designs. This is the most complex profile to reproduce in polyurethane and requires a high-quality master mold with smooth surface transitions.
Clipped rafter tail. The end is cut at a shallow angle, creating a beveled termination. Common in Mid-Century Modern and Eichler-era homes. The clipped profile is a minimalist interpretation of the rafter tail — it implies the overhang without celebrating it.
Why polyurethane outperforms timber for rafter tails
The material comparison is not close when you look at performance data.
Timber rafter tails absorb moisture through the end grain — the open cell structure at the cut face. Even with primed ends, water migrates into the grain and causes the tail to cup, check, or rot over 10 to 15 years. In coastal areas with salt air, the moisture problem is compounded by salt crystallization in the grain.
Polyurethane does not absorb water. The closed-cell structure means moisture cannot penetrate below the surface, and any water that sits on the surface evaporates without being drawn into the material. This eliminates the primary failure mode of timber rafter tails.
The second advantage is dimensional consistency. A timber rafter tail cut by a framer on a chop saw will vary by ±3 mm from one tail to the next. At 80 tails on a roofline, those 3 mm variations compound into visible irregularities that read as poor craftsmanship. A cast polyurethane rafter tail is within ±0.5 mm of the master profile every time. Every tail on the building is identical.
The third advantage is paint retention. Timber rafter tails require annual inspection and touch-up because the end grain absorbs and releases moisture, causing the paint film to crack and peel. Polyurethane holds paint uniformly because there is no differential absorption. With a proper primer and two topcoats, a polyurethane rafter tail should hold its finish for 8 to 12 years even in demanding climates.
Specifying the right profile and dimensions
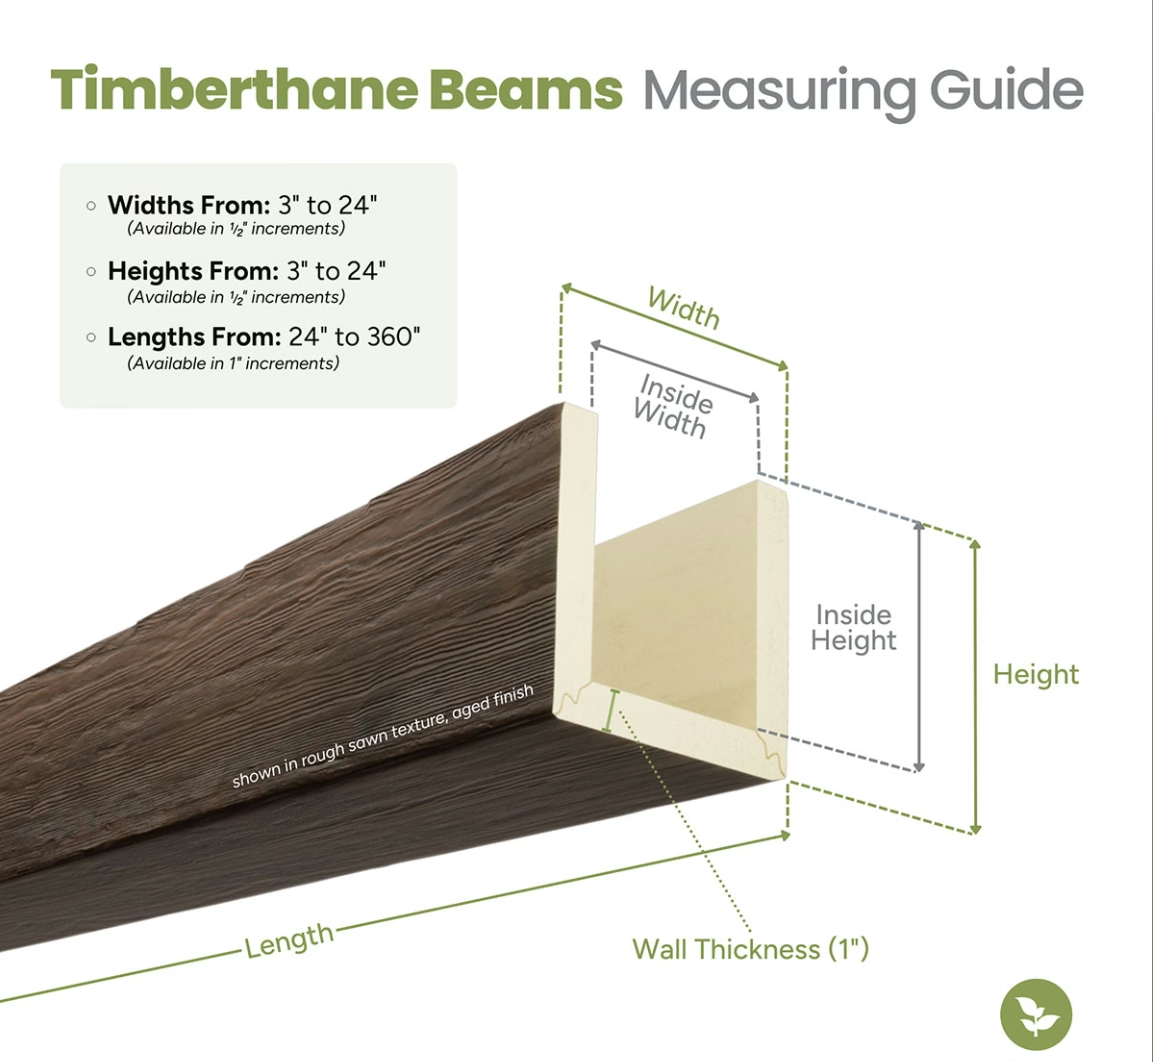
When you send a rafter tail inquiry to a polyurethane supplier, the most useful thing you can provide is an elevation drawing with the roof eave shown in section. Mark the following:
- Total rafter tail overhang measured from the face of the exterior wall sheathing to the end of the tail
- Rafter depth from top of rafter to bottom of tail
- Rafter width which equals the tail width
- Tail profile with a sketch or a reference to a standard profile name (ogee, scalloped, etc.)
- Spacing center-to-center between each rafter tail
The spacing is critical because most manufacturers cast rafter tails individually rather than in continuous runs. If you specify 400 mm on-center spacing for 80 tails, the supplier will quote 80 individual pieces. If the actual framing spacing is 500 mm, you need to confirm that the tail width (which is usually the same as the rafter width) does not create a gap between adjacent tails that would expose the substrate.
Standard dimension ranges
| Profile type | Depth range | Width range | Overhang range |
|---|---|---|---|
| Rectangular | 150–350 mm | 38–89 mm (2×4 to 2×8) | 100–300 mm |
| Ogee | 150–400 mm | 38–89 mm | 100–350 mm |
| Scalloped | 150–450 mm | 38–89 mm | 100–400 mm |
| Curved | 200–500 mm | 38–102 mm | 150–450 mm |
| Clipped | 100–250 mm | 38–89 mm | 75–200 mm |
Custom profiles outside these ranges are possible but require custom mold fabrication, which adds 4 to 6 weeks to the lead time and a one-time tooling fee.
Installation methods
Polyurethane rafter tails install differently than timber because the fastening strategy has to account for the material's lower density and different expansion coefficient.
Structural adhesive plus screws. The most common method. Apply polyurethane construction adhesive to the back face of the rafter tail and the mating surface of the substrate (the exposed end of the cut rafter). Drive two stainless steel or coated deck screws through the rafter tail into the rafter body. The screws hold the tail while the adhesive cures; the adhesive carries the long-term load. Predrill screw holes to prevent splitting.
Pocket screw. If the rafter tail will be exposed to view on all sides (no fascia board covering the connection), use pocket screws from the back face into the rafter so that no screw heads are visible. This requires a pocket screw jig and careful alignment.
Clip system. For very large rafter tails or hurricane-prone areas, a stainless steel mounting clip is fastened to the substrate, and the rafter tail slides over the clip and is adhesive-bonded in place. This method distributes wind load across a larger area of the substrate.
Do not use pneumatic nails for installing polyurethane rafter tails in exterior applications. The impact can cause micro-cracking in the cured material, which provides a water ingress path. Screws and adhesive are the reliable combination.
Weather resistance and finish for exterior use
Treat the finish on a polyurethane rafter tail as you would treat the finish on any exterior trim: with serious attention to priming and topcoat selection.
Prime all surfaces including the back face that will be glued to the substrate. Most polyurethane manufacturers recommend a specific primer brand or type — usually an acrylic bonding primer — which they will supply with the order. Using a mismatched primer can cause topcoat adhesion failure within two seasons.
Two coats of exterior-grade topcoat. In most climates, two coats of 100% acrylic latex exterior paint is sufficient. In high-UV environments — desert climates, high-altitude sites, south-facing rooflines in the northern hemisphere — add a UV-protective clear coat over the pigmented finish.
Seal the connection joint. The joint between the rafter tail and the substrate is the most vulnerable point in the assembly. Apply a bead of exterior-grade paintable sealant around the perimeter of the connection before installing the rafter tail. This seals any gap between the two surfaces and prevents water from wicking into the substrate behind the trim.
Coordinating with the roofing team
The rafter tail installation sequence matters because the tail must be installed before the roofing underlayment and metal flashings are placed — but it also has to be flashed properly to prevent water from running down the back of the tail and onto the wall below.
Coordinate with the roofing contractor to establish a flashing detail at the eave. The standard approach is a Z-flashing installed behind the rafter tail and over the top of the fascia board. This channels any water that migrates behind the rafter tail away from the wall and onto the roof surface.
If the building has a fascia board that the rafter tails project past, the tail installation should be sequenced so that the fascia board is installed first, the rafter tails are installed flush with the fascia face, and a continuous capping strip is applied over the joint between the fascia and the rafter tails. This eliminates the joint as a water entry point.
Sourcing and lead times
Custom polyurethane rafter tails are typically produced by specialist polyurethane molding companies rather than general faux beam manufacturers, because the product requires profile-specific tooling. Lead times from pattern approval to shipment are typically 5 to 8 weeks for standard profiles and 8 to 12 weeks for custom profiles that require new mold fabrication.
Minimum order quantities for custom profiles are usually 50 to 100 pieces per profile. Some suppliers will run smaller quantities at a premium per-piece cost. Confirm the MOQ before designing a project around a custom profile.
For overseas shipments, rafter tails pack efficiently into containers because they are relatively small individual items. A standard 20-foot container holds 500 to 800 individual rafter tails depending on profile size, making freight economics favorable for larger projects.
The rafter tail is a detail that most people never consciously notice — until it is missing or wrong. When it is present and correct, the roofline reads as finished, considered, and crafted. Getting there with polyurethane resin is faster, more consistent, and more durable than using timber, and the result is indistinguishable from the street.
Technical References
ASTM standards cited in every specification
Test Data
Lab results from internal testing program
Updated 2026
Reviewed against current product specs