Every ceiling is slightly different. Even in new construction, where the drawings are precise and the framing should be straight, the actual dimensions of a beam bay can vary by a quarter inch or more from one end to the other. In renovation work, the variation is larger and less predictable. The result is that almost every beam installation involves at least some on-site adjustment, and for those adjustments, the cuttability of the beam material matters.
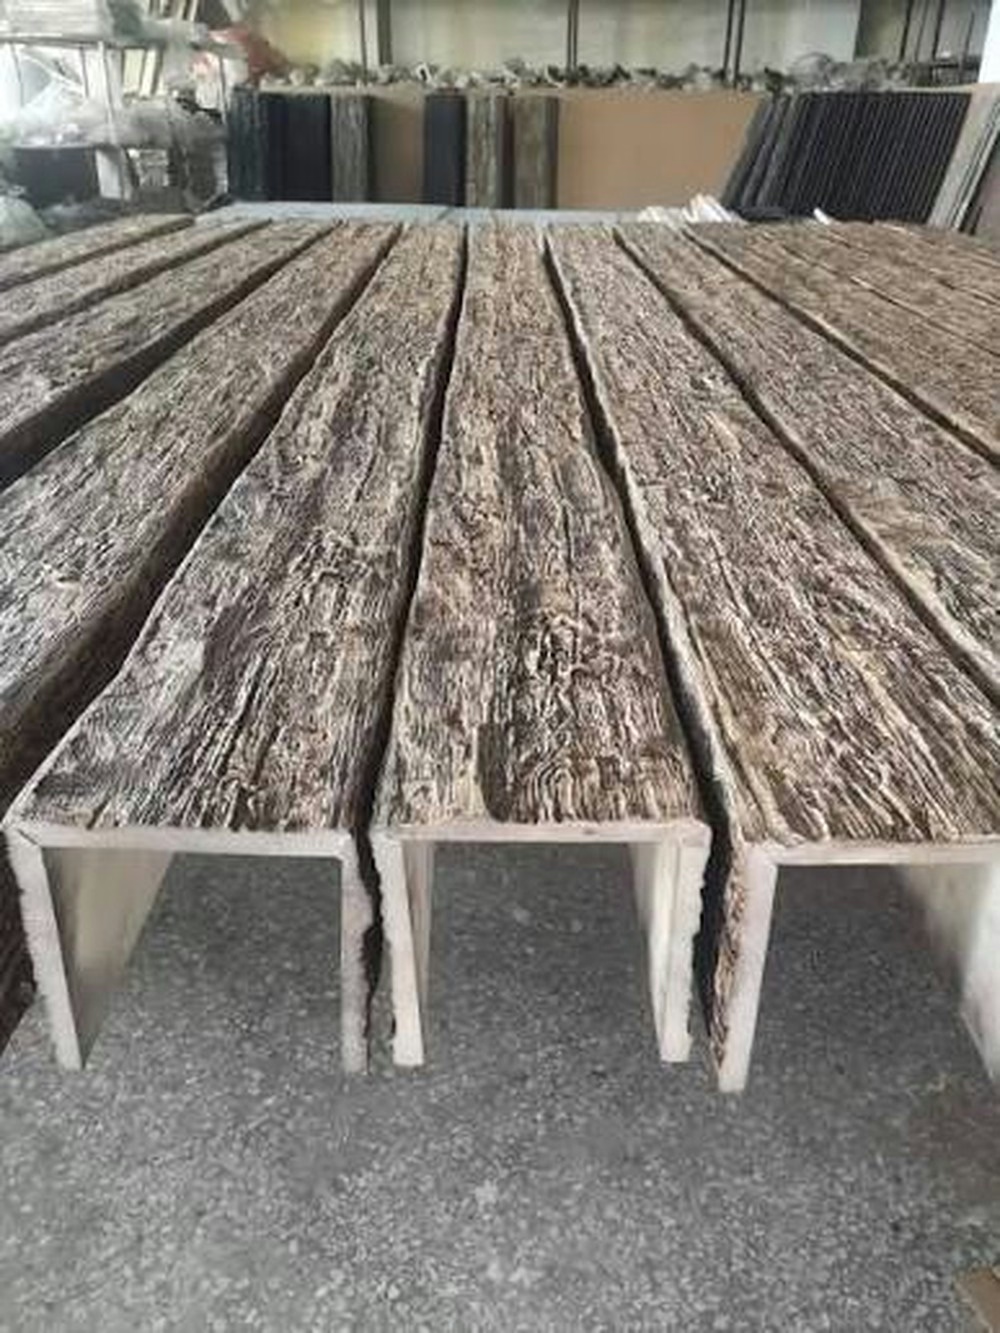
Polyurethane faux wood beams are designed to be hand-sawable, which means they cut cleanly with standard hand tools and power tools without chipping, splintering, or dulling blades. This is one of the practical advantages that contractors and experienced DIY homeowners appreciate most. A PU beam can be cut with a hand saw, a circular saw, a miter saw, or a jigsaw, and the cut face accepts stain and sealer just as well as the factory-finished surfaces. This makes on-site fitting straightforward and eliminates the need for specialized tooling.
Why Cuttability Matters on Real Job Sites
Pre-finished millwork items like MDF trim, PVC crown molding, and pre-finished hardwood molding all require some degree of site work. The question is how forgiving the material is when it is cut. MDF splinters easily and creates a fuzzy cut face that requires sanding before finishing. PVC can be cut cleanly but does not accept stain. Solid hardwood requires sharp blades and careful technique to avoid tear-out at the grain.
PU faux beams fall somewhere between hardwood and PVC in their cutting behavior. They cut cleanly with standard cross-cut and miter saw blades, they do not splinter or chip at the cut line, and the cut face accepts stain readily because the material is polyurethane rather than wood-based. A contractor can make an adjustment in five minutes with a hand saw and have the beam ready for installation without any additional preparation.
This cuttability is especially valuable in renovation work where the ceiling dimensions are not known until the old finishes are removed. A beam that is ordered to a nominal dimension and then trimmed on site to fit the actual opening is more accurate than a beam that is ordered to a measured dimension and then hoped to fit. The ability to cut as you go reduces the risk of ordering errors and eliminates the cost of special-order lengths.
Standard Tools That Work Well
Most PU beam manufacturers recommend a carbide-tipped blade with a fine tooth count for cross-cutting. A 60-tooth or 80-tooth blade designed for composite materials produces the cleanest cut face. Standard steel blades work but tend to leave a slightly rougher cut face that benefits from light sanding before finishing.
For straight cross-cuts, a miter saw is the most efficient tool. Set the beam on a sawhorse, position it precisely, and cut. The cut face will be clean and square. For longer beams that do not fit on a standard miter saw, a circular saw with a guide rail or a straightedge produces accurate results.
For notches, holes, and angled cuts, a jigsaw with a fine-tooth blade works well. The blade can be maneuvered around curves and corners, and the resulting cut is clean enough for most installation purposes. For beams with pre-finished surfaces, masking the area around the cut with painter's tape prevents any accidental scuffs.
For end cuts that will be visible, a hand plane or sanding block can be used to smooth any minor imperfection at the cut face before applying stain. The amount of preparation needed depends on the cut quality and the visibility of the end, but in most cases, a quick pass with 120-grit sandpaper is adequate.
Finishing Cut Faces on Site
The cut face of a PU beam accepts stain and clear coat in the same way as the factory-finished surfaces, because the material is consistent throughout its cross-section. There is no veneer, no surface coating, and no edge banding to worry about. The stain soaks into the cut face, reacts with the polyurethane, and produces a color that is visually consistent with the surrounding surface.
For best results, the cut face should be clean and free of dust before staining. A quick wipe with a damp cloth followed by a dry cloth removes most debris. The stain can be applied with a small brush or a foam applicator, worked into the surface, and allowed to dry according to the stain manufacturer's instructions.
For exterior applications or high-humidity interior environments, a clear coat over the stain on the cut face provides additional moisture protection. The clear coat can be applied with a small brush and will cure to a consistent sheen that matches the factory-applied coating.
Most beam manufacturers include a small quantity of stain-matched touch-up material with each shipment specifically for this purpose. The contractor should use this material rather than a generic stain, because the formula is matched to the beam's polyurethane formulation and will produce better adhesion and color match than an untested alternative.
Common On-Site Cutting Scenarios
The most common on-site cutting scenario is trimming a beam to an exact length that cannot be determined until the mounting hardware is in place. The contractor installs the mounting clips or blocking, holds the beam in position, marks the exact trim line, and makes the cut. This approach is more accurate than measuring and ordering to a calculated dimension, especially in older buildings where walls and ceilings may not be perfectly square.
Notching beams to fit around light fixtures, HVAC grilles, or structural protrusions is the second most common scenario. A jigsaw or router handles notches cleanly, and the notch face can be stained and sealed just like a cross-cut end. For beams that must fit tightly against an irregular surface, a combination of saw cuts and hand chiseling produces a clean fit.
Angled cuts for mitered beam joints and beam-to-beam connections require a miter saw set to the correct angle. The beam should be test-fitted before adhesive is applied, because even small angle errors are visible at a joint. Most manufacturers recommend dry-fitting all joints before committing to adhesive.

Working with Homeowners on DIY Beam Projects
DIY homeowners who are comfortable with standard home improvement tools can successfully install and modify PU faux beams with a modest investment in time and care. The key is to plan the cuts carefully, make them accurately, and finish them properly.
The best approach for a DIY project is to order the beams slightly long and trim them on site. This provides a margin for error and allows the homeowner to adjust for any variation in the actual ceiling dimensions. A beam ordered to the nominal dimension of the space will be exactly right only if every measurement was perfect, and in most older homes, that is an optimistic assumption.
The homeowner should also plan the finishing sequence before cutting. Stain the beam before installation if possible, because the cut faces can be finished before the beam is lifted into place. This is easier than working at height with a brush and stain pot. For beams that will be stained after installation, masking the adjacent surfaces prevents accidental spatter.
Technical References
ASTM standards cited in every specification
Test Data
Lab results from internal testing program
Updated 2026
Reviewed against current product specs


