
A single-tone stained beam reads as one thing: a piece of wood that has been stained one color. A multi-tone beam reads differently — it reads as aged wood, weathered wood, wood that has accumulated history. The difference isn't the profile. It's the finish.
Multi-tone finishing is the technique of applying multiple layers of color to a PU beam to create depth, dimension, and visual complexity. It's what separates a stock catalog beam from a bespoke architectural element. And it's one of the most cost-effective upgrades you can specify for a PU beam project.
Why multi-tone works on PU beams
Real wood develops multi-tone character naturally over time. Sunlight bleaches the top surfaces. Moisture darkens the crevices and end grains. Soot and smoke deposit on horizontal surfaces. A century-old timber beam in a farmhouse or a reclaimed barn has color variation that no single stain application can replicate.
PU beams, when finished with a single uniform stain, look like wood but lack the dimensional quality of aged timber. The surface is too even. The grain doesn't breathe. A contractor standing three feet away can sometimes tell that something isn't quite right about the color.
Multi-tone finishing adds that dimensional quality back. By layering colors — a base tone, a highlight, a shadow, sometimes a third or fourth layer — the finisher creates the visual impression of depth that the grain texture alone can't produce.
The four-layer model
Most multi-tone finishing on PU beams follows a four-layer model. Each layer has a specific role in building the final appearance.
Layer 1: Base stain
The base stain is a uniform coat applied to the entire beam surface. It establishes the overall color family — warm honey oak, medium walnut, dark mahogany — and provides a consistent background against which the other layers will read.
The base stain is applied by spray, roller, or brush and then wiped to remove excess. On PU foam, the stain sits on the surface rather than soaking in (PU doesn't absorb like real wood), so the wiping step is critical to avoid a plasticky, coated look. The goal is stain in the grain texture and low spots, with the high points of the grain showing the underlying foam color or a very light stain.
Layer 2: Grain enhancement
A darker stain or gel stain applied specifically to the grain lines. This is often a semi-transparent darker tone — espresso, umber, or a deep brown — applied with a brush in the direction of the grain.
The grain enhancement layer is what makes the texture legible from a distance. Without it, the grain embossing reads as subtle surface variation. With it, the grain reads as structural wood anatomy.
Layer 3: Edge and corner highlight
A light tone — natural, wheat, bleached oak, or even a very light grey — applied to the edges and high points of the beam. This layer simulates the sun-bleaching that occurs on exposed surfaces of real timber.
The highlight is applied with a brush, concentrating on the chamfers, the top edges of the beam faces, and any raised decorative details. The application is deliberate and uneven — the goal is to simulate natural aging, not to produce a uniform light coating.
Layer 4: Low-point shadow
A dark glaze or dark stain applied to the lowest points of the grain texture and to any recessed details. This layer adds the most depth to the finish and is responsible for the "old wood" look.
The shadow layer is typically a dark semi-transparent glaze that is applied with a brush and then lightly wiped, leaving the glaze concentrated in the grain valleys and the recessed sections of any ornamental profile. It can also be applied with a sponge for a more mottled, organic appearance.
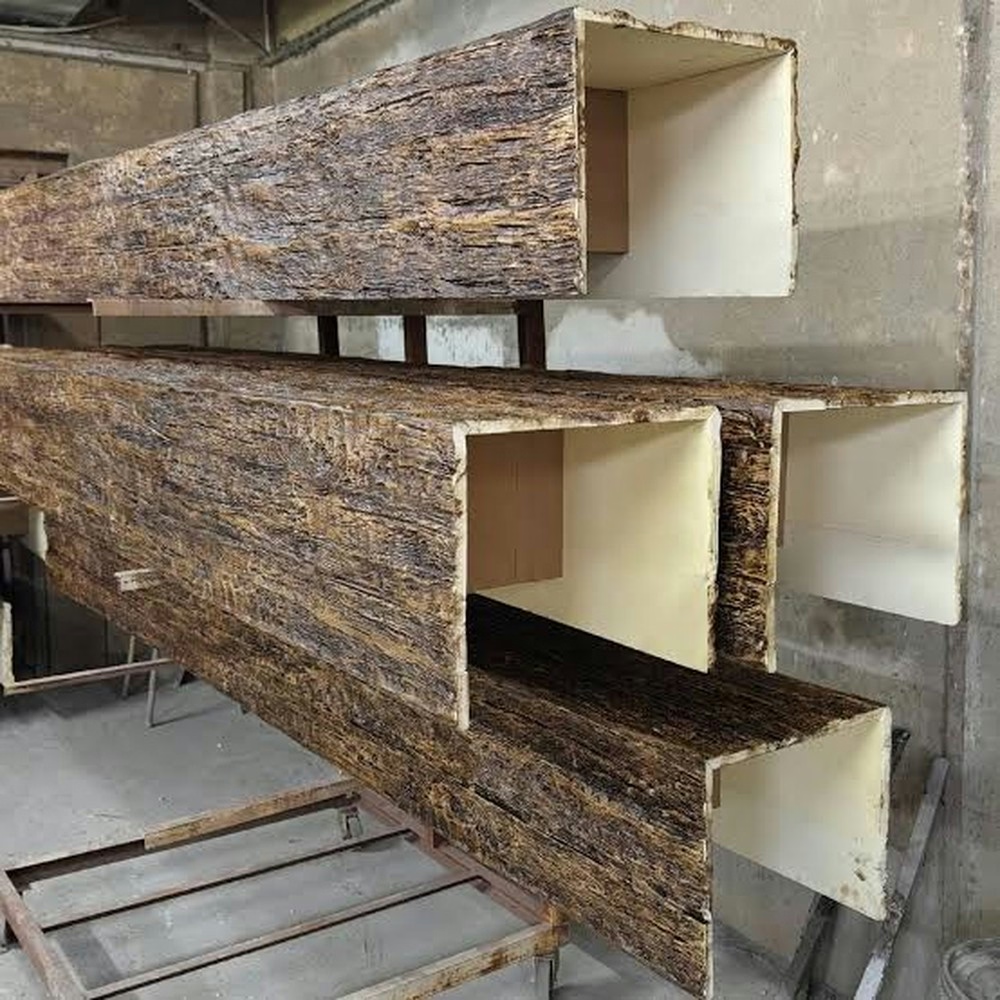
Techniques for applying multi-tone finishes
The four-layer model describes the color components. The techniques for applying them determine the quality of the result.
Spray-and-wipe
The base stain is spray-applied and then wiped with a clean cloth or rag. This is the fastest method and produces a relatively even base. The subsequent layers are applied by brush.
Brush-and-glaze
All layers are applied by brush, with drying time between coats. This method gives the finisher the most control over where each color goes and how much it blends with the layer below. It's slower than spray-and-wipe but produces a more nuanced result.
Layered spray
Multiple thin coats of different colors are applied by spray, with the finisher masking areas between coats to control where each color lands. This method is faster than brush-and-glaze for large runs but requires more setup and masking time.
AOM technique
Acrylic-on-milk: a base coat of diluted acrylic paint followed by a top coat of diluted milk paint. The two coatings penetrate differently and self-level to create a natural multi-tone effect. This technique is popular for farmhouse and cottage-style interiors.
Color strategy for different interior styles
Multi-tone finishing isn't one style — it's a vocabulary that works across many styles. Here's how to apply it for different interior design directions.
Rustic and farmhouse
Rustic interiors call for bold, high-contrast multi-tone. The base stain should be mid-range (walnut or medium oak). The grain enhancement should be dark (espresso or umber). The highlight should be a warm honey tone. The shadow should be deep and concentrated.
Rustic beams should look like they've been in the building for a while. The contrast between layers should be noticeable — this isn't a subtle finish.
Coastal and beach style
Coastal interiors favor softer, more muted tones. The base stain should be light — natural pine or a very light grey. The grain enhancement should be a cool medium brown. The highlight should be nearly white. The shadow should be a soft grey-brown.
Avoid warm tones (red oak, honey, umber) in coastal applications. Cool tones read better with whitewashed walls, natural linen upholstery, and sea-glass color palettes.
Contemporary and minimalist
Contemporary interiors prefer restrained multi-tone — low contrast, close-value layers. The base stain is the dominant color. The grain enhancement and shadow are slightly darker but not dramatically so. The highlight is subtle.
A contemporary multi-tone beam should read as wood texture, not as a decorative element. The finish supports the architecture rather than competing with it.
Industrial and loft
Industrial interiors often use beams that look like they've been stripped and oiled rather than stained. The base coat is a very dark nearly-black tone (ebony or near-black espresso). The grain enhancement is almost invisible. The highlight is a cool grey or steel tone. The shadow is black.
Industrial beams should look raw, not finished. The multi-tone effect is subtle and matte, not glossy.
Traditional and formal
Formal interiors — classical architecture, period reproduction, high-end residential — call for refined, nuanced multi-tone. The base stain is a rich traditional wood tone (mahogany, cherry, walnut). The grain enhancement is a darker version of the same color family. The highlight is warm but not bright. The shadow is deep but not muddy.
Traditional multi-tone should look expensive. The transitions between layers are smooth and controlled, and the overall finish has a satin or semi-gloss sheen.
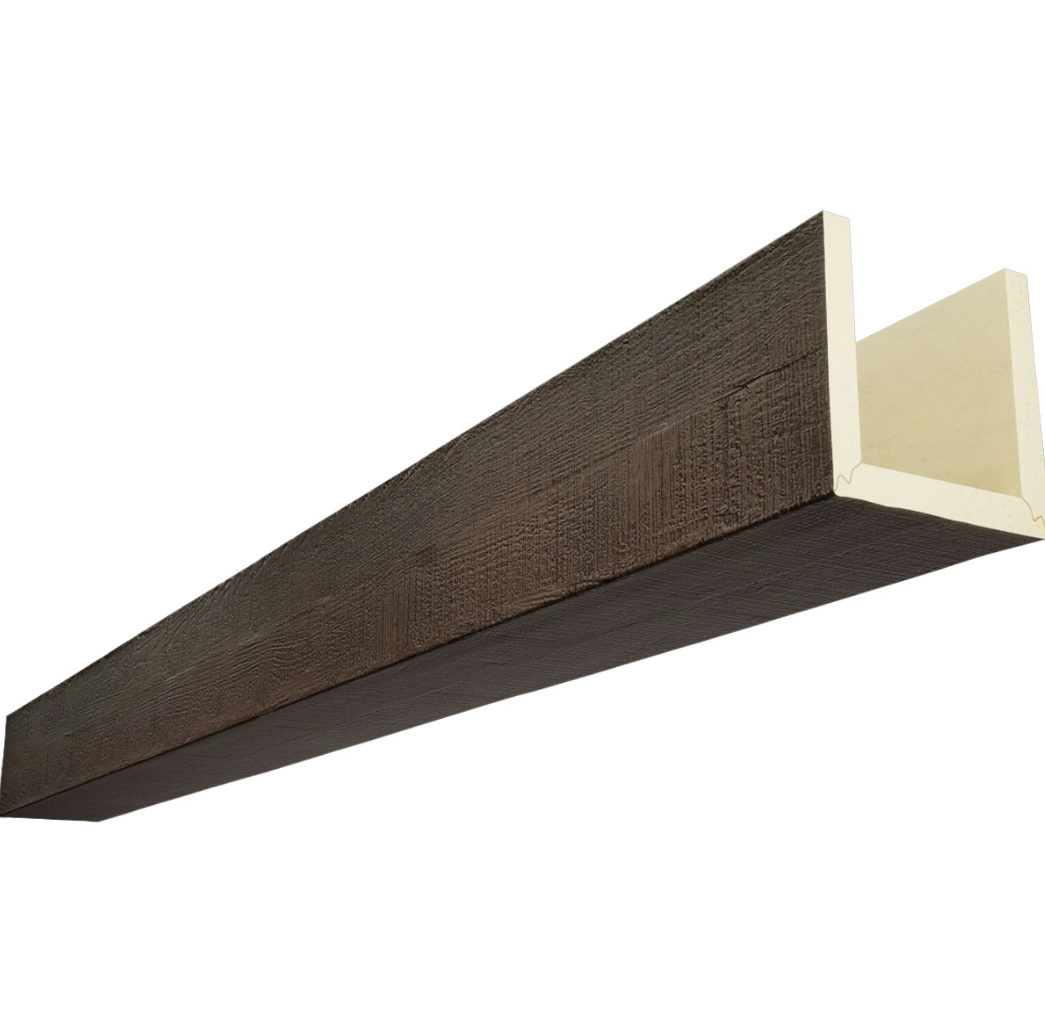
Coordinating multi-tone beams with other materials
A multi-tone beam doesn't exist in isolation. It sits in a room with walls, floors, other millwork, and furnishings. The finish has to work with those materials, not against them.
Wood floors
If the beams are the same wood species as the floor (or if they're meant to read as the same species), the beam finish should be slightly darker and more contrasty than the floor. Beams are elevated — light falls on them differently from floors — and a floor-tone finish on a beam will read as too light.
If the beams are a different species from the floor (a walnut beam over a white oak floor, for example), the beam finish should complement the floor color without matching it. Walnut and white oak share warm brown tones, so a walnut-toned beam over a white oak floor is a coherent combination.
Stone and tile
Stone and tile materials cool a room visually. Warm multi-tone beam finishes — honey, amber, russet — provide counterbalance. Cool stone (grey limestone, slate, white marble) pairs well with warm-toned beams. Warm stone (travertine, terracotta, sandstone) pairs well with neutral or slightly cool beam finishes.
Wall color
The wall behind the beam is the backdrop. The beam finish has to read against it clearly. Dark multi-tone beams against white walls read dramatically. Light multi-tone beams against white walls read softly. Dark beams against dark walls disappear.
For most residential applications, a mid-tone wall (warm greige, light taupe) allows both dark and light multi-tone beams to read clearly.
Cost implications of multi-tone finishing
Multi-tone finishing adds 20 to 40 percent to the finishing cost of a PU beam. The added cost comes from labor — additional application steps, additional drying time, additional skill required — rather than materials.
At the factory level, multi-tone finishing is typically done by spray application with masking between coats. A factory with an established multi-tone line can apply a four-layer finish at relatively low incremental cost. A factory that doesn't regularly do multi-tone will charge more because each job requires process development.
For small projects (under 50 pieces), the factory may offer on-site finishing or a local finishing contractor as an alternative to factory multi-tone. On-site finishing allows more control and more adjustment but adds site labor cost and scheduling complexity.
Specifying multi-tone finish for a custom order
When requesting a multi-tone quote from a supplier, specify:
- The overall color family: Warm (honey, amber, russet), neutral (natural, wheat), or cool (grey-brown, ash)
- The base stain color: Name or sample swatch
- The contrast level: Low (subtle layering), medium (visible but refined), or high (dramatic rustic contrast)
- The sheen level: Matte, satin, semi-gloss, or gloss
- Reference images: Photos of beams with the look you want are the most reliable way to communicate the intent
A factory that understands multi-tone finishing will ask about all of these before quoting. If a factory quotes a multi-tone finish based only on a color swatch, they're probably planning to apply a single stain and call it multi-tone.
Multi-tone finishing is where a PU beam project becomes a design project. The profile is the structure. The finish is the personality.
Technical References
ASTM standards cited in every specification
Test Data
Lab results from internal testing program
Updated 2026
Reviewed against current product specs


