
A curved beam looks perfect on the CAD drawing. The radius is right, the cross-section is right, the grain direction looks correct, and the project team is confident in the design. But until a full-size section is installed on the actual site, in the actual room, under the actual lighting conditions, no one really knows if the design works.
An on-site mock-up solves that uncertainty. It's a temporary installation of a representative section of the actual curved beam, placed in the actual position where the real beam will go. The mock-up reveals issues that no CAD rendering or factory sample can show — the way the curve reads in the actual space, the way the finish responds to the actual lighting, the way the beam relates to the surrounding architecture.
For curved PU resin faux beams — where the geometry is custom, the mold is custom, and the production cost is significant — the on-site mock-up is one of the most valuable steps in the project. This article covers how the mock-up is built, what it should demonstrate, and how to use it effectively.
When an on-site mock-up makes sense
An on-site mock-up adds cost and time to a project. It's not appropriate for every project. The mock-up makes sense when:
- The curve geometry is complex (compound curves, tight radii, asymmetric curves) and the project team needs to verify the design in real space
- The beam is being installed in a high-visibility location (lobby, great room, formal dining room) where any design error has visible consequences
- The finish specification is custom and needs to be evaluated under the actual site lighting
- The relationship between the beam and the surrounding architecture (walls, ceiling, lighting, other beams) is critical to the design intent
- The project budget is large enough that the cost of a design error outweighs the cost of the mock-up
For simpler projects — a straight beam run, a standard profile, a catalog finish — the factory's pre-production sample is usually sufficient verification. The mock-up becomes essential for the more complex projects.
What the mock-up includes
A complete on-site mock-up for a curved PU beam project typically includes several elements:
A full-size curved beam section
The mock-up beam is a full-size piece of the actual beam geometry. It's not a scaled-down model — it's a 1:1 section of the production beam. The section should be long enough to show the curve clearly — typically 1.5 to 3 meters of arc length.
Producing the mock-up section requires the actual production mold or a simplified mock-up mold. For a full mold, the mock-up section is poured using the production tooling and finished in the production finish system. The mock-up is identical to the production beam in every way except length.
For projects where the full mold isn't available at the mock-up stage (the mold is still being developed), a simplified mock-up can be produced using a temporary mold. The simplified mock-up shows the curve geometry and the finish system but may not have the exact grain texture of the production beam.
The mounting hardware
The mock-up should include the actual mounting hardware that will be used for the production installation. This includes the curved blocking strip (if applicable), the brackets, and the fasteners. The mock-up reveals whether the hardware works as designed in the actual site conditions.
The actual lighting conditions
The mock-up is evaluated under the actual lighting conditions of the installation space. This means the room's permanent lighting should be operational, or representative temporary lighting should be installed for the mock-up evaluation.
Lighting affects the way the beam finish reads. A multi-tone finish may look different under warm interior lighting than under cool daylight from a window. A grain texture may read more or less pronounced under directional spot lighting than under diffuse ambient lighting.
The surrounding context
The mock-up should be installed with the actual surrounding context visible — the walls, the ceiling, the adjacent beams, the architectural details. This is what a mock-up is for: showing the beam in its actual context, not in isolation.
For projects with multiple beam types, the mock-up may include a representative section of each type — a section of the apex beam, a section of a rib beam, a section of a wall-attached beam — so the relationships between beam types can be evaluated.
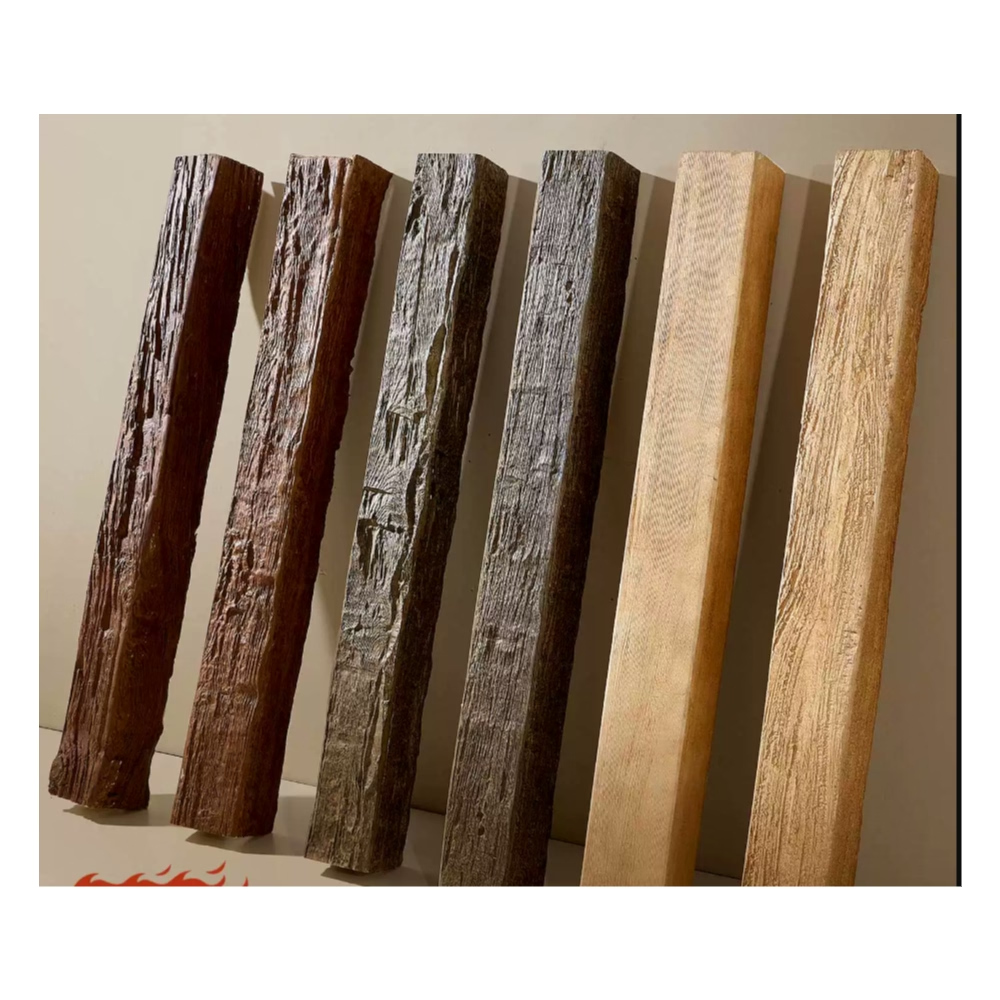
How the mock-up is produced
Step 1: Mock-up specification
The project team defines what the mock-up needs to show and the criteria for success. The specification includes:
- The beam section(s) to be produced
- The length of each section
- The mounting hardware to be included
- The finish specification
- The acceptance criteria (what the project team is looking to verify)
Step 2: Mock-up production
The factory produces the mock-up section(s). Production timeline for a mock-up section is typically 2 to 4 weeks, depending on whether the production mold is available.
Step 3: Shipping and on-site installation
The mock-up is shipped to the site and installed temporarily. Installation is typically straightforward — the mock-up is supported by temporary blocking or temporary brackets that are removed after evaluation.
A small installation crew (2 to 3 people) can complete the mock-up installation in a few hours. No permanent modifications to the building structure are made.
Step 4: Evaluation
The project team — typically including the architect, the designer, the contractor, and the client — evaluates the mock-up in person. The evaluation considers:
- Does the curve geometry read correctly?
- Is the beam scale appropriate for the room?
- Does the finish work under the actual lighting?
- Is the grain direction correct?
- Is the relationship between the beam and surrounding architecture what was intended?
- Are there any visual issues that need correction?
The evaluation is documented with photographs from multiple angles and under different lighting conditions. Written notes are taken on any issues identified.
Step 5: Modifications
If the mock-up reveals issues, the project team works with the factory to address them. Modifications may include:
- Adjustments to the curve geometry
- Changes to the finish specification
- Changes to the grain texture or direction
- Adjustments to the mounting hardware
If the mock-up reveals no significant issues, the project proceeds to full production based on the approved design.
Step 6: Mock-up removal
Once the evaluation is complete, the mock-up is removed from the site. Depending on the project agreement, the mock-up may be:
- Discarded
- Returned to the factory
- Retained by the client as a reference
Some projects retain the mock-up as a reference sample for the production run — a physical object against which the production beams can be compared.
Cost and timeline of an on-site mock-up
An on-site mock-up adds the following costs to a curved beam project:
- Mock-up beam production: $500 to $2,000 per mock-up section, depending on size and finish
- Mock-up shipping: $200 to $800, depending on the mock-up size and origin
- On-site installation labor: $500 to $2,000 for a small crew and a few hours of work
- Project team evaluation time: Varies with the size of the team and the duration of the evaluation
The total mock-up cost typically runs $1,500 to $5,000 for a single curved beam section, plus the project team's time.
The timeline adds 4 to 8 weeks to the project, depending on whether the production mold is available for the mock-up production or whether a separate mock-up mold is needed.

Mock-up alternatives
For projects where a full on-site mock-up is impractical (budget, timeline, or site access), several alternatives exist:
Factory sample review
Visit the factory's sample room to see finished samples of the actual beam profile and finish. This is less expensive than an on-site mock-up but doesn't show the beam in its actual spatial context.
3D rendering with materials
A high-quality 3D rendering with the actual beam finish applied can show the beam in context. The rendering is not the same as a physical mock-up, but for projects where the geometry is well-understood and the finish is the main concern, it can be a useful intermediate step.
Mock-up at the factory
Some factories have large enough production areas to install a mock-up beam section in a space that simulates the actual site conditions. The factory mock-up doesn't replicate the actual site lighting and surrounding context but does demonstrate the beam at full scale and under realistic factory lighting.
Phased installation
For projects with tight timelines, the first beam of the production run can be installed as a "phase one" mock-up. The first beam is installed, evaluated, and either approved (in which case the rest of the production proceeds) or rejected (in which case the production is adjusted before the remaining beams are produced).
The phased installation approach works best when the beams are installed sequentially over a period of days or weeks. It doesn't work well for projects that require all beams to be installed simultaneously.
The mock-up as a project investment
An on-site mock-up is an investment in project confidence. The cost of a mock-up is small compared to the cost of discovering a design error after production — discovering that the curve radius is wrong, the finish is too dark, the beam scale is off — when the production beams are already manufactured and shipped.
For curved PU beam projects with significant custom geometry, significant custom finish, or significant visibility, the on-site mock-up is the single best way to ensure that the finished beams match the design intent. It's a small insurance policy against a large project mistake.
Technical References
ASTM standards cited in every specification
Test Data
Lab results from internal testing program
Updated 2026
Reviewed against current product specs


