How do you put a beam on a curve without giving up the warm timber look clients ask for? The honest answer used to involve laminating thin strips of real wood around a form, fighting spring-back, and praying the joints would not open six months later. Today, the conversation usually starts with cast polyurethane.
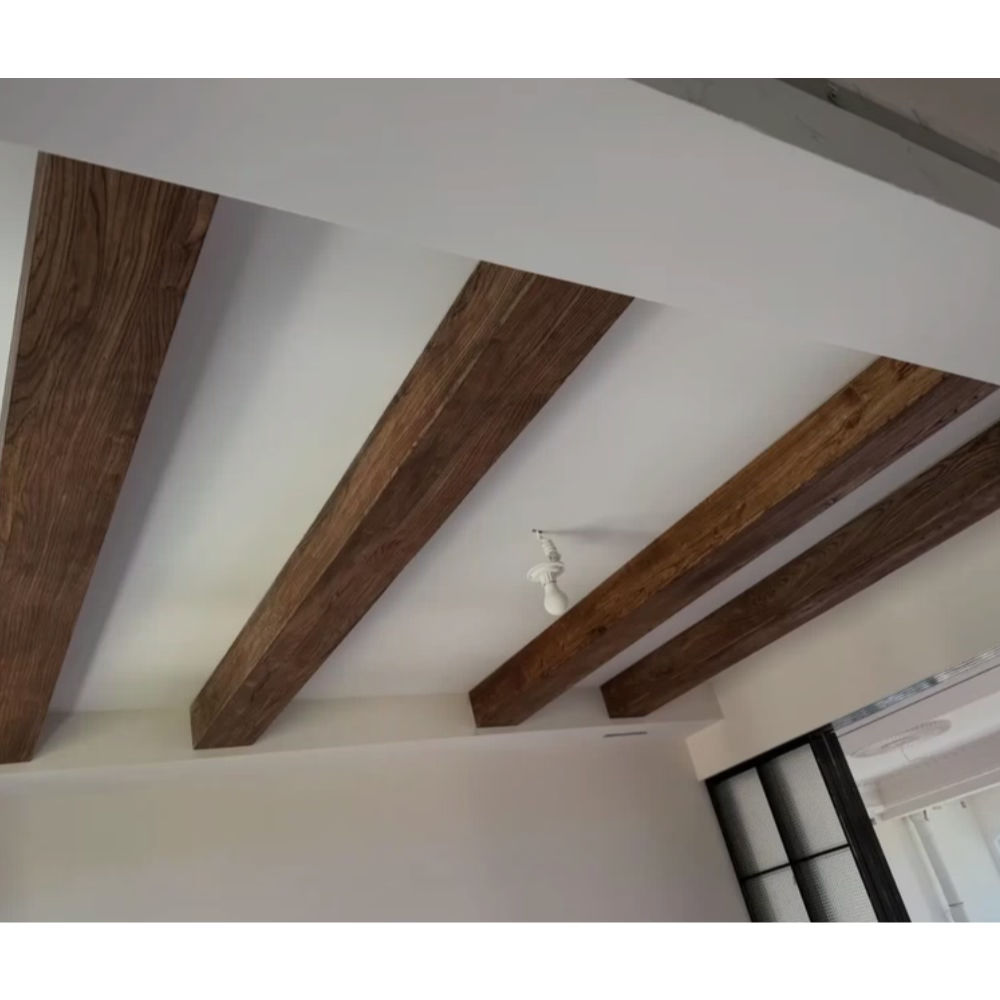
A curved polyurethane faux timber beam is, at heart, a rigid foam shell cast against a CNC-machined mold. The mold is built to the project radius, so the resulting piece carries the grain texture, knots, and weathering detail of an aged timber — but bends in a true arc from one end to the other. Because the part is hollow, even a 4000-millimeter sweep can be handled on site by two people, lifted into position, and glued or screwed to the substrate along the curve.

Why curved runs demand a different kind of beam
Straight beams are forgiving. A small deviation in alignment disappears into a long, clean run. Curves punish every mistake. The eye reads a 12-meter arc as one continuous gesture, and any kinks, gaps, or twisted sections become impossible to hide. That is why pre-curved cast members are worth the conversation.
The casting process lets the supplier lock in three variables at once:
- Radius accuracy within roughly 1.5 millimeters across the full sweep.
- Consistent wall thickness in the 6 to 10 millimeter range, so the piece is rigid without being heavy.
- Continuous grain pattern running along the arc, with no break lines, scarf joints, or visible splices.
A typical curved beam we ship is built in sections of 2.4 to 3.6 meters, with internal locking keys at the joint so installers can glue and clamp two halves into a single sweeping run without a visible seam. For tight radii — anything tighter than a 1.2-meter inside sweep — we usually recommend splitting the curve into three or more shorter castings to keep mold cost reasonable.
Specifying a curved beam the right way
Most of the curved jobs we see come through with a sketch, an inspiration photo, and a rough idea of length. That is fine for the sales conversation, but to actually tool up and produce a clean part, the specifier needs to pin down a few numbers.
| Parameter | Typical Range | Notes |
|---|---|---|
| Inside radius | 600 mm – 6000 mm | Tighter radii add mold cost |
| Beam face width | 120 – 320 mm | Wider faces read more like old growth |
| Beam depth | 150 – 400 mm | Drives the structural visual weight |
| Wall thickness | 6 – 10 mm | Hollow construction keeps weight down |
| Section length | 1.2 – 3.6 m | Long sections reduce field joints |
| Surface texture | Smooth, hand-hewn, resawn, weathered | Picked at mold design stage |
The face profile matters as much as the curve. A smooth, planed finish suits contemporary spaces and accepts paint cleanly. A hand-hewn or resawn surface introduces light-and-shadow play that reads beautifully at height, especially in stairwells and double-height living rooms where a viewer sees the beam from below.

Paintable surfaces and how to finish them
Clients love these beams because they arrive in a primed, neutral state and accept almost any coating system. Polyurethane takes paint the way medium-density fiberboard does — without the swelling problems of MDF in humid environments. For interior residential work, a quality acrylic latex in the client's chosen tone is the default. For commercial or hospitality projects where the beam has to withstand more handling, a two-part waterborne enamel adds scuff resistance.
Two finishing paths work particularly well:
- Pre-finished at the factory — the beam leaves the shop with the full color coat, glaze, and clear seal already cured. This is the cleanest option for tight construction schedules and is mandatory for hospitality jobs where on-site spraying is not allowed.
- Site-finished by the decorating team — the decorator dry-fits every section, masks adjacent surfaces, then sprays or hand-rolls the final coats. This allows the painter to tune color to the actual lighting on site, which can shift the perceived warmth of the final beam by half a shade.
If the design calls for a limewash, ceruse, or pickling effect, mention it at the quoting stage. The factory can adjust the base coat and sealer schedule so the specialty finish bonds correctly and ages the way the designer expects.
Where curved beams earn their keep
You will see curved faux timber beams in three kinds of spaces more than anywhere else. The first is the barrel-vaulted ceiling in a private residence, where a sweeping arc replaces the more common trussed look and makes the room feel longer and softer at the same time. The second is the groin vault in a lobby or wine cellar, where two curved beams intersect at a custom coffer. The third is the curved reveal in a retail or hospitality fit-out, where the beam follows the perimeter of a curved wall and ties the architecture together.
In all three cases, the beam is doing two jobs. It carries the eye along the curve, and it conceals services — sprinkler lines, low-voltage wiring, LED tape, even structural steel that the architect wants hidden. A hollow polyurethane shell is ideal for that second role because the installers can route cabling through the cavity before closing up the joint.
Lead times, freight, and what to plan for
Curved beams are not off-the-shelf products. Every project gets its own mold, even if the curve repeats from a previous job, because mold life is finite and the wear marks transfer into the new casting. Plan on the following sequence:
- Quotation and shop drawing approval — 5 to 7 working days.
- Mold build and sample casting — 12 to 18 working days, depending on profile complexity.
- Production run and finishing — 10 to 15 working days.
- Sea freight to most major ports — 25 to 35 days, plus customs clearance on arrival.
For an architect working against a hard possession date, the smartest move is to lock the beam order at the same time the ceiling framing is signed off. That way the curved beams land on site as the ceiling board goes up, and the install crew can dry-fit and finish in the same mobilization.
A short final note on budget: curved beams cost more than straight ones because the mold is unique to the project. The premium is real, but it is usually a small percentage of the overall ceiling budget, and the design payoff on a signature space is hard to replicate any other way. If you are weighing the decision, ask the supplier for a 3D render of the curve in the actual room — it makes the conversation with the client much easier than a line drawing ever will.
Technical References
ASTM standards cited in every specification
Test Data
Lab results from internal testing program
Updated 2026
Reviewed against current product specs


