
Most specifiers approach curved faux timber beams with a vague sense that they exist, a less vague sense that they cost more than straight ones, and very little concrete information about how to actually order one. This article fills that gap. It is a working specification guide for custom radius-curved PU resin decorative ceiling beams — written for architects, interior designers, project managers, and the contractors who install what we make.
Why the Beam Is Called "Radius-Curved"
The term "radius-curved" describes the geometry used to lay out the beam. Rather than describing the beam as "arched" or "bowed" (which is open to interpretation), we describe it by its radius: the distance from the center of an imaginary circle to the centerline of the beam. The radius tells the manufacturer exactly how much curvature is in the beam and how to set up the mold.
In practice, you will hear three numbers used to describe a curved beam:
- Chord. The straight-line distance between the beam's two ends.
- Rise. How far the beam lifts off the chord at its highest point.
- Radius. The radius of the arc that contains the beam's centerline.
Given any two of these numbers, the third is fixed by geometry. The relationship is described by the sagitta formula: rise = radius minus the square root of (radius squared minus (half chord) squared). Most specifiers work in chord and rise because those are easy to read off a plan; we convert to radius on our end.
Common Radius Ranges
The radius you choose affects both cost and production method. Here is the rough guide we use internally.
| Radius range | Typical use | Production method |
|---|---|---|
| < R1000 mm | Tight decorative arches, niche ceilings | Segmented casting only |
| R1000-R2000 mm | Entry arches, small groin vaults | New mold or segmenting |
| R2000-R4000 mm | Standard barrel vaults, library ceilings | Library molds often available |
| R4000-R8000 mm | Generous sweeps, hotel lobbies, spa ceilings | Library molds often available |
| > R8000 mm | Long gentle arcs, exhibition halls | Often near-straight in practice |
If your radius sits in the R2000-R8000 mm band, we likely have a curved mold in our library that can produce your beam with minimal tooling cost. Below R2000 mm, the project usually requires a new mold or a segmented approach. Above R8000 mm, the beam is so gently curved that the cost difference from a straight beam is mostly handling and crating, not mold work.
Segmenting and Joints
A curved beam is rarely shipped as a single piece. The reasons are practical: longer pieces are heavier, harder to crate, and more likely to be damaged in transit. We typically segment curved beams at 600-1200 mm intervals along the arc, with the segment length tuned to the radius — tighter radii get shorter segments so each one can be handled by two people.
Joints between segments are designed to disappear in the finished installation. The two main approaches:
Butt joints with hidden spline. Each segment has a routed groove on one end and a matching tongue on the other. A thin plywood or PVC spline slides into the grooves during installation, aligning the two segments. The joint is then finished with texture and color to match the rest of the beam.
Mitered joints. For beams with a deep cross-section or a pronounced texture, joints are mitered so the texture pattern flows continuously across the joint. Mitering adds fabrication time but produces the most invisible joint.
Profile and Cross-Section
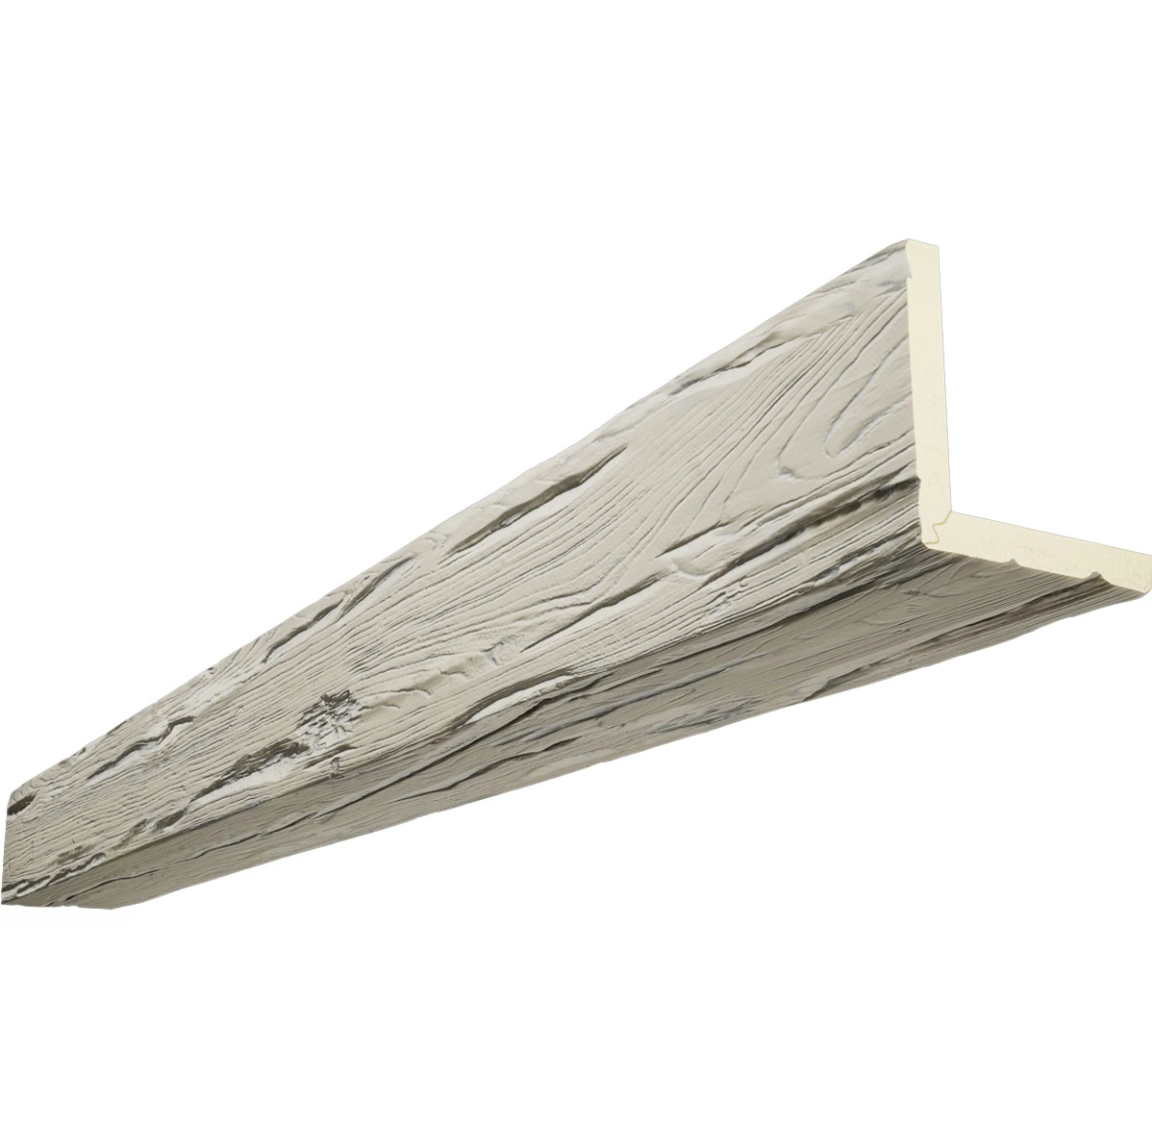
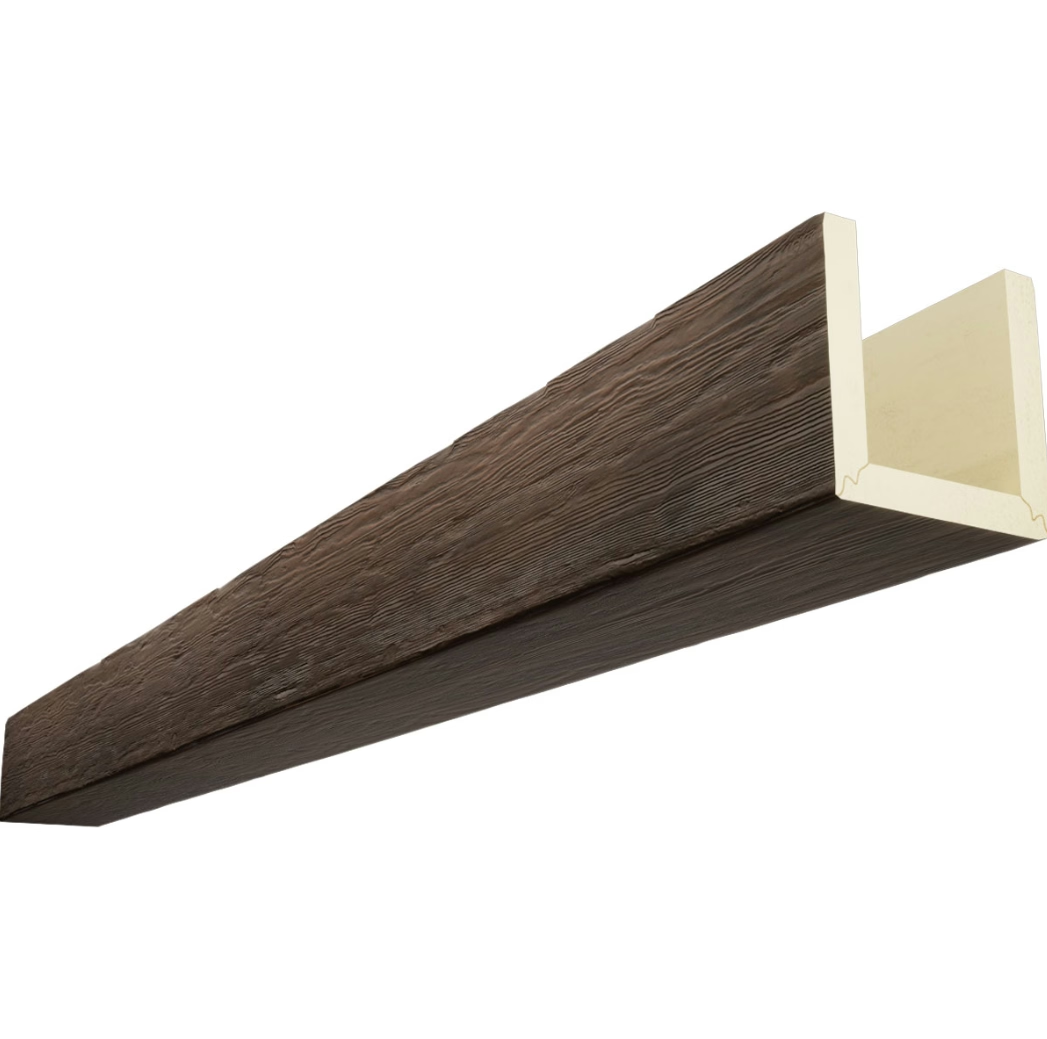
The cross-section of a curved beam follows the same vocabulary as a straight beam: rectangular, U-shape (also called U-channel or U-wrap), L-shape, or bespoke profile. For decorative ceiling use, the most common profiles are solid rectangular, used as a visual element on flat or shallow-vaulted ceilings; hollow U-shape, a curved beam wrapping a structural member or hiding services above; and tongue-and-groove coffer, curved beams framing a coffered ceiling panel with a reveal or step on the visible face.
For U-shape beams wrapping steel or timber structural members, the radius of the U-shape profile can differ from the radius of the curve along its length. Our engineers model both curvatures when producing the mold geometry.
Installation Sequence
A curved beam installation follows a predictable sequence. The structural backing (plywood, metal track, or cleat) is installed along the curve, verified against a setting-out template. Each segment is dry-fit and marked for fasteners. Each segment is secured in numbered sequence, with hidden fasteners through the rear flange or via strap brackets. Joints are aligned, glued where specified, and finished with the supplied touch-up kit. The clear topcoat is applied across the entire run, blending the joints into the rest of the beam. A two-person crew can typically install 8-12 meters of curved beam per day once the backing is in place.
Common RFQ Errors and How to Avoid Them
A few errors come up often enough that they are worth flagging: specifying radius and chord together (these are linked by geometry; specifying both usually means one is wrong), forgetting that curved beams need segment joints, underestimating the visual prominence of a curved beam, and omitting the exposure environment. A clean RFQ answers these points before submission, and the resulting quote is closer to the actual project cost.
A curved decorative ceiling beam is one of the most satisfying architectural elements to get right. It shapes the room in a way that flat stock cannot, and it does so without the structural cost of real curved timber. When specified clearly and installed carefully, it looks like the room was always meant to have it.
Technical References
ASTM standards cited in every specification
Test Data
Lab results from internal testing program
Updated 2026
Reviewed against current product specs


