
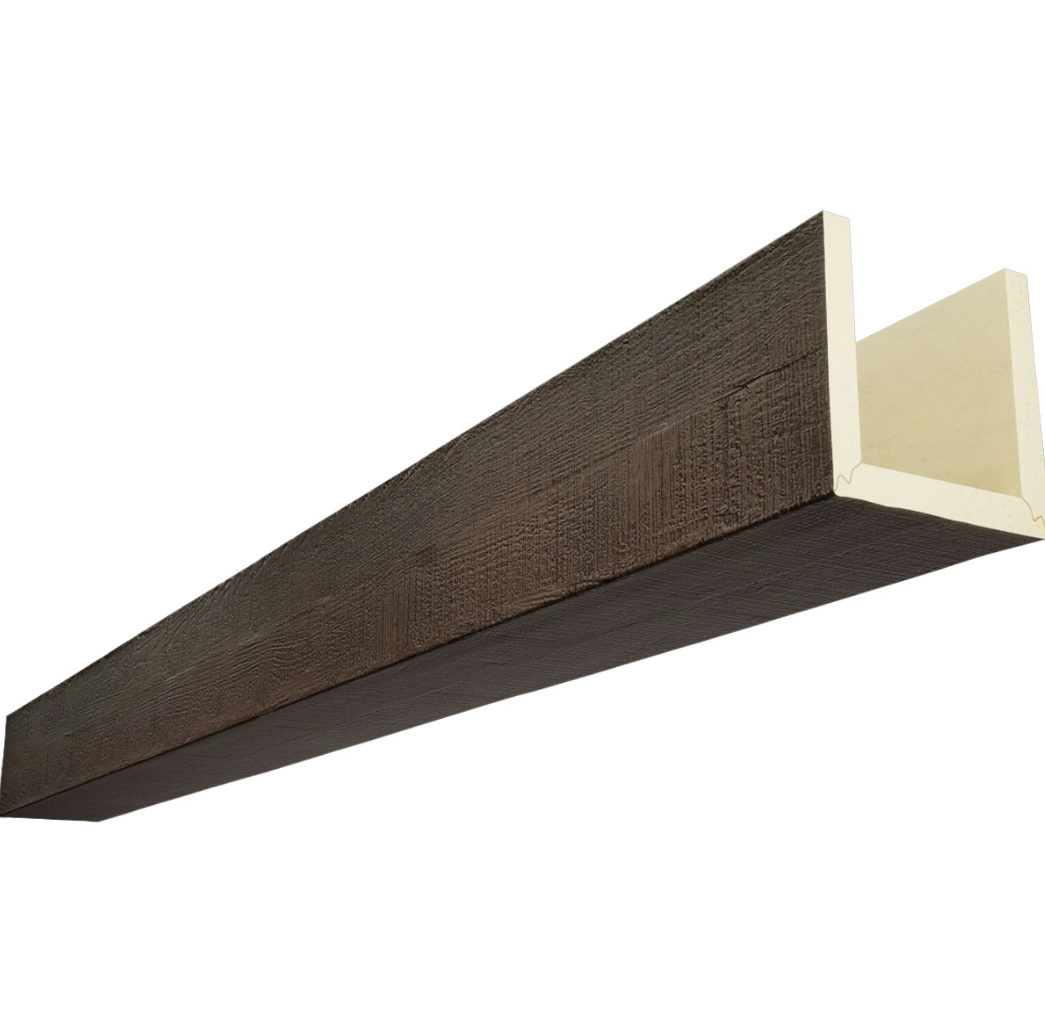
A sloped roof interior is one of the most expensive architectural features to decorate with real timber. The rafters must be cut to length, sanded, finished, and lifted into position by a crew that usually includes a carpenter and an engineer. Custom roof pitch matched polyurethane faux beams give you the same visual effect at a fraction of the installed cost, with the additional benefit of consistency from piece to piece. This article is written for the contractors and installers who actually put these beams in place, with practical guidance on getting the geometry right the first time.
Measuring Roof Pitch Accurately
The single most common cause of a poor pitch-matched beam installation is inaccurate pitch measurement. A 2-degree error at the factory becomes a 35 mm gap over a 1-meter beam run. Here is the field method we recommend.
Tools Needed
A 1.2 m or longer digital level with angle readout (most phone-based level apps are not accurate enough for this work), a tape measure, pencil and notepad, and optionally a laser inclinometer for very long runs.
Measurement Procedure
Place the digital level flat against the underside of the roof sheathing at the planned beam location. Read the angle in degrees. Take three readings along the planned run: near the wall plate, near the midpoint, and near the ridge. If the three readings agree within 1 degree, the roof pitch is consistent and a single pitch value can be used. If the readings differ by more than 1 degree, the roof framing is irregular and each beam segment must be measured individually. Send the multiple readings to the factory so each piece is cast to its own pitch.
For residential roofs, pitch is typically between 18 and 45 degrees. For commercial shed roofs, it can be as low as 5 degrees. Anything outside 5-60 degrees should be confirmed with the designer before ordering.
Fixing Methods on Sloped Roofs
A pitch-matched faux timber beam on a sloped roof is held in place by one of three fixing methods.
Direct Screw Fix Through the Top Face
The simplest method. Long screws pass through the upper (beveled) face of the beam into the roof framing. The screw heads are hidden because the upper face is against the roof. Use stainless steel or hot-dip galvanized screws for corrosion resistance, and pre-drill the polyurethane to avoid splitting.
Continuous Cleat System
A plywood or metal cleat is screwed to the underside of the roof framing first, following the slope. The beam is then screwed through its rear face into the cleat. This method distributes load across multiple fixing points and is preferred for heavier beams.
Strap Bracket Fixing
Stainless steel straps wrap over the top of the beam and anchor back into the framing at third points. Used when the rear face of the beam is inaccessible or when the designer wants the fixings to be visible as a design feature (common in industrial and rustic interiors).
Most residential and light commercial projects use the continuous cleat system because it produces a clean visual result with redundant fixing.

Working Around Obstacles
Sloped roofs hide a surprising number of obstacles in the ceiling plane: wiring for ceiling fans, recessed lighting conduits, HVAC chases, structural collar ties, and occasionally a chimney or plumbing vent. Faux timber beams can be notched, drilled, or coped around these on site with standard woodworking tools.
The polyurethane density we use for faux timber is 160-320 kg/m³ depending on the application. That is firm enough to hold a screw but soft enough to cut with a handsaw or a jigsaw. Carbide blades last longer than standard steel blades when cutting polyurethane.
Sequence of Work on a Sloped Roof Retrofit
A typical retrofit follows this sequence. Survey and measure: document pitch, rafter spacing, obstacle locations, and ceiling conditions. Issue the RFQ with measurements. Order the beams with a 4-6 week lead time built into the project schedule. Prepare the ceiling: install any new blocking, electrical rough-in, or insulation upgrades before the beams go up. Install beams starting from the wall plate and working up toward the ridge. Number and dry-fit each piece before fastening. Finish joints, touch up paint, and apply final clear coat.
Working from the bottom up lets gravity assist with alignment. Each beam rests on the wall plate and the previous beam as it is installed, reducing the need for temporary supports.
What Can Go Wrong and How to Prevent It
The most common installation problems are inconsistent pitch along the run (prevented by measuring at three points and ordering beams in segments if needed), beam arrives too short (prevented by including the wall plate thickness and any ridge beam in the length calculation), obstacles not communicated to the factory (prevented by sending a ceiling plan with all penetrations marked before production), wrong texture or color on site (prevented by approving a hand sample before mass production begins), and fixings fail in the substrate (prevented by verifying the substrate material and using the correct anchor type).
Custom roof pitch matched polyurethane faux beams are a workhorse product for sloped roof interiors. They install faster than real timber, look the same once finished, and remove the variability of natural wood from the project schedule. For contractors used to wrestling solid timber rafters into place, the difference is dramatic.
Technical References
ASTM standards cited in every specification
Test Data
Lab results from internal testing program
Updated 2026
Reviewed against current product specs


