
The question comes up almost every week from a contractor or designer who ordered beams without end caps, installed them, and then realized the raw cut ends look unfinished. Sometimes the beam was trimmed on-site to fit an irregular opening. Sometimes it was ordered a bit long to be safe and now has an ugly factory-cut terminus. The short answer is yes, end caps can be added after installation, but the approach depends on the beam's profile, the finish, and the access you have to the cut face.
The short answer and why it needs nuance
Yes, you can add end caps to existing beams. No, it won't look as clean as if the end cap had been factory-installed, but for most applications it will look better than a bare cut end. The quality of the result depends on three things: whether you can access the full cut face, whether the finish can be matched to the existing beam, and whether the end cap profile matches the beam profile exactly.
An end cap added at the factory is bonded during production, primed and finished in the same batch as the beam, and the seam is invisible when the beam is installed. An end cap added in the field requires adhesive bonding, edge sealing, and finish touch-up. The seam will be detectable under close scrutiny but invisible from normal viewing distance — which for ceiling beams means 6 feet or more.
Types of end caps and which ones work in the field
We offer three end cap types for our standard profiles:
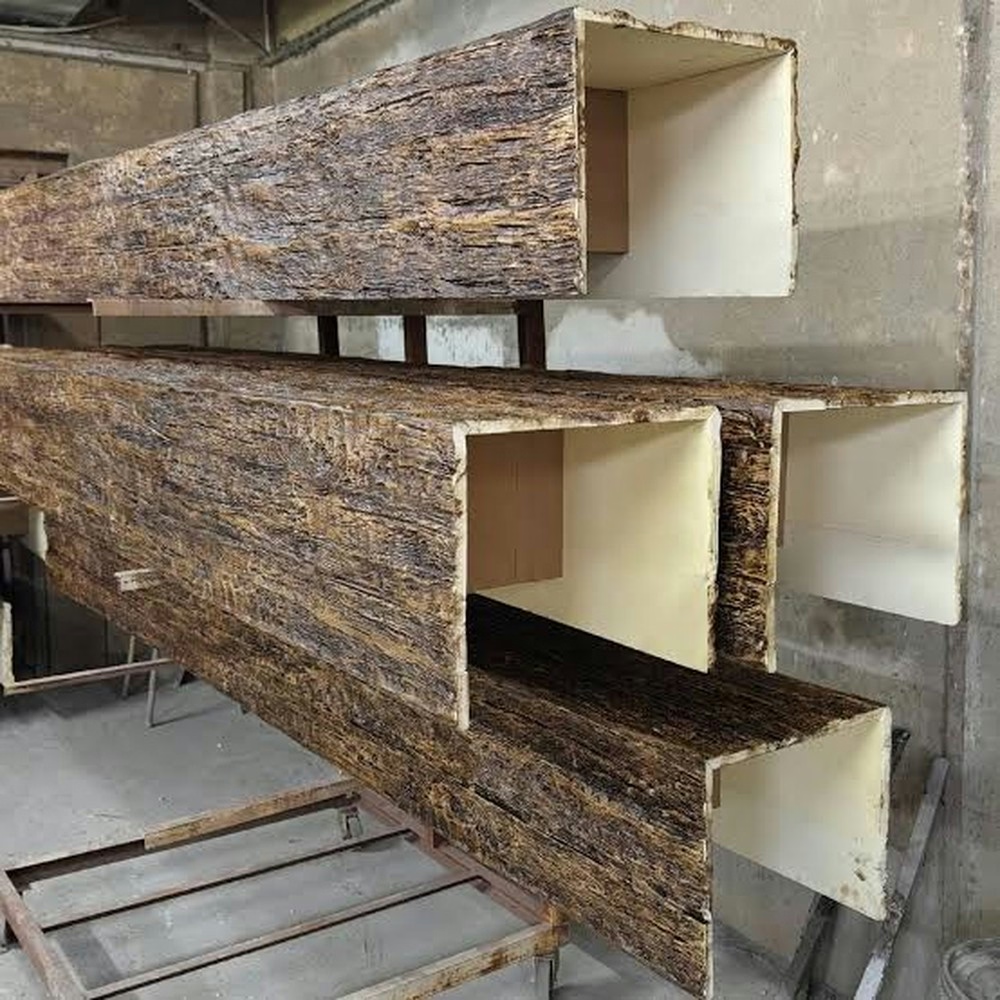
Closed end caps are solid pieces that match the beam's cross-section and cap the end completely. These are the most common request and the most straightforward to install in the field on hollow-shell beams. You can access the interior of the beam through the hollow cavity, apply adhesive to the cap, and press it into place. The interior bonding gives it strength even if the exterior seam is slightly visible.
Open end caps are trim pieces that cover the face of the beam without closing the hollow interior. These are used when the beam terminates against a wall or when the open cavity is concealed by adjacent trim. Installing these in the field is straightforward — it's essentially gluing a shaped trim piece to the face of the beam.
Mitered ends are not caps but rather the beam cut at an angle — typically 45 degrees — to create a clean corner return. This requires cutting the beam itself rather than adding a separate piece, and it's more precise in the factory than in the field, but it's achievable with a good compound miter saw and a sharp blade.
When to order end caps with the beam
The best time to decide about end caps is before the order is placed. When ordered with the beam, end caps are finished in the same batch as the beam body, using the same color formulas and application technique. The result is indistinguishable from the rest of the beam at any distance.
Ordering end caps after the fact means matching a new finish piece to an existing finish. Our finish formulas are stable, but color can shift slightly between batches, especially on multi-tone wood grain finishes. The difference is usually imperceptible, but we always send a sample patch to the installer before they commit to the full installation on premium finishes.
How to install end caps on already-installed beams
If the beam is already in place, here is the practical sequence:
First, clean the cut face thoroughly. Remove any dust, debris, or old adhesive from the end of the beam. A clean surface is critical — adhesive bonds to polyurethane foam poorly if there's any contamination.
Second, test-fit the end cap without adhesive. It should seat fully against the beam face without gaps larger than 1mm. If there's a fit issue, the beam may have a slightly different profile than the end cap, which can happen if the beam was trimmed to a custom length after leaving our facility.
Third, apply adhesive. We recommend a construction adhesive formulated for polyurethane foam — Liquid Nails Fuze or equivalent. Apply a continuous bead around the perimeter of the bonding surface and a second bead around the interior bonding edge. Press the cap firmly into place and hold it for 60 seconds. Mechanical fastening through the cap into the beam body provides additional security — two small screws through the face of the cap, countersunk and hidden under a wood-tone plug or painted over.
Fourth, seal the seam. Use paintable caulk around the perimeter where the cap meets the beam body. This prevents moisture intrusion and hides any minor gap. Once the caulk is dry, touch up the finish.
Finish touch-up for multi-tone and distressed finishes
This is where field-capped beams differ most visibly from factory-capped ones. A single-tone finish is straightforward — buy a small amount of matching paint and brush it along the seam. A multi-tone wood grain finish is considerably harder.
Our finishing team can mix small quantities of touch-up finish for this purpose. The process involves matching the existing beam's color using spectrophotometer readings if possible, then preparing a small batch of the three-tone glaze system. We ship these as a touch-up kit with brushes, foam applicators, and written instructions.
For distressed finishes, the touch-up is more artistic than technical. We can provide the base tones, but replicating the specific distressing pattern requires someone with an eye for the work. We have a network of finish repair technicians in most major metropolitan areas who can handle this on-site for a service fee.
Matching finishes when the beam and cap are different batches
When we produce an end cap separately from the original beam, we reference the original finish formula stored in our system. Every finish we produce gets a batch code that's tied to the original color measurement. So even if a year has passed since the original order, we can look up the formula, produce a matching sample, and send it for approval.
The approval step is non-negotiable for Tier 3 and Tier 4 finishes. Sending an end cap without confirmation risks a visible mismatch, which is worse than sending nothing and having the contractor wait.
For Tier 2 solid colors, we can usually ship without prior approval because the tolerance for color matching is tighter — a slightly off white still reads as white, while a slightly off walnut reads as the wrong wood.
Common scenarios and what to do
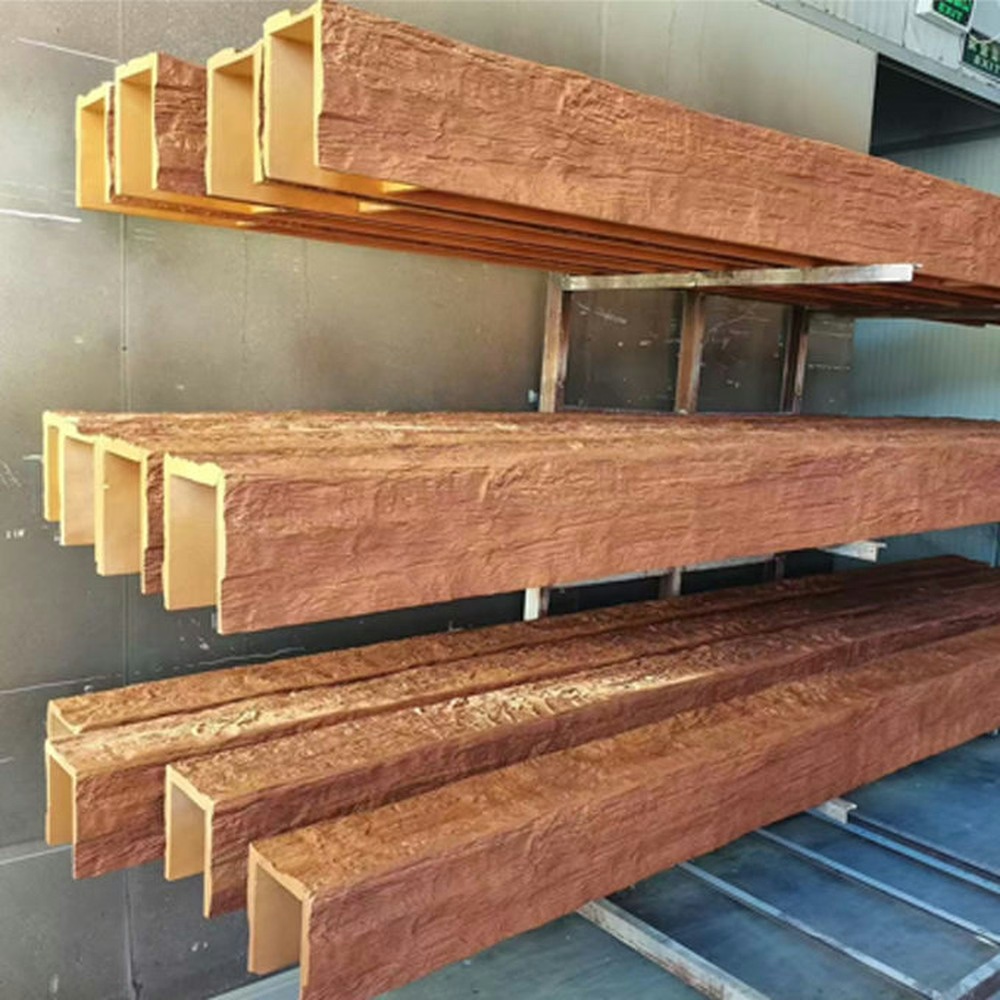
Scenario 1: Beam was trimmed 2 inches too long on-site. Order a closed end cap in the same profile and finish. Install it as described above. Budget 30 to 45 minutes per end cap for the full installation including touch-up.
Scenario 2: Beam was ordered without end caps and now looks raw. Same solution as Scenario 1. If the beam runs into a wall, an open end cap that covers only the face may be cleaner and faster.
Scenario 3: The beam was installed and the cut end is at a corner. Mitered ends are the right solution here, but they require cutting the beam itself. If the beam is already firmly installed, this is difficult. If the beam is still accessible from above, it may be possible to unbolt or slide it slightly to make the cut. Otherwise, an open end cap against the wall face is the pragmatic solution.
Scenario 4: The finish is a custom OEM color. Contact us with the original order number. We'll pull the formula, produce a sample cap, and confirm the match before shipping.
What we recommend to avoid the issue
Order end caps with the beam. If there's any chance the beam will need a clean termination — and there almost always is — specify end caps on the purchase order. The incremental cost is minimal compared to the field work required to retrofit them.
If you're unsure whether a particular beam run needs end caps, look at both ends. Does either end terminate in a visible location — against a wall, in a corner, or in mid-air above a fireplace? If yes, end caps are the right call. If both ends disappear into a soffit or behind drywall, you can skip them.
For designers specifying beams on drawings, we recommend adding end caps as a line item on the schedule rather than leaving it as a contractor decision. The specification is cleaner, the finish match is guaranteed, and the install is faster.
End caps for beams in commercial applications
Commercial installations — restaurants, hotels, retail spaces — have additional considerations for end cap specification that don't apply in residential contexts.
Fire-rating requirements in commercial buildings may affect the end cap specification. A fire-rated end cap may be required where the beam end is exposed in a public space. Our fire-retardant topcoat meets Class A requirements, but the end cap's bonding method must also be evaluated in the context of the building's fire-rating requirements.
Cleanability is another commercial consideration. In high-traffic commercial spaces, the end cap seam — the joint between the cap and the beam body — should be as smooth as possible to prevent dust and grime accumulation. A properly bonded and sealed end cap seam is essentially seamless. A poorly done field installation may have a visible groove that collects dirt.
For commercial projects, we recommend specifying end caps as part of the original order and factory-finishing them in the same batch as the beam body. The incremental cost of factory-applied end caps is significantly lower than the cost of field-applied end caps when measured in labor time, and the quality is consistently higher.
Matching end caps to non-standard beam profiles
Non-standard beam profiles — custom cross-sections, non-standard sizes, unusual shapes — require custom end caps that are produced specifically for that profile.
The production process for a custom end cap uses the same mold tooling as the beam itself. If a new mold was opened for the beam, a matching end cap mold can be produced as an addendum to the original mold. The cost is lower than a standalone custom end cap because the profile geometry is already defined.
For beams produced from an adjusted standard mold (where the dimensions were customized but the basic profile shape was unchanged), the end caps can be produced from the same adjusted mold with a simple tooling change. This keeps the end cap cost equivalent to a standard end cap.
The lead time for custom end caps is typically the same as the beam lead time: 3 to 4 weeks for standard profiles, 4 to 5 weeks for custom profiles.
End caps and beam end appearance in different lighting
The appearance of a beam end — with or without an end cap — varies significantly depending on the lighting in the space. An end cap that looks seamless in warm, indirect lighting may show a faint seam line in cool, direct lighting.
When evaluating end cap quality, assess the installation under the space's actual lighting conditions, not just under the contractor's work lights. If the beam end will be lit by a directional fixture or a window, test the appearance under those conditions before signing off on the installation.
For beams in spaces with dramatic lighting — galleries, restaurants with theatrical lighting, spaces with significant daylight — we recommend requesting a sample end cap before the full installation, so the installer and designer can verify the appearance in the actual lighting environment.
End cap storage and handling
End caps are small enough to be easily stored and handled separately from the beams. For installers who order end caps separately from beams (for field application), the caps should be stored flat, protected from impact, and in their original packaging until needed.
Polyurethane end caps are more vulnerable to impact damage than the beams themselves because they are smaller and have thin edges. A dropped end cap can crack or chip at the edge, which is why factory-applied end caps are preferable when available.
For field-applied end caps, inspect each cap before installation. Any visible crack, chip, or surface damage should be reported to the supplier for replacement before installation. Installing a damaged end cap is a waste of adhesive and labor.
Technical References
ASTM standards cited in every specification
Test Data
Lab results from internal testing program
Updated 2026
Reviewed against current product specs


