
The appeal of polyurethane faux wood beams for home renovation is partly aesthetic and partly practical: you get the look of heavy timber without the weight, and you can work with the material using ordinary tools in an ordinary garage. No specialized equipment, no contractor's license, no structural engineering consultation. Just a beam you can cut, drill, and install the same afternoon.
Why polyurethane cuts differently from wood
Polyurethane foam behaves somewhere between soft hardwood and dense PVC foam board. It has enough structural integrity to hold screws and support its own weight, but it's not hard enough to dull a blade quickly, and it's not fibrous like natural wood, which means it doesn't splinter or tear out along the cut line.
The practical consequence is that you can cut polyurethane beams with virtually any hand tool that would work on hardwood. A crosscut saw, a miter saw, a jigsaw, a coping saw — all of these work. The cut quality depends more on the sharpness of the blade and the steadiness of the cut than on any special technique.
The one thing polyurethane doesn't do well is cut with a utility knife alone. You can score it with a knife, but achieving a clean separation requires something with a scraping or chopping action, not just a scoring action. A sharp utility knife can finish a cut that was started with a saw, but it can't start one cleanly.
Tools that work well
Miter saw (chop saw) — This is the best tool for the job. A 10-inch or 12-inch blade with 80 or more teeth gives the cleanest crosscut on polyurethane. Set the beam on the saw table, mark your cut line with a pencil, and make the cut in a single smooth motion. The blade enters the foam cleanly and exits cleanly with no tear-out.
Hand saw — A standard crosscut hand saw with 10 to 12 points per inch (TPI) works fine. The cut is slower than a power saw, but it's also quieter and produces no dust. For a homeowner who doesn't own a miter saw, a hand saw and a miter box is a viable alternative that costs under $20.
Jigsaw — Useful for non-90-degree cuts, curved cuts, and situations where the beam is already partially installed and you can't swing a circular saw or miter saw around it. Use a fine-tooth blade (20+ TPI) and cut slowly to maintain control. The jigsaw's orbital action can leave a slightly rougher surface than a straight blade, so test on a scrap piece first.
Coping saw — The coping saw's thin blade and adjustable frame make it the right choice for inside cuts, notches, and situations where you need to cut into the middle of a beam rather than across the end. It's slower than a jigsaw but gives excellent control.
Reciprocating saw — Generally not recommended for finish cuts. A recip saw's aggressive tooth pattern and fast stroke rate tear out material at the cut line. It works for rough shortening of beams that will be hidden behind trim, but not for visible cuts.
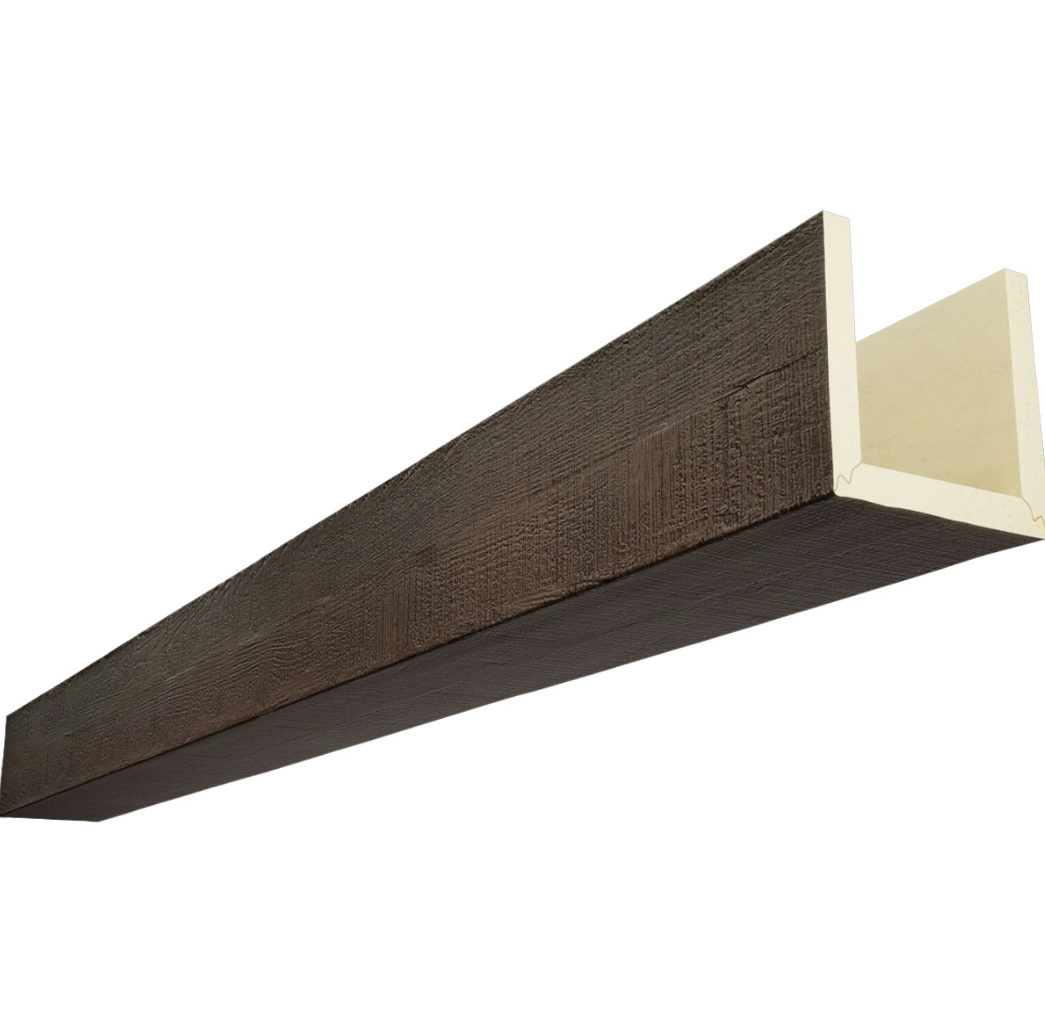
Setting up your workspace
Cutting polyurethane beams produces fine dust — not hazardous, but irritating to breathe and unpleasant to clean up. Work outside or in a well-ventilated garage with a window open. A shop vacuum running nearby helps control the dust.
Secure the beam before cutting. Polyurethane is light enough that a 10-foot beam can shift or spin on a flat surface if you're not careful. Clamp the beam to a workbench, or have a helper hold one end while you cut the other. For repetitive crosscuts — cutting multiple beams to the same length — a stop block clamped to the saw's fence makes the work faster and more accurate.
Mark cut lines with a sharp pencil or a fine-tip marker. A carpenter's speed square works well for marking perpendicular lines on the beam face. For angled cuts, a sliding bevel or protractor gives you the angle, then transfer it to the beam.
Making clean cuts without chipping
Polyurethane doesn't chip in the way that MDF or particleboard does, but it can compress slightly at the cut line if you force the blade. Let the saw do the work. Apply steady, moderate pressure — pushing too hard deforms the foam just ahead of the blade and creates a slightly wider kerf.
For the cleanest possible finish on a crosscut, support the offcut so it doesn't fall and chip the cut edge when the blade exits. In practice, this means cutting from the top down (or from the visible face toward the back), so that the offcut falls away from the good face. With a miter saw, this means setting the beam with the good face toward the fence and cutting from the face side.
After cutting, use a fresh piece of 120-grit sandpaper to lightly sand the cut edge. This removes any minor compression marks and creates a clean surface for adhesive or paint. Don't over-sand — you're not trying to round the edge, just smooth it.
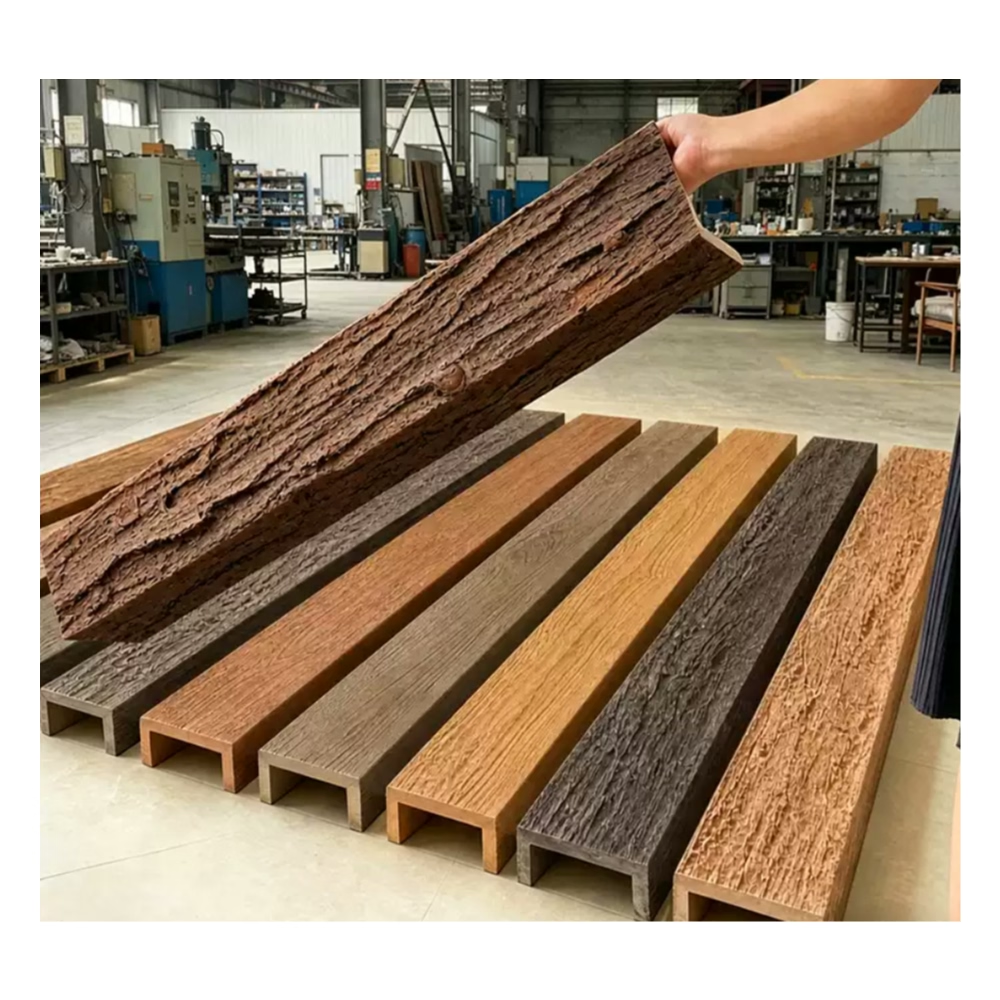
Finishing cut ends
A cut end always looks different from a factory-finished end, even if the beam is unpainted. The factory end has a clean, consistent surface that matches the rest of the beam. A fresh cut has slightly compressed foam cells and a different surface texture.
For beams that will be painted or whitewashed, a coat of primer over the cut end is sufficient. The primer seals the cut surface and provides a consistent base for the topcoat.
For beams with wood-grain finish that have been cut to length, the cut end needs to be matched to the original finish. We sell small touch-up kits for this purpose — a bottle of the base tone, a bottle of the grain glaze, and a small brush. Apply the base tone first, let it dry, then apply the glaze in light strokes that follow the grain direction of the adjacent surface. The result won't be perfect at arm's length, but it's close enough for ceiling installation where the cut end is typically 6 feet or more from eye level.
For beams that terminate against a wall or another beam, an end cap solves the problem entirely. Order end caps with the beam if you anticipate needing to cut to length on-site.
DIY project ideas
Fireplace mantel — A single beam, typically 8 to 10 inches tall, installed as a floating mantel above a fireplace. The beam can span 6 to 8 feet without support brackets and supports up to 50 pounds with appropriate wall anchoring. Cut to length on-site to match the fireplace width plus desired overhang.
Kitchen island beam — A beam running perpendicular across the top of a kitchen island, creating a visual anchor that ties the island into the ceiling. Particularly effective in open-plan kitchens where the island floats in the middle of the room without a direct ceiling connection.
Bathroom soffit trim — In bathrooms with a shower/tub enclosure, a faux beam across the ceiling above the wet zone adds visual interest and breaks up the tiled ceiling plane. Polyurethane's moisture resistance makes it appropriate for this application, unlike real wood.
Stairway accent — A beam running along the stair stringer, following the slope of the staircase. Cut the beam ends at matching compound angles. This is more challenging than a simple ceiling beam but produces a striking result.
Closet rod replacement — A decorative beam installed above a closet rod, creating a valance that conceals the rod and adds a built-in furniture feel to an otherwise utilitarian space.
Safety notes
Wear a dust mask when cutting polyurethane. The fine dust is an inhalation irritant, not a toxin, but it's not pleasant to breathe. Safety glasses are recommended, especially when using power saws. The material produces no hazardous fumes when cut — it does not off-gas during cutting the way some treated woods do.
If cutting with a power saw, secure the beam and the saw. A beam that spins or a saw that kicks back can cause injury. This is basic workshop safety, but it's worth repeating.
For beams longer than 8 feet, get a helper for installation. The beams are light, but a 16-foot beam is awkward to maneuver through a hallway or up a ladder. Two people make the job faster and safer.
Planning the beam layout before you buy
A successful DIY beam installation starts before you buy the beams. The layout planning phase is where most expensive mistakes happen: ordering beams that are too long, too short, or the wrong profile for the space.
The planning process:
Measure twice, order once. Measure the ceiling at multiple points. Ceiling dimensions are rarely perfectly consistent — a room that is listed as 14 feet wide might actually be 14 feet 2 inches at one end and 13 feet 11 inches at the other. Measure the actual dimension at the beam location, not at the floor or at a single point.
Sketch the layout. Draw a plan view of the ceiling on graph paper, showing the beam positions, the ceiling obstructions (light fixtures, HVAC registers, ceiling fans), and the wall intersections. The sketch doesn't need to be to scale, but it should show all the relevant relationships.
Account for the beam ends. Beams need clean terminations at both ends. If a beam will terminate against a wall, make sure there is enough wall surface for an end cap or mitered end. If a beam will run between two walls, make sure the beam length is 1 to 2 inches shorter than the measured wall-to-wall dimension, to allow for the end treatments.
Check the beam profile against the ceiling height. A 6-inch beam on an 8-foot ceiling is proportionally fine. A 10-inch beam on the same ceiling is too dominant. The beam height should be proportional to the ceiling height: 4 to 6 inches for 8 to 9 foot ceilings; 6 to 8 inches for 9 to 11 foot ceilings; 8 to 12 inches for 11+ foot ceilings.
What to do if you cut a beam too short
It happens to every DIY installer at least once: the beam is cut, and it's 1/2 inch too short. The options:
Order a replacement. The simplest option, but it adds time and cost. If you cut the beam yourself, you own the mistake — the replacement is at your cost.
Use a filler piece. If the gap is small (under 1 inch), a piece of polyurethane scrap can be adhered inside the beam at the cut end to extend its effective length. This is invisible once installed and doesn't compromise the installation structurally.
Reposition the beam. If one beam in a parallel run is slightly short, it may be possible to adjust the spacing slightly — moving the adjacent beams a fraction of an inch — to absorb the difference. This is only possible if the spacing is not fixed by structural constraints.
Accept the gap. If the beam terminates against a wall and the gap is small (under 1/4 inch), it can be filled with caulk and painted. This is the least satisfying solution but is sometimes the only practical one.
The best protection against this mistake is to order beams 2 to 4 inches longer than the measured dimension. Cut the beams to exact length on-site, not in the workshop. This gives you the flexibility to adjust for measurement errors.
Joining beams for longer spans
Some DIY projects require beams that are longer than the maximum single-piece length. For spans over 20 feet, joining two beams is sometimes necessary.
The join should be made at a structural support point — where the ceiling has a joist or a structural beam — rather than mid-span. The two beam pieces are butted together at the support point, both pieces are mounted to the support, and the joint is concealed with a decorative corbel or beam splice plate.
A field-made joint is never as clean as a factory splice. For spans over 16 feet, consider whether a decorative beam splice — a visible joinery detail designed into the installation — is more appropriate than trying to make an invisible joint.
For spans over 24 feet where a continuous beam is required, our engineering team can evaluate whether a steel insert or internal support is needed to prevent sagging. This is rarely required for decorative installations, but it is a consideration for beams that will support any weight.
Getting help: when to call a professional
DIY beam installation is within the capability of most homeowners who are comfortable with basic carpentry. But there are situations where a professional installer is strongly recommended:
Vaulted or sloped ceilings — Working on a sloped ceiling from a ladder or scaffold requires experience and proper safety equipment. This is not a beginner project.
Beams over 12 feet — Long beams are awkward to handle, and a fall from height while wrestling a 12-foot beam is a serious safety risk.
Complex layouts — If the beam layout involves intersecting beams, non-90-degree angles, or custom profiles, the installation complexity increases significantly.
Commercial applications — Any installation in a commercial building is subject to building codes that may require licensed contractors.
For DIY installers who are uncertain about any aspect of their project, we offer a pre-installation consultation by phone or video. A brief conversation with one of our installation specialists can identify potential issues before they become problems on site.
Technical References
ASTM standards cited in every specification
Test Data
Lab results from internal testing program
Updated 2026
Reviewed against current product specs


