
A room corner is one of the most architecturally exposed places in an interior. The intersection of two ceiling planes — whether at an angle, at a change of direction, or at a dropped soffit — creates a seam that is either a design opportunity or a design problem. Curved corner beams transform that seam into an intentional architectural detail that the room's inhabitants notice and appreciate.
Why curved corners work
A sharp corner — two flat surfaces meeting at 90 degrees — is visually abrupt. It reads as a construction joint, which is exactly what it is. A curved transition softens the intersection, makes it feel designed rather than accidental, and introduces a visual rhythm that the rest of the room can reference.
In rooms with coffered ceilings, tray ceilings, or multiple ceiling height changes, curved corner beams provide the connecting tissue that makes the different planes feel like they belong together. Without the curve, each ceiling plane feels like it was designed independently. With the curve, the whole ceiling system reads as a unified design.
Polyurethane is particularly well suited to curved corner production because the material can be molded to any curve without the joinery complexity that wood or plaster requires. A curved wood beam would need to be laminated from multiple pieces, each cut to a different angle. A curved plaster beam would need a complex form. A curved polyurethane beam is cast as a single piece with the curve built into the mold.
The geometry of corner transitions
Corner beams are specified by three parameters: the angle of the corner, the radius of the curve, and the profile of the beam cross-section.
The angle is the most fundamental parameter. A 90-degree corner is the most common. A 135-degree corner — an obtuse angle — occurs where a beam runs around a room or where a soffit meets a main ceiling plane. A 45-degree corner occurs in octagonal or hexagonal room shapes.
The radius of the curve determines how tight or loose the transition feels. A small radius (1 to 3 inches) creates a sharp curve — a quarter-round transition — that is elegant but pronounced. A large radius (6 to 12 inches) creates a sweeping transition that is subtler but requires more ceiling space to accommodate.
For most residential and commercial applications, a 3 to 6 inch radius is the sweet spot — visible enough to read as intentional, subtle enough not to dominate the ceiling.
Production approach for curved corner beams
Curved corner beams are produced in a segmented mold that follows the specified curve. The mold segments are CNC-machined from aluminum, with each segment corresponding to a portion of the curved path.
The foam pour follows the same two-stage process as straight beams: a first pour fills the fine surface detail in the mold, followed by a second pour that fills the interior cavity. For curved beams, the internal bracing is positioned to follow the curve, with additional bracing at the transition points between the straight runs and the curved section.
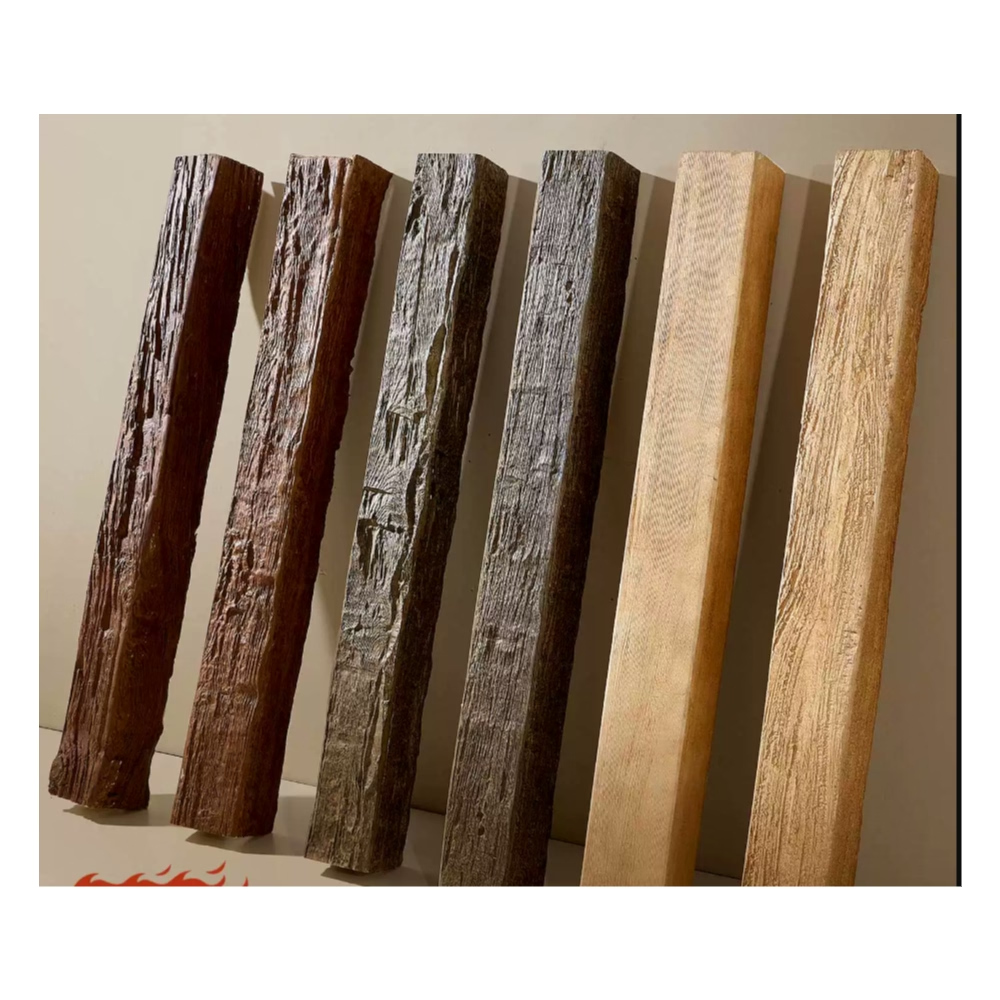
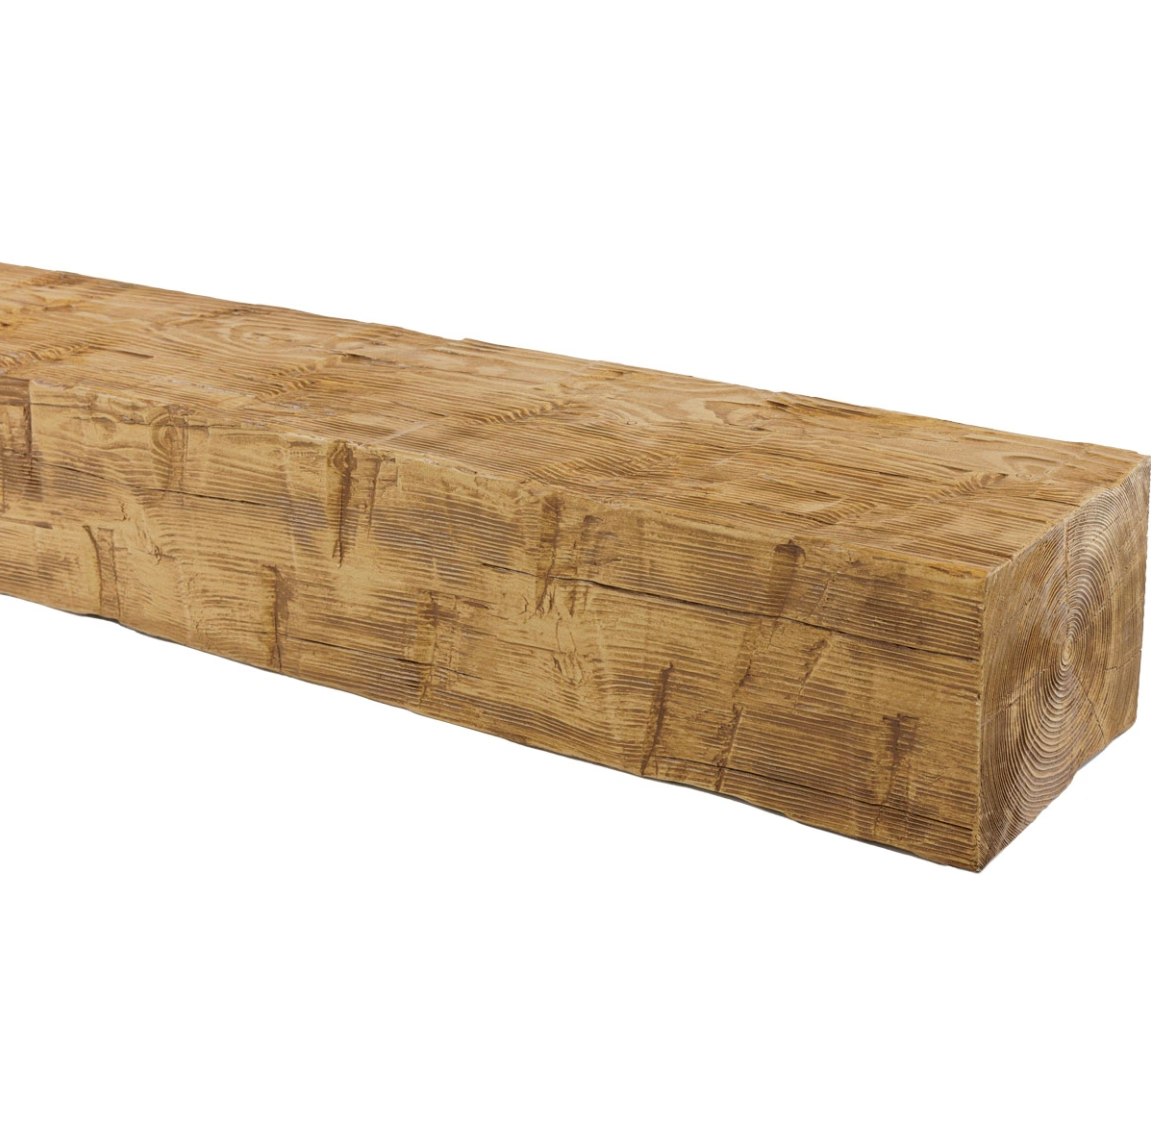
The result is a single, monolithic beam — not two straight beams joined at a corner — that transitions smoothly from one plane to the other. The wood-grain finish, applied after the beam is demolded, follows the curve naturally, which reinforces the appearance of a single structural piece.
Lead time for curved corner beams is longer than for straight beams — 4 to 6 weeks — because the mold must be built to the specific corner geometry. For projects with multiple matching corners, the same mold is used for all pieces, which keeps per-beam costs reasonable.
Installation of curved corner beams
Corner beams are the most challenging beams to install because they must meet two ceiling planes simultaneously and maintain the specified curve throughout the installation.
The installation process:
- A template is attached to the ceiling at the corner location. The template is a physical guide — typically made from cardboard or thin plywood — that shows exactly where the beam's top surface should sit.
- The beam is test-fitted against the template and adjusted until the curve matches. Minor adjustments are made by shimming the mounting points. Major adjustments require removing and re-fitting.
- The beam is mounted with adhesive along the full length of the top surface, plus mechanical fasteners at the mounting points. For 90-degree corners, two lag screws at each end of the curved section provide the primary structural connection.
- The seam between the beam and the ceiling is sealed with paintable caulk. For corners where two beams meet at the straight ends, the joint is sealed and finished to be invisible.
A professional installer with experience in curved beam work is recommended for corner installations. The geometry requires careful attention to detail, and a poorly installed corner beam is more visually obvious than a poorly installed straight beam.
Design applications
Tray ceiling corners — A tray ceiling with a raised center section has corners where the lower soffit meets the higher main ceiling. A curved corner beam softens this intersection elegantly.
Beam-to-wall transitions — Where a ceiling beam runs into a wall, a curved termination at the wall creates a softer visual endpoint than a square cut against the wall.
Room addition junctions — In homes where an addition meets the original structure, the ceiling plane may change height or direction. Curved corner beams can mask the junction and make it feel intentional.
Octagonal and hexagonal rooms — Rooms with more than four sides have multiple corners where beams must change direction. Curved corner beams at each vertex create a cohesive, designed look.
Columns wrapped with beams — Where a beam wraps around a structural column, a curved corner at the column face makes the transition from vertical to horizontal look natural.
Specification and sampling
Corner beams require precise field measurement. The angle should be measured with a digital angle finder, not estimated. The radius should be specified based on the ceiling dimensions and the visual effect desired.
We recommend requesting a full-size template — a cardboard mockup of the actual curved section — before committing to production. The template is produced at no additional cost and allows the designer and installer to verify the geometry in the actual ceiling before the production beam is made.
For importers working on international projects, curved corner beams are a premium product that commands a higher price point. The production complexity is higher, the mold cost is higher, and the installation requires more expertise. The market for corner beams skews toward high-end residential and boutique hospitality projects where the design detail justifies the investment.
Technical References
ASTM standards cited in every specification
Test Data
Lab results from internal testing program
Updated 2026
Reviewed against current product specs


