
Exposed rafter tails are one of the oldest decorative elements in residential architecture. In traditional building, the rafter tail — the portion of the rafter that extends beyond the wall plane — served both structural and aesthetic functions. Structurally, it supported the roof overhang. Aesthetically, its shape and detailing gave the building its eaves character.
Modern construction rarely exposes rafter tails — the roof structure is usually concealed behind a soffit. But in renovation projects, in traditional-style new construction, and in projects where the client wants a crafted, detailed exterior, exposed rafter tails add a level of architectural character that is difficult to achieve any other way.
Polyurethane rafter tails solve the practical problem: real rafter tails in exposed conditions rot, warp, and attract insects. Polyurethane rafter tails don't.
What exposed rafter tails do in an interior context
In an interior context — where the rafter tails extend from a faux beam or from a structural ceiling — they serve a purely aesthetic function. They add visual detail to the beam's termination, suggest a level of traditional craftsmanship that is absent from modern construction, and create a shadow line at the wall-ceiling junction that gives the ceiling depth.
The most common interior application is at the point where a ceiling beam meets the wall. Instead of ending the beam in a flat cut against the wall, the rafter tail extends 2 to 6 inches beyond the wall surface, terminating in a shaped profile — a ogee, a cove, a scroll, or a simple chamfer. The extended tail creates a shadow that makes the beam appear to float slightly off the wall, which adds dimensionality to the ceiling plane.
Rafter tail profile options
The rafter tail profile determines the character of the termination. Traditional profiles include:
Cove rafter tail — A concave curve that transitions the square end of the beam into a rounded termination. This is the simplest and most widely used profile.
Ogee rafter tail — A compound curve with an S-shaped profile. More elaborate than the cove, appropriate for traditional and transitional interiors.
Scroll rafter tail — A spiral curve that extends outward and downward. The most decorative of the standard profiles, used in high-style traditional architecture.
Chamfered rafter tail — A simple 45-degree angle cut on the end of the beam. The most restrained profile, appropriate for contemporary interiors.
Stepped rafter tail — A stepped profile with two or three horizontal ledges. Suggests the stacked rafter ends found in some vernacular building traditions.

Production of polyurethane rafter tails
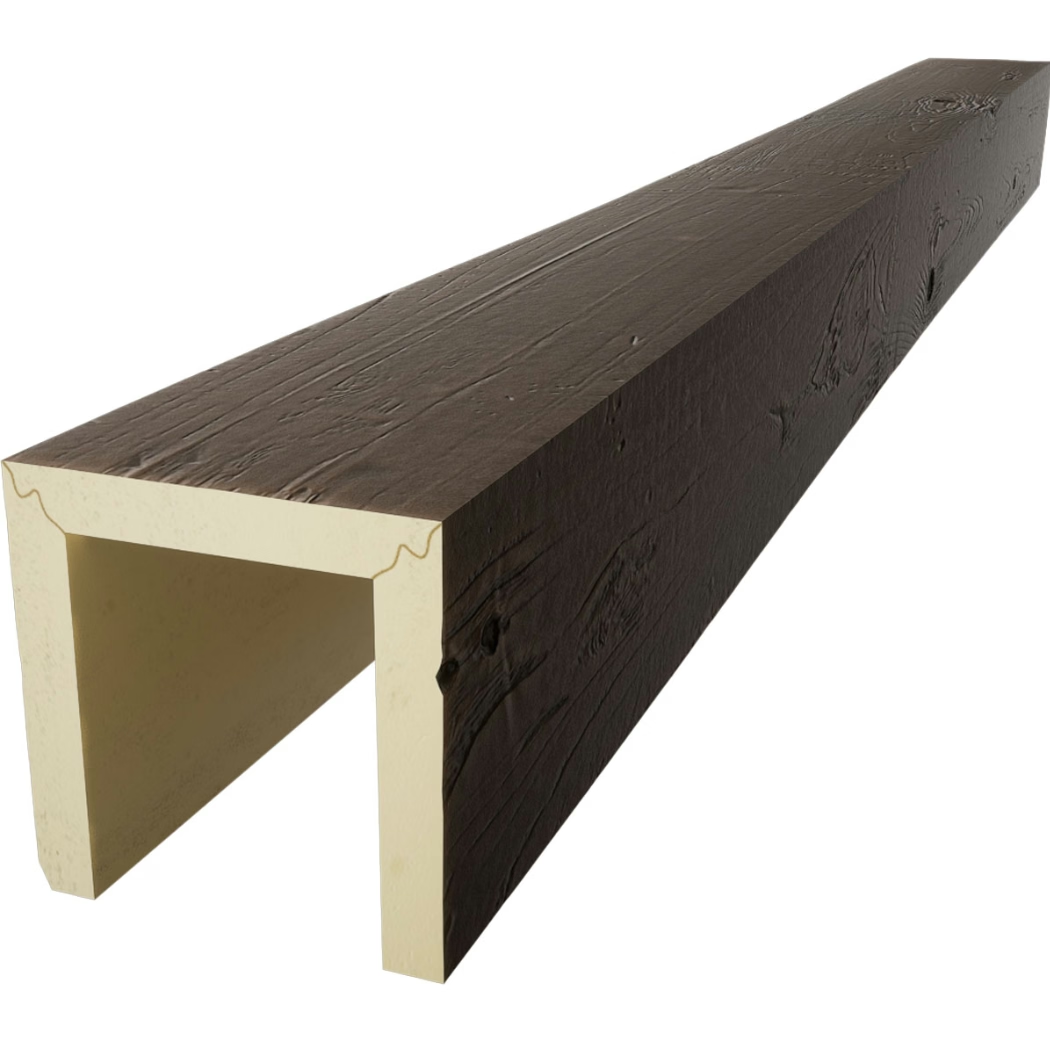
Rafter tails are produced as an integral part of the beam — the tail is not a separate piece attached to the beam but a shaped extension of the beam body. The mold for the beam includes the tail profile as part of its interior shape.
The beam and tail are poured as a single piece, with the same foam density and the same surface texture as the main beam body. The wood-grain finish, if applicable, flows continuously from the beam into the tail, which reinforces the impression that the piece is a solid, crafted artifact.
For beams that are cut to custom lengths in the field, the rafter tail must be ordered as part of the original beam specification. A field-cut beam cannot have a factory-style rafter tail added without a separate terminal piece.
Installation at wall intersections
The installation of a beam with exposed rafter tails requires careful alignment at the wall. The tail extends beyond the wall plane, which means the mounting system must account for the additional projection.
The mounting approach depends on whether the tail extends from one end of the beam or both ends. For beams that run between two walls, both ends have tails. For beams that run from one wall into the open room, only one end has a tail.
In both cases, the mounting hardware must be positioned to allow the tail to extend past the wall without interference. This may require offsetting the mounting point from the wall surface — instead of mounting the beam flush with the wall, mounting it 1 to 2 inches away on blocking — or using a standoff bracket that holds the beam at the correct distance from the wall.
The gap between the beam's back face and the wall surface is concealed by the tail profile. The tail extends past the wall, hiding the gap and creating the intended shadow line.
Finish options for rafter tails
The finish on a rafter tail should match the finish on the beam body. Because the tail and beam are produced as a single piece, the finish is continuous.
For beams with wood-grain finishes, the grain flows naturally into the tail. The grain pattern should be oriented to follow the tail's curve — on a cove tail, the grain should curve along the cove rather than running straight across it. This requires careful attention during the finishing process.
For white or solid-color finishes, the tail is finished in the same way as the beam. The transition between the tail's curved profile and the beam's flat face is more visible on a solid-color finish than on a wood-grain finish.
Maintenance and durability
Polyurethane rafter tails in interior applications require no maintenance beyond what the beam itself requires. The material is resistant to moisture, insects, and the normal wear that affects wood in high-traffic areas.
In exterior applications — where the tails extend through the soffit to the exterior — polyurethane is an excellent choice because it does not rot, warp, or split like wood. The marine-grade topcoat is recommended for exterior applications to provide UV protection and additional moisture resistance.
For projects in coastal areas or regions with extreme weather, the combination of polyurethane rafter tails and marine-grade topcoat provides a maintenance-free alternative to real wood that will not deteriorate over decades of exposure.
Technical References
ASTM standards cited in every specification
Test Data
Lab results from internal testing program
Updated 2026
Reviewed against current product specs

