
Every contractor has a story about the homeowner who bought a house with exposed ceiling beams, thought they'd love the character, and then discovered that "exposed beams" meant "rotting 1970s glulam with a polyurethane coating that's turning yellow and peeling." Real beams — especially older ones — come with maintenance baggage. The solution isn't always to remove them; sometimes it's to make them disappear.
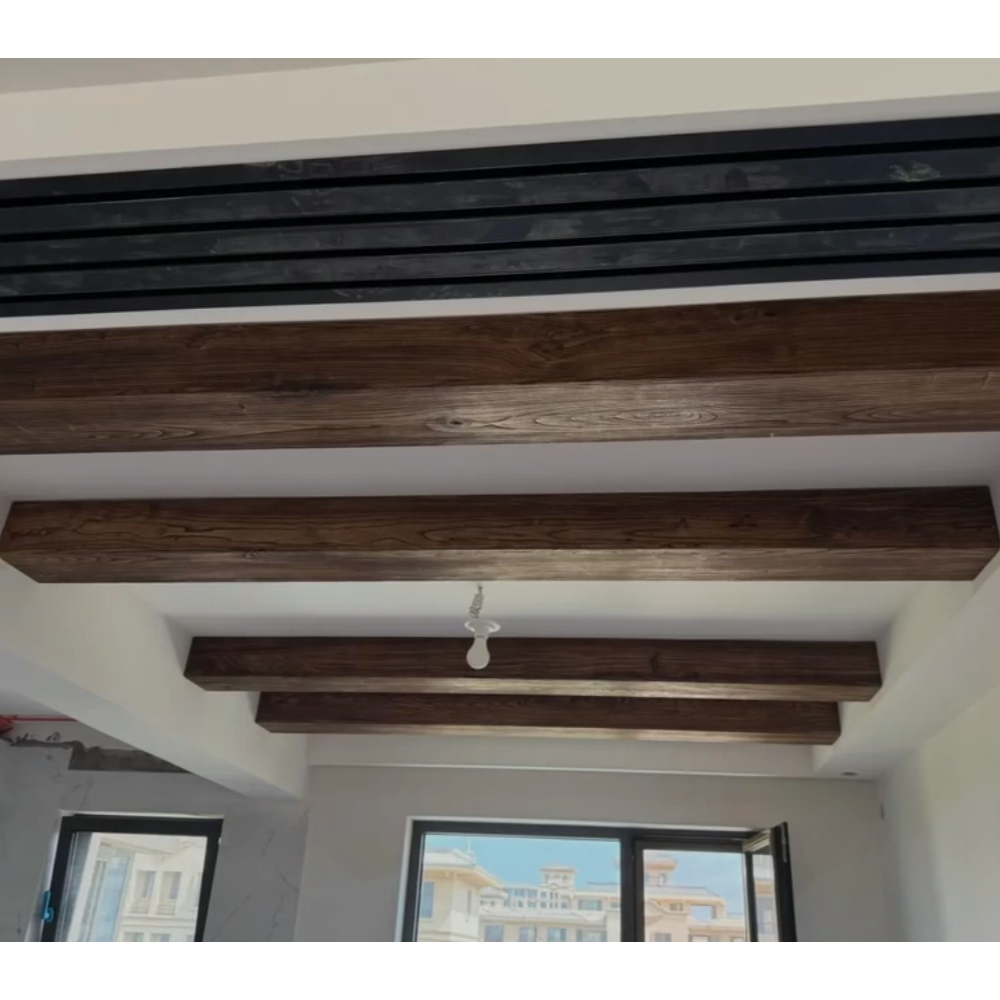
Decorative faux beams offer a clean solution: install a hollow-shell beam that encloses the existing beam, making the original beam invisible and irrelevant. The new beam is the visible element, and its appearance is whatever you specify.
Why covering is better than removing
Before considering beam removal, understand what you're dealing with. Existing ceiling beams may be:
Structural — The beam is load-bearing and cannot be removed without replacing its function with a header or other structural element. Removing a structural beam is a structural engineering project, not a contractor project.
Decorative — The beam is a false beam added by a previous owner as decorative trim. Removing it might be straightforward, but it leaves a bare ceiling that may look worse than the original beam.
Part of a roof or floor system — The beam is part of the building's structure — a rafter, a joist, a purlin — and is visible because there is no ceiling below it. Removing it is structural work.
If the beam is decorative, covering it with a faux beam is a fast, cost-effective solution. If the beam is structural, covering it is the only option (besides a costly renovation that replaces its function).
The encasement approach
The most common approach is to install a hollow-shell faux beam over the existing beam. The new beam is sized to be larger than the existing beam — typically 2 to 4 inches wider and taller — so that it completely encloses the original.
The new beam is mounted to the ceiling using the standard mounting method: adhesive along the top surface plus mechanical fasteners into the structural ceiling behind the existing beam. The existing beam acts as part of the mounting surface; the fasteners go through the existing beam and into the structural joist or rafter above.
For a beam that is mounted perpendicular to the ceiling joists, the mounting is straightforward: the fasteners engage the joists at standard intervals. For a beam that runs parallel to the joists, blocking must be installed between the joists at the mounting points to provide a secure fastening surface.
Sizing the covering beam
The new beam must be larger than the existing beam on all visible faces:
- Height: The new beam should be 2 to 4 inches taller than the existing beam. A 2-inch difference is the minimum for a clean shadow line; 4 inches provides more visual separation.
- Width: The new beam should be 2 to 4 inches wider than the existing beam. This applies to the bottom face of the beam (the most visible surface) and to the side faces if the existing beam's sides are visible.
- Depth (projection): If the existing beam projects below the ceiling plane by 4 inches, the new beam should project by 6 to 8 inches to provide adequate clearance and a visible shadow line.
If the existing beam is significantly larger than any standard faux beam size, a custom profile can be produced. The maximum custom profile size is approximately 14 by 14 inches in cross-section.
Finish matching and coordination
The new beam's finish should be chosen to complement the room's existing materials. In most cases, the goal is to make the new beam look intentional — as if it was always part of the room's design — rather than as a cover-up.
If the room has other original beams that are in good condition, the new beam's finish should match them. This requires careful color matching; order samples and compare in the room before production.
If the room has no other beams, the new beam's finish should complement the walls, floor, and other materials. The most versatile approach is to match the existing beam's finish — making the new beam look like it belongs to the same family as the old one — or to choose a finish that complements the dominant material in the room.
For rooms with dark beams that are in poor condition, replacing them with dark faux beams that match the original is the most common approach. The new beam looks better, but the room's design vocabulary remains consistent.

Problem conditions and how to handle them
Beam with active rot or insect damage — The existing beam should be treated or replaced before being enclosed. A rotting beam may continue to deteriorate inside the new beam, eventually causing the new beam to sag or crack. Address the underlying problem first.
Beam with asbestos or lead paint — Pre-1970s beams may have asbestos wrapping or lead-based paint. Testing and professional abatement is required before any work that disturbs the beam. Do not install a faux beam over a beam that may contain asbestos without proper testing and remediation.
Beam with electrical wiring or plumbing running through it — Many older beams have wiring (knob-and-tube, BX cable) running through notches or holes. The wiring must be rerouted or protected before the beam is enclosed. Consult an electrician.
Beam that is not level — An older beam may have sagged or warped over time. A new faux beam installed over it will inherit the same irregularity. In most cases, the new beam can be installed level even if the old beam is not, but the mounting must account for the difference in plane between the old beam's top surface and the ceiling.
Beam with no structural backing — A decorative beam that was installed without structural backing may not be capable of supporting the additional weight of a faux beam encasement. Test the existing beam's attachment to the structure before committing to the encasement approach.
Installation sequence
- Survey the existing beam and the surrounding ceiling. Note dimensions, condition, and structural attachment.
- Select a faux beam profile and size that will fully enclose the existing beam with adequate clearance.
- Order the new beam with the specified finish.
- Prepare the existing beam: clean, repair any damage, address wiring or plumbing issues, and verify structural attachment.
- Install mounting hardware for the new beam.
- Install the new beam, using adhesive and mechanical fasteners.
- Seal the joints and touch up the finish.
- Step back and admire the room that now looks like it was designed this way.
Technical References
ASTM standards cited in every specification
Test Data
Lab results from internal testing program
Updated 2026
Reviewed against current product specs


