
Every beam installation has seams. The seam between two beams at a joint, the seam where the beam meets the wall, the seam where a beam changes direction — these are the details that separate a professional installation from an amateur one. When the seams are handled well, the beam installation looks intentional and crafted. When the seams are handled poorly, the beam installation looks like a DIY project that got halfway done.
Decorative joint cover trims are the solution. They are thin strips of material, typically matching the beam material, that cover the seam and transform it from a potential eyesore into a deliberate design detail.
Why Seams Need Covering
In theory, a beam installation could be designed with no seams. Short beams, custom-cut to fit the room exactly, with joints that align perfectly at the mounting points. In practice, every beam installation has seams because rooms are not perfectly rectangular, beams are manufactured in standard lengths, and jobsite conditions require adjustments that cannot be anticipated in the design phase.
The seam between two beams at a joint is the most visible seam in a beam installation. If the joint is not perfectly tight, or if the two beams are slightly different in depth or profile, the seam is visible as a thin line running across the face of the beam. A joint cover trim hides this line and makes the joint look intentional.
The seam where the beam meets the wall is less visible but equally important. No wall is perfectly straight, and no beam end is perfectly square. The gap between the beam end and the wall is typically hidden by the beam profile itself, but in some installations, a trim piece provides a cleaner transition.
Types of Joint Cover Trims
Joint cover trims are available in several forms, each designed for a specific type of seam.
The standard joint cover is a flat or slightly profiled strip that is installed over the seam between two beams. It spans the seam and is screwed or glued to both beams, creating a continuous surface that hides the joint. The standard joint cover is the most commonly used trim piece in beam installations.
The mitered corner trim is used at corners and L-junctions where two beams meet at an angle. The trim is cut to match the angle of the joint and installed so that the trim itself forms the corner detail. Mitered corner trims are available for both inside and outside corners.
The end cap trim is installed at the exposed end of a beam where it meets a wall or another beam end-on. The end cap covers the end grain of the beam and provides a finished termination. End cap trims are available in flat and profiled versions.
The transition trim is used where the beam changes direction or where two different beam profiles meet. The transition trim creates a smooth visual bridge between the two elements without requiring a precise field cut.

Matching the Trim to the Beam
The trim should match the beam material, profile, and finish. The easiest way to achieve this is to order trim pieces from the same supplier that provides the beams.
If trim must be sourced separately, the profile should be selected to complement the beam profile rather than to match it exactly. A trim that is slightly simpler than the beam profile provides a visual separation between the beam and the trim that looks intentional. A trim that exactly matches the beam profile reads as a repair rather than a design detail.
The finish on the trim should be applied before installation, in the same way and with the same materials as the beam finish. If the trim and the beam are finished separately, the colors may not match perfectly, which is visible at the joint.
Installation Methods
Joint cover trims are installed after the beams are in place and after the finish is applied to the beams.
For a standard joint cover, the trim is positioned over the seam and held in place with finishing nails or screws driven through the trim into the beam faces. The fasteners are concealed by the trim profile. Construction adhesive is applied to the back of the trim before the nails are driven to provide additional holding power.
For a mitered corner trim, the trim pieces are cut to the correct angle and test-fitted before adhesive is applied. The mitered joint should be tight with no visible gap. Adhesive is applied to both trim pieces, and the joint is clamped until the adhesive sets.
For an end cap trim, the trim is positioned over the beam end and held in place with adhesive and finishing nails. The trim should be flush with the beam face on all sides.
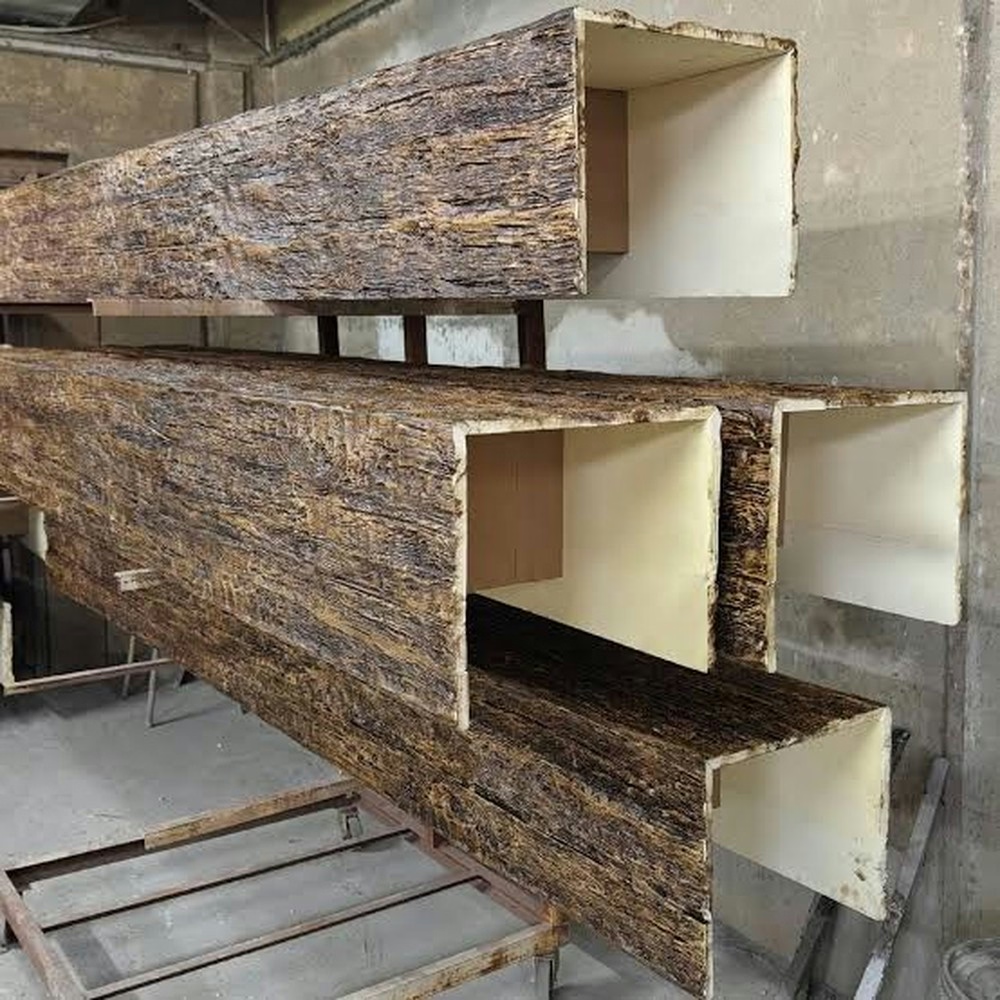
When Trims Are Not Needed
Not every seam requires a trim piece. In some installations, the beam profile itself provides sufficient cover for the seam.
Beams with a substantial flange or return can hide a seam beneath the flange, eliminating the need for a visible joint cover. This is one reason why beams with integrated mounting flanges are popular: they simplify the finishing by hiding the mounting hardware and the seams in one element.
Beams that are joined at a decorative element like a corbel or a rosette may not need a separate trim piece because the decorative element serves the same function. The corbel at a joint covers the seam, and the rosette at a beam end covers the end grain.
Quality Considerations
The quality of the trim material affects the appearance and durability of the finished installation. High-density polyurethane trim is more resistant to impact and moisture than lower-density foam products. It also holds fasteners better and is less likely to crack under stress.
The finish on trim pieces should be applied in a controlled factory environment to ensure consistency with the beam finish. Field-applied finish on trim pieces often matches the beam color imperfectly, which is visible at the joint.
Cost and Ordering
Joint cover trims are priced per linear foot or per piece, depending on the complexity of the profile. A standard flat trim costs between two and five dollars per linear foot. A profiled or mitered trim costs between five and fifteen dollars per linear foot.
For a typical residential beam installation, the total trim cost is typically between fifty and two hundred dollars, depending on the complexity of the layout and the number of joints.
When ordering beams, it is good practice to order a small quantity of trim pieces as insurance against damage during installation or future maintenance needs. Trim pieces are easier to store and ship than beams, and having spare trim on hand simplifies future repairs.
What Installers Should Know
Installers should plan the trim requirement during the layout phase, not after the beams are installed. Identifying where trims are needed before the beams are ordered allows the supplier to provide the correct quantities and ensures that the trims arrive with the beams.
The installation of trim pieces should be the last step in the beam installation, after the beams are mounted, leveled, and finished. Any touch-up painting or staining of the trim should be done before the trim is installed.
For long seams, the trim should be applied in sections, with each section test-fitted and adjusted before adhesive is applied. Working in sections prevents alignment errors that would be difficult to correct after the adhesive sets.
Technical References
ASTM standards cited in every specification
Test Data
Lab results from internal testing program
Updated 2026
Reviewed against current product specs


