
Renovating an interior ceiling is one of the most impactful upgrades available to a contractor or a DIY homeowner, and it is also one of the simplest. Unlike floor changes or wall modifications, a ceiling upgrade with decorative faux timber beams can often be completed without permits, without structural engineering, and without disturbing the existing walls or floors. The beams are installed over the existing ceiling surface, and the transformation happens entirely above the line of sight.
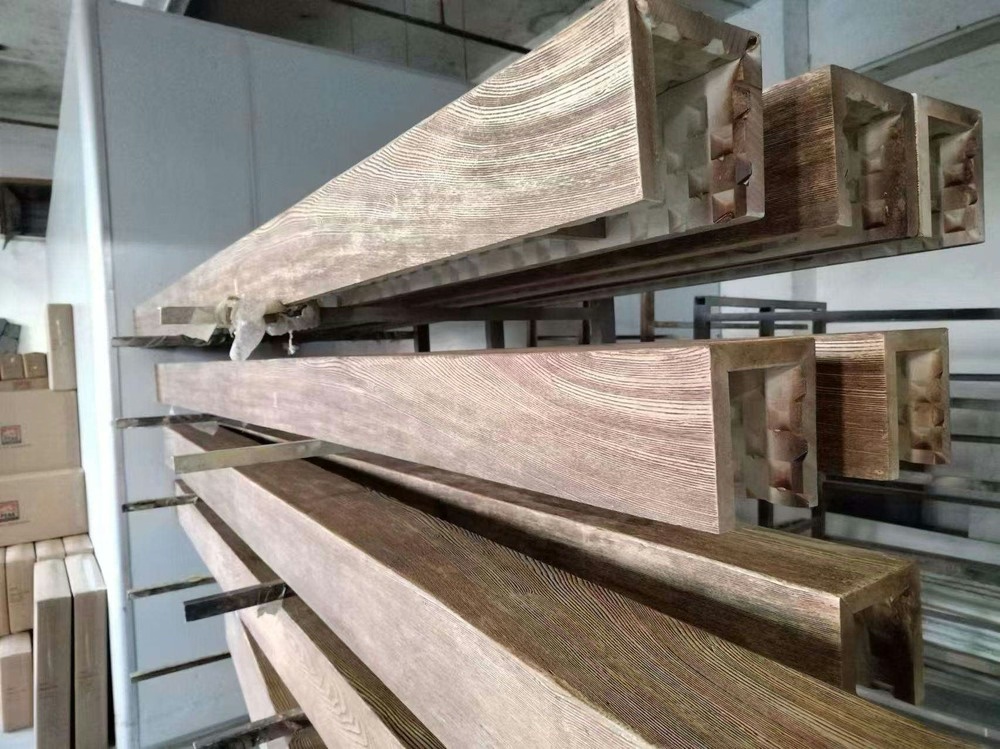
Non-structural PU faux timber accent beams are the ideal product for this application. They are lightweight enough to mount to standard ceiling construction without reinforcement, they are manufactured to consistent dimensions that simplify layout and installation, and they arrive with factory-applied finishes that require no on-site staining or sealing.
Why Non-Structural Beams Suit Renovations
Every renovation project exists under constraints: a budget, a timeline, and a set of existing conditions that limit what can be done. Non-structural faux beams work within these constraints rather than against them.
They do not require structural engineering review because they carry no load. This eliminates a step that can add weeks and thousands of dollars to a project.
They do not require permits in most jurisdictions because they are classified as decorative trim rather than structural elements. This eliminates a regulatory hurdle that can delay a project and create uncertainty.
They do not require removal of the existing ceiling because they are installed over it. This eliminates the most disruptive and dusty phase of a ceiling renovation, which is the demolition of the existing surface.
Assessing the Existing Ceiling
Before installing accent beams over an existing ceiling, the condition of the ceiling should be assessed.
The ceiling material should be structurally sound. Drywall that is sagging or water-damaged should be repaired before the beams are installed. A beam installation over a compromised ceiling does not fix the underlying problem and may make it worse by adding weight.
The ceiling height should be measured to confirm that adding beams will not reduce the effective headroom below the minimum required by code. In most jurisdictions, habitable rooms must have a minimum ceiling height of seven feet six inches. If the existing ceiling is already at the minimum, adding beams may require a variance.
The joist or rafter positions should be located with a stud finder and marked on the ceiling surface. The beams will mount into these structural members, not into the ceiling surface material alone.

Mounting Methods for Existing Ceilings
The mounting method for accent beams over an existing ceiling depends on the type of ceiling and the beam profile.
For drywall ceilings, wood blocking or metal hat channel is installed between the joists at the beam positions. The blocking is screwed through the drywall into the joists, and the beam is screwed through its flange into the blocking. The blocking is hidden by the beam, and the result is a clean, professional installation.
For plaster ceilings, the approach is similar but the plaster must be drilled carefully to avoid cracking. Pilot holes are drilled through the plaster at the blocking positions, and the blocking is screwed into the joists through these holes.
For suspended grid ceilings, the grid is removed or modified to accommodate the beam layout. In most cases, it is easier to remove the grid entirely and either leave the ceiling open or cover it with a new surface that accepts beam mounting.
Layout Planning for Renovations
The beam layout for a renovation should be designed around the existing conditions of the room: the ceiling dimensions, the positions of windows and doors, the location of light fixtures, and the existing furniture and traffic patterns.
A single accent beam running lengthwise down the center of the room is the simplest and most effective treatment for most rooms. It creates a focal point and a mounting point for a pendant fixture without requiring a complex layout.
Two parallel beams are appropriate for wider rooms where a single beam would look lost. The beams should be spaced to create a balanced visual relationship with the walls, and the spacing should be wide enough to allow fixture and track lighting to be positioned between them.
A grid of beams is appropriate for large rooms where the ceiling is a significant design element. The grid should be symmetrical and should align with the major axes of the room.
Finish Selection for Renovation Projects
The finish on accent beams for a renovation should be selected to complement the existing finishes in the room.
If the room has existing wood trim, the beam finish should match or coordinate with the trim finish. A mismatch between the beam finish and the trim finish is visible and undermines the authenticity of the installation.
If the room has no existing wood trim, the beam finish should be selected based on the overall color palette of the room. A warm honey or butterscotch tone adds comfort. A light natural tone keeps the space bright. A dark tone adds drama.
A sample of the planned beam finish should be reviewed in the actual room before the production order is placed. The finish will look different in the room than it does in the showroom because of the different light sources and surrounding colors.
Coordinating with Other Trades
A ceiling renovation with accent beams often involves coordination with other trades, including electricians, painters, and HVAC contractors.
The electrician should be consulted before the beam layout is finalized to confirm the positions of any recessed fixtures, pendant fixtures, or track lighting. The beam positions should not block fixture access or interfere with fixture performance.
The painter should be scheduled to finish the ceiling and walls after the beams are installed. Installing the beams before painting allows the painter to cut in around the beam edges with the wall color, which produces a cleaner result than painting around installed beams.
The HVAC contractor should verify that the beam installation does not interfere with any ceiling-mounted supply diffusers or return grilles. The beam positions should maintain the required clearance from these elements.
Timeline and Disruption
One of the greatest advantages of adding accent beams during a renovation is the minimal disruption to the rest of the home. The installation produces little dust and noise compared to a full ceiling replacement, and it can often be completed in one to two days for a typical room.
For occupied homes, the work can be scheduled to minimize disruption. The room should be cleared of furniture before the crew arrives, and the crew should contain the work area with plastic sheeting to prevent dust migration to the rest of the home.
Budget Planning
A non-structural accent beam installation for a typical residential room typically costs between two thousand and eight thousand dollars, depending on the beam profile, the finish quality, and the number of beams installed. This figure includes materials and labor.
The cost should be evaluated in the context of the overall renovation budget. A ceiling upgrade with accent beams is a high-value investment because it affects the most visible surface in the room and contributes to the overall design of the space.
Post-Installation Inspection
After the beams are installed, a thorough inspection should verify that all beams are level, all fasteners are secure, all joints are tight, and all hardware elements are properly installed.
The beam surfaces should be inspected for any damage that occurred during installation, and any touch-up work should be completed before the room is handed back to the client.
The lighting should be tested to verify that all fixtures are functioning and that the beam positions have not created any shadows or glare issues.
Long-Term Maintenance
Non-structural accent beams require the same minimal maintenance as standard faux beams. A periodic dusting and an occasional wipe-down with a damp cloth keeps the beams looking new.
Any damage to the beam surface can be repaired with a matching stain marker or a small amount of touch-up finish. For more significant damage, the affected beam section can be replaced without disturbing the surrounding beams.
What Homeowners Should Know
Homeowners who are planning a renovation should consider adding accent beams to the scope of work early in the planning process. The beam specification should be included in the design drawings and the contractor's scope of work to ensure that the installation is coordinated with the other trades.
A ceiling upgrade with accent beams is one of the most cost-effective ways to transform a room. The investment is modest, the disruption is minimal, and the result is a ceiling that looks intentional and designed.
Technical References
ASTM standards cited in every specification
Test Data
Lab results from internal testing program
Updated 2026
Reviewed against current product specs


