
The rafter tail is one of the most charming details in traditional architecture. It is the portion of the rafter that extends past the exterior wall of the building, creating a shadow line at the eave and a visual rhythm of repeated shapes along the roof edge. In historic buildings, the rafter tails were left exposed because covering them would have been expensive and unnecessary. Over time, this functional leftover became an ornamental element that defined the character of traditional rooflines.
Decorative polyurethane rafter tails bring this traditional detail into contemporary construction and renovation projects. They can be used to create the appearance of exposed rafter ends on new construction, to restore the rafter tail detail on historic buildings where the originals have been lost, and to add traditional character to modern structures that would otherwise have a plain roof edge.
Understanding Rafter Tail Architecture
Rafter tails come in several profiles, each associated with different architectural styles and historical periods.
The triangular rafter tail is cut at an angle that follows the slope of the roof and creates a triangular end profile. This is the simplest and most common rafter tail profile, found on everything from simple farmhouses to grand historic homes.
The bracket rafter tail has a shaped profile with a decorative cut at the end, often with a cove or curve that adds visual interest. This profile is associated with Victorian and craftsman architecture.
The exposed beam end is not technically a rafter tail but serves a similar visual function. It is used in timber frame construction where the beam extends beyond the wall and the end is finished with a decorative cut or a carved detail.
Applications for Decorative Rafter Tails
Decorative rafter tails are used in a variety of applications, from exterior porch and patio detailing to interior ceiling treatments.
On exterior porches and covered patios, rafter tails add traditional character to the roof edge. They create the appearance of an exposed structural roof system without the maintenance requirements of real timber. The polyurethane rafter tails are resistant to moisture, insects, and UV degradation, which makes them ideal for exterior applications.
On interior ceilings, rafter tails can be used to extend the visual presence of the beam beyond the wall line. In a room with a vaulted ceiling, rafter tails at the eave line create a sense of the roof structure extending into the room.
On exterior facades, rafter tails add traditional character to the roof edge of the building. They are commonly used on porch additions, garage transitions, and architectural features like bay windows and dormers.
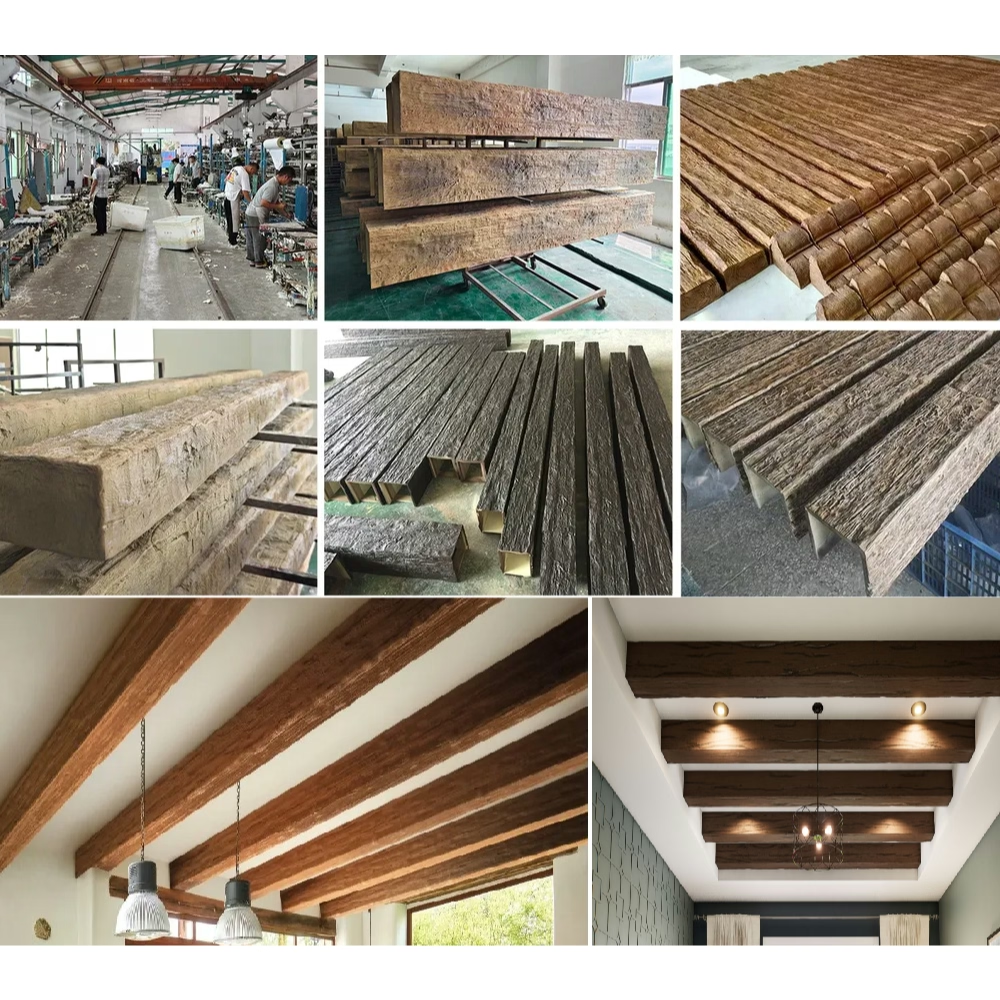
Material Advantages
Polyurethane rafter tails have several advantages over real timber for exterior and accent applications.
Moisture resistance is the most important advantage. Real timber absorbs water, which leads to swelling, warping, and eventually rot. Polyurethane does not absorb water, which means rafter tails made from this material will not rot, warp, or cup in humid conditions.
Insect resistance is another important advantage. Real timber is susceptible to termite and carpenter ant damage, particularly in exterior applications. Polyurethane is not a food source for these insects, which means the rafter tails will not be damaged by insect activity.
UV resistance is important for exterior applications. Quality polyurethane rafter tails are formulated with UV inhibitors that prevent degradation and fading in direct sunlight. This is essential for maintaining the appearance of the installation over time.
Profile and Style Selection
The profile of the rafter tail should match the architectural style of the building. A building with craftsman styling should have rafter tails with a craftsman profile. A building with Victorian styling should have Victorian rafter tails.
Most suppliers offer a range of standard profiles that cover the most common architectural styles. Custom profiles can be produced for projects with specific requirements, but the lead time and cost are higher than for standard profiles.
The size of the rafter tail should be proportional to the beam or eave to which it is attached. A rafter tail that is too small for the beam looks insubstantial. A rafter tail that is too large looks out of proportion.

Installation Methods
Decorative rafter tails are installed after the beam or eave detail is in place. The installation method depends on whether the rafter tail is being attached to a real structural member or to a faux beam.
For attachment to a real structural rafter, the rafter tail is typically screwed and glued to the end of the rafter. The fasteners are concealed by the rafter tail profile, and the joint is filled with caulk and touched up with paint.
For attachment to a faux beam, the rafter tail is installed in the same way, with screws driven through the rafter tail into the beam end. The rafter tail should be aligned with the beam profile so that the grain and shadow lines continue from the beam into the rafter tail.
For exterior applications, the rafter tail should be sealed at all joints and edges to prevent moisture infiltration. A bead of exterior-grade sealant at the joint between the rafter tail and the beam or eave provides a waterproof seal.
Finishing Rafter Tails
Rafter tails should be finished before installation to ensure that all surfaces are protected and the color is consistent.
For exterior applications, a primer and two coats of exterior-grade paint provide the best protection against UV radiation and moisture. The paint should be applied in a controlled environment before installation, and the rafter tail should be fully cured before it is exposed to the elements.
For interior applications, the finish can be stain, paint, or a clear coat depending on the design intent. A stained finish on a rafter tail should match the stain on the beam to which it is attached.
Coordinating with Soffit and Fascia
Rafter tails work best when they are coordinated with the soffit and fascia details of the building. The soffit is the horizontal surface beneath the roof overhang, and the fascia is the vertical surface at the edge of the roof.
In a traditional detail, the rafter tails are exposed and the soffit is omitted. This is the most authentic treatment for historic-style buildings. In a contemporary detail, the soffit covers the space between the rafter tails, creating a clean transition from the wall to the roof edge.
The fascia board runs vertically at the roof edge, covering the ends of the rafter tails or the ends of the soffit. The fascia should be coordinated with the rafter tail profile to create a cohesive roof edge detail.
Cost Considerations
Decorative rafter tails are priced per piece, with costs ranging from twenty to eighty dollars depending on the profile complexity and the material. For a typical porch or patio installation, the total rafter tail cost is between five hundred and two thousand dollars, depending on the number of tails and the profile selected.
This is a modest investment relative to the visual impact of the traditional roof detail. The rafter tails transform a plain roof edge into a crafted architectural feature that is visible from the street and from the yard.
What Designers Should Specify
Designers specifying rafter tails should include the following information: the profile name or number, the dimensions, the material specification, the finish specification, and the quantity required.
A detail drawing showing the relationship between the rafter tail, the beam or eave, and the soffit and fascia is the clearest way to communicate the requirement to the supplier and the installer.
A sample of the planned rafter tail profile and finish should be reviewed in the context of the actual building before the production order is placed.
Maintenance
Polyurethane rafter tails require minimal maintenance. An annual inspection should check for any damage from impact or weathering, and any issues should be addressed promptly.
The finish on exterior rafter tails may need to be touched up every five to ten years depending on the exposure and the quality of the original finish. The touch-up is straightforward: sand the affected area, prime, and apply topcoat.
Technical References
ASTM standards cited in every specification
Test Data
Lab results from internal testing program
Updated 2026
Reviewed against current product specs


